 Pin it
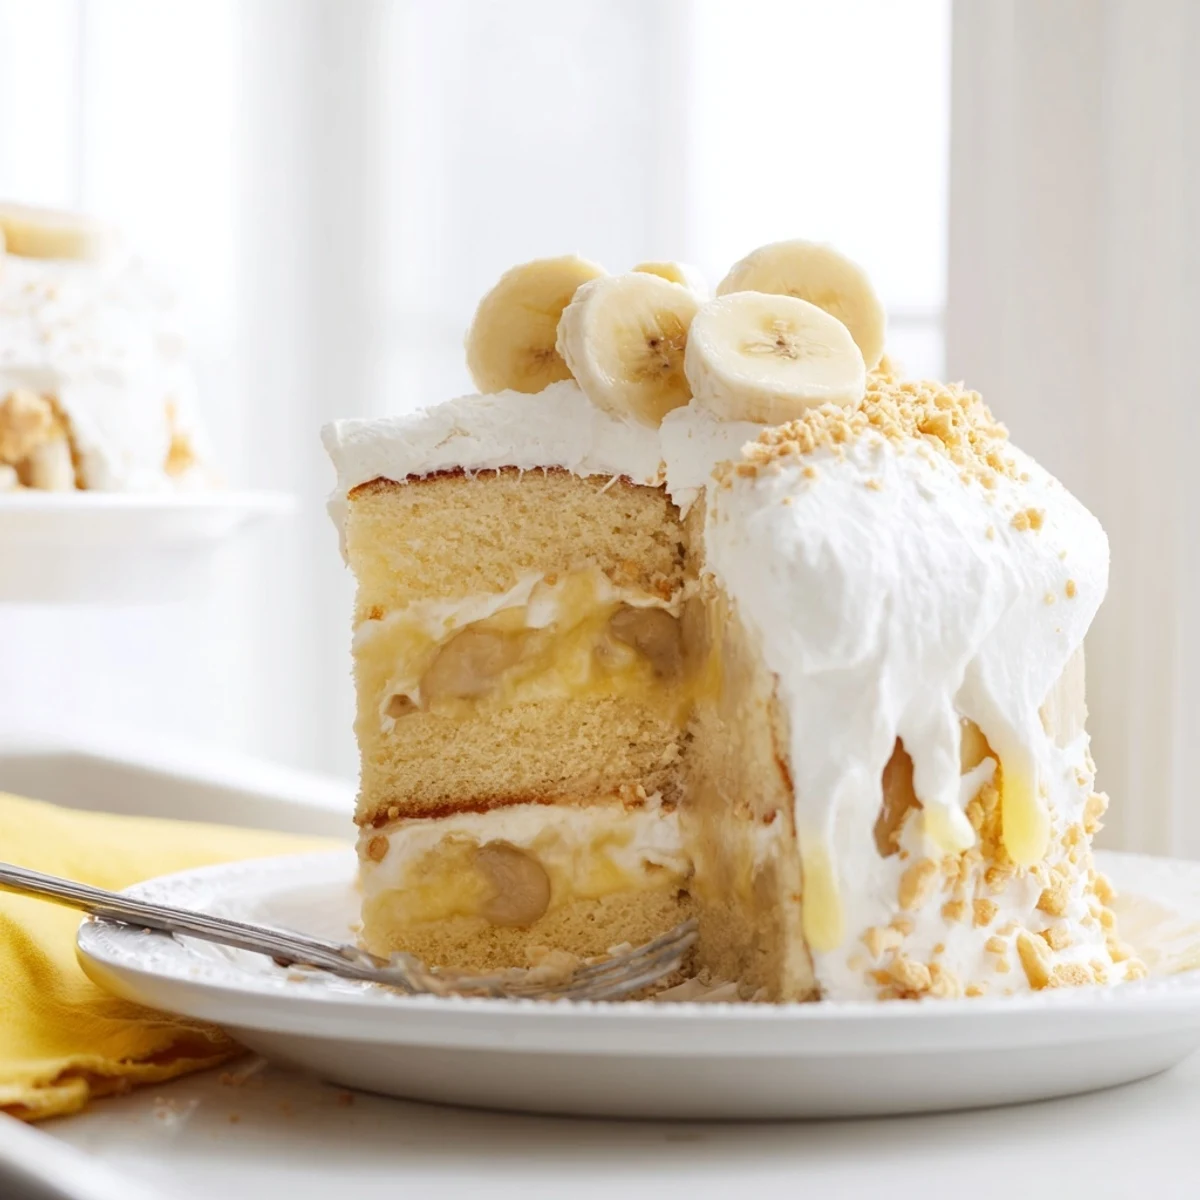
 This delightful dessert combines tender banana cake layers with a luscious vanilla pudding filling. Fresh sliced bananas and crushed vanilla wafers add texture and classic flavor, while homemade whipped cream creates the perfect finishing touch. The cake requires about an hour from start to finish and yields 12 generous servings, making it ideal for potlucks, family gatherings, or special occasions.
The smell of overripe bananas always pulls me straight into my grandmothers kitchen, where nothing ever went to waste and every speckled banana was a future dessert waiting to happen. She never followed a written recipe, just instinct and a battered wooden spoon that had seen decades of batter. This banana pudding cake is my attempt to bottle that feeling into something you can recreate on any random Tuesday.
I brought this cake to a potluck once and watched a friend quietly cut herself a second slice before she even finished the first. That honest reaction told me more than any compliment could. People get shy around dessert but banana pudding cake seems to erase all restraint.
Ingredients
- All-purpose flour (2 cups): The backbone of the cake, spooned and leveled so you do not end up with a dense brick.
- Baking powder and baking soda (1 1/2 tsp and 1/2 tsp): This dual leavening duo gives the cake a soft, even rise without any weird tunnels.
- Salt (1/2 tsp): Just enough to make the sweetness sing instead of overwhelm.
- Unsalted butter, softened (3/4 cup): Room temperature butter creams properly with sugar, which is the whole secret to a tender crumb.
- Granulated sugar (1 1/4 cups): It sweetens and also helps create those tiny air pockets that keep the cake light.
- Large eggs (3): Added one at a time so each incorporates fully before the next joins the party.
- Vanilla extract (1 tsp): Use the real stuff here because the flavor carries through every layer.
- Ripe bananas, mashed (3): The darker the peel, the sweeter and more intense the banana flavor inside the cake.
- Buttermilk (3/4 cup): Its tang tenderizes the crumb and reacts with baking soda for extra lift.
- Instant vanilla pudding mix (1 package): The shortcut that makes the filling taste like proper pudding without standing over a stove.
- Cold whole milk (1 1/2 cups): Cold milk sets the pudding faster and gives you a thicker, more stable filling.
- Heavy cream, whipped (1 cup for filling plus 1 cup for topping): Whipped cream folded into the pudding makes it impossibly light and cloud-like.
- Ripe bananas, sliced (2): Layered between the cake and filling for juicy bursts of fresh banana in every bite.
- Vanilla wafer cookies, crushed (20): They soften slightly in the cake and keep a gentle crunch that mirrors classic banana pudding.
- Powdered sugar (2 tbsp): Just enough to sweeten the whipped cream topping without making it grainy.
Instructions
- Prep your pans and oven:
- Heat the oven to 350 degrees F and grease two 9-inch round pans with butter or cooking spray, then line the bottoms with parchment circles for a clean release.
- Whisk the dry team:
- In a medium bowl, combine the flour, baking powder, baking soda, and salt with a whisk until evenly distributed.
- Cream butter and sugar:
- Beat the softened butter and sugar together in a large bowl until the mixture turns pale and fluffy, which usually takes about three minutes of steady mixing.
- Add eggs and flavor:
- Drop in one egg at a time, beating well after each addition, then pour in the vanilla and blend until you can smell that warm, sweet fragrance.
- Fold in the bananas:
- Stir the mashed bananas into the wet mixture gently, expecting the batter to look a little lumpy because that is exactly right.
- Alternate dry and wet:
- Add the flour mixture and buttermilk in three alternating additions, starting and ending with the flour, and stop mixing as soon as the last streak disappears.
- Bake the layers:
- Divide the batter evenly between the pans and bake for 30 to 35 minutes until a toothpick poked in the center slides out clean.
- Cool with patience:
- Let the cakes rest in their pans for ten minutes, then flip them onto a wire rack and wait until they are completely cool before assembling.
- Build the pudding filling:
- Whisk the pudding mix with cold milk until it thickens, about two minutes, then gently fold in a cup of whipped cream until no white streaks remain.
- Layer the cake:
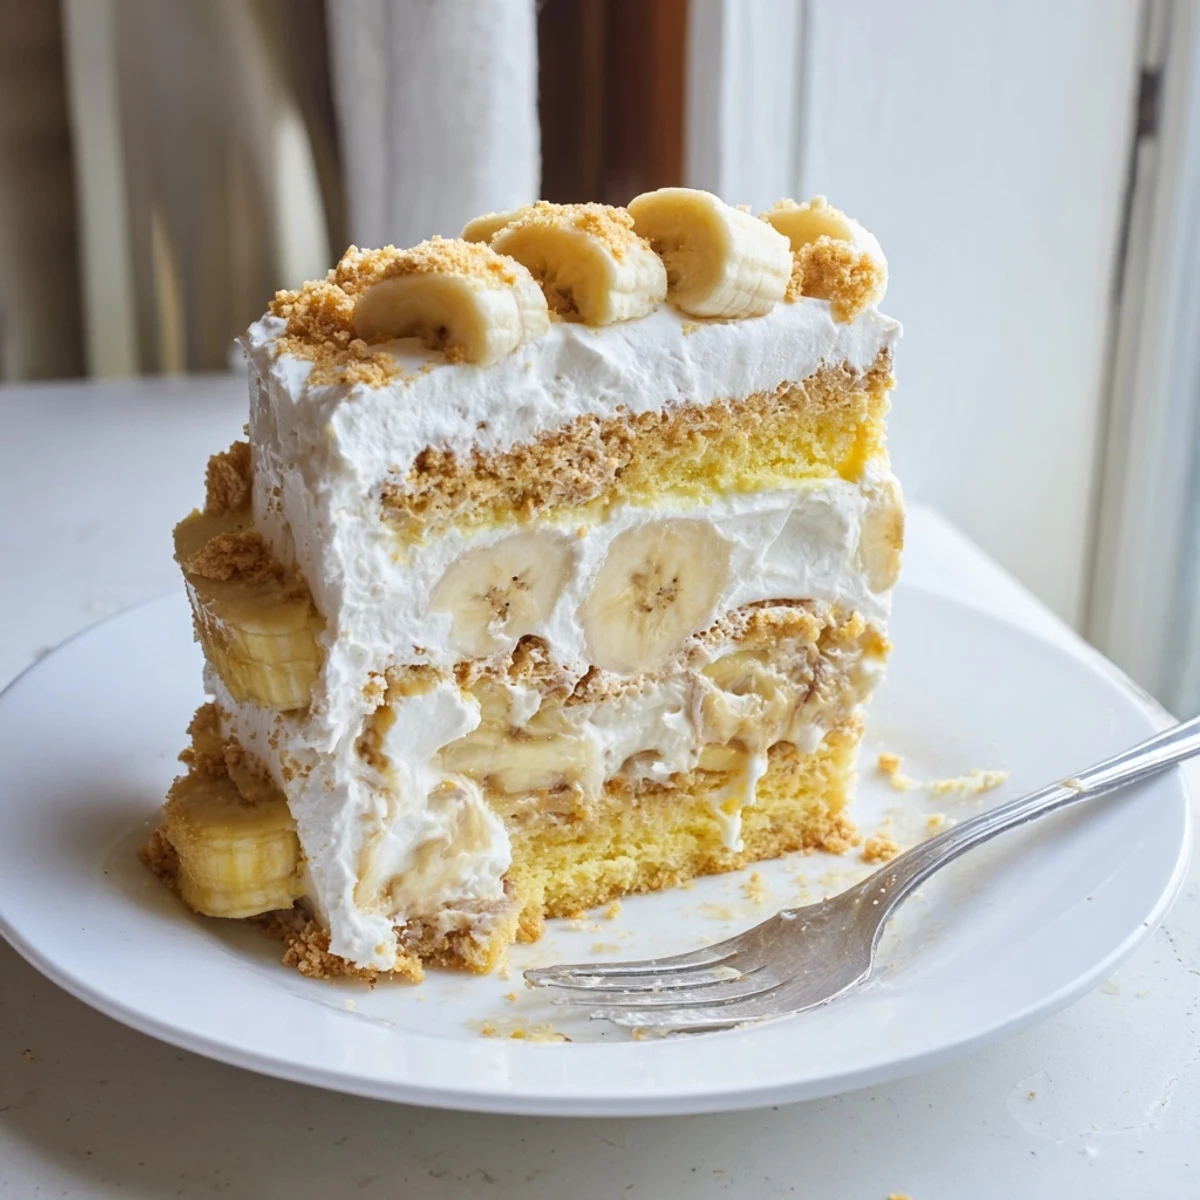
- Place one cake layer on a platter, spread half the pudding filling over it, then tuck sliced bananas and crushed wafers across the surface before adding the second layer and repeating.
- Finish with whipped cream:
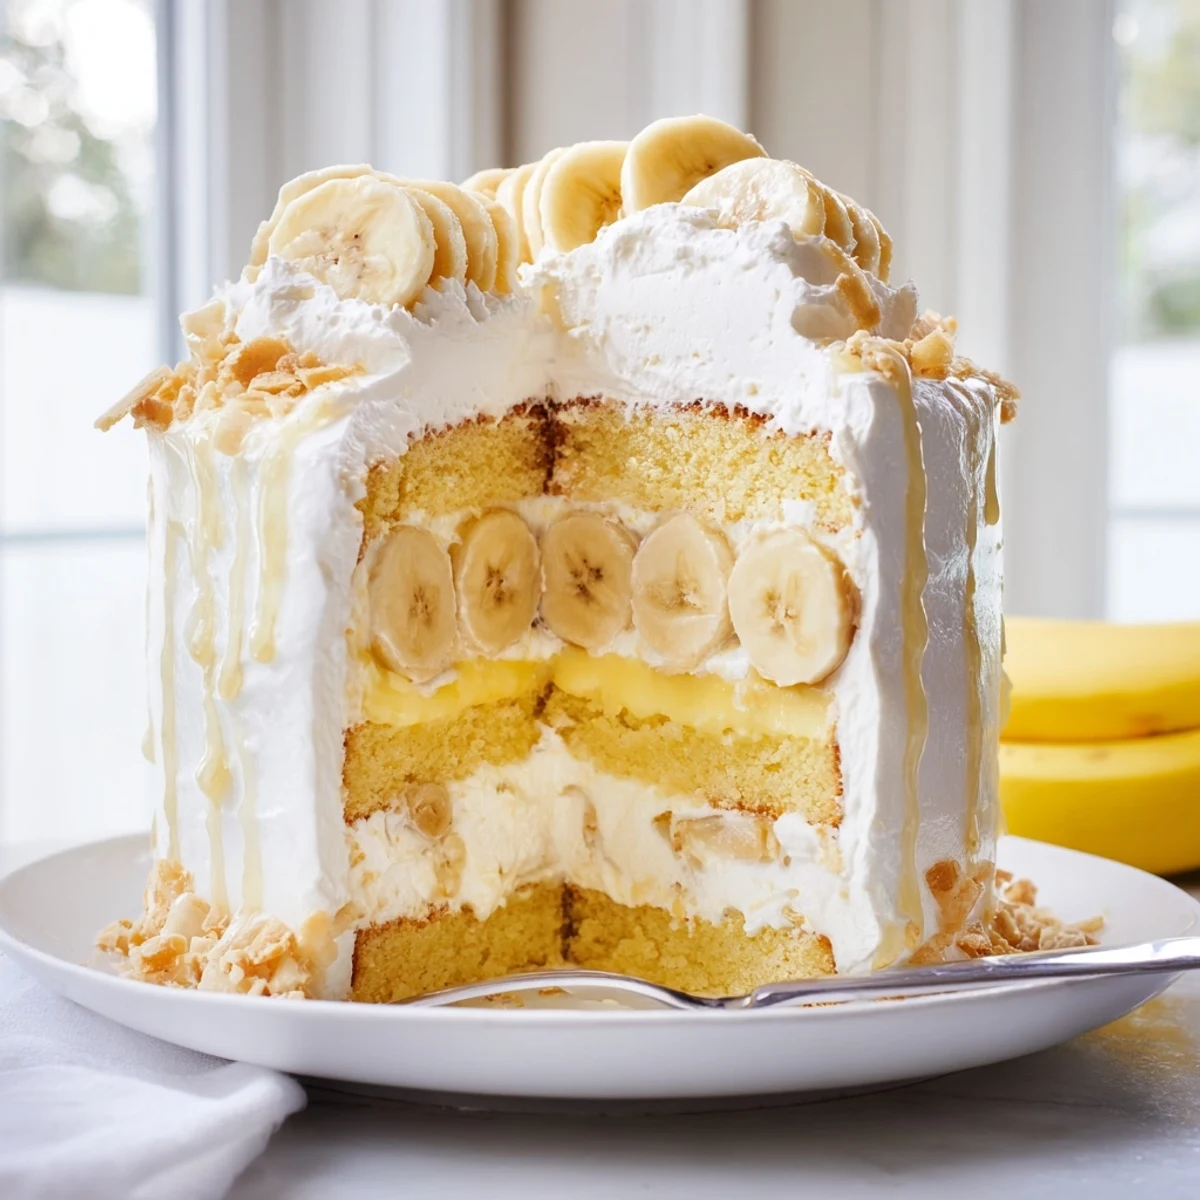
- Beat the remaining heavy cream with powdered sugar and vanilla until stiff peaks hold their shape, then spread or pipe it over the top and sides.
- Chill before serving:
- Refrigerate the assembled cake for at least two hours so the pudding sets into the layers and everything holds together when you slice.
 Pin it
 There is something deeply satisfying about watching someone cut into a layered cake you built from scratch and seeing the banana slices and wafer crumbs peeking out from the middle. It transforms a simple dessert into a small event.
Storage and Leftovers
This cake is at its absolute best on day one and still lovely on day two if you keep it loosely covered in the refrigerator. Beyond that the bananas start to weep and the wafers lose their charm, so plan to share it generously with neighbors or coworkers.
Making It Your Own
You can swap the vanilla wafers for crushed graham crackers or even shortbread cookies if that is what you have hiding in the pantry. A pinch of cinnamon in the cake batter adds a warmth that pairs beautifully with the banana, though I would skip it if you are a purist.
Serving and Presentation
A dusting of wafer crumbs on top of the whipped cream gives the finished cake a rustic, homey look that photographs beautifully without any fussy decorating skills. Serve it cold with a cup of coffee or a glass of cold milk and watch the room go quiet.
- Use a serrated knife for cleaner slices through the soft layers.
- Wipe the knife between cuts for neater servings on a dessert table.
- Let the cake sit at room temperature for about ten minutes before slicing so the filling softens slightly.
 Pin it
 Every time I make this cake I think about how the simplest ingredients, bananas, cream, vanilla wafers, can add up to something that makes people close their eyes and smile. That is really all any recipe needs to do.
Recipe Q&A Section
- → How long should I chill the cake before serving?
-
Chill the assembled cake for at least 2 hours before serving. This allows the pudding filling to set properly and makes slicing easier. The texture improves after chilling as the flavors meld together.
- → Can I make this cake ahead of time?
-
Yes, you can prepare the cake layers a day in advance and store them wrapped at room temperature. Assemble with the filling and topping no more than 24 hours before serving, as fresh bananas may start to brown or become soggy after that time.
- → How do I prevent the bananas from turning brown?
-
Toss the sliced bananas with a little lemon juice before layering them in the filling. The citric acid helps prevent oxidation. You can also arrange the banana slices just before serving for the freshest appearance.
- → Can I use homemade pudding instead of instant?
-
Absolutely. Prepare homemade vanilla pudding using cornstarch, milk, sugar, and vanilla. Allow it to cool completely before folding in whipped cream and assembling the cake. Homemade pudding may require longer chilling time to reach the proper consistency.
- → What's the best way to store leftovers?
-
Store any leftover cake in the refrigerator, covered with plastic wrap or in an airtight container. The cake is best enjoyed within 2 days due to the fresh bananas. The texture may soften slightly as it sits, but the flavor remains delicious.
- → Can I freeze this banana pudding cake?
-
Freezing is not recommended because of the fresh banana slices and whipped cream topping. However, you can freeze the unfilled cake layers for up to 3 months. Thaw overnight at room temperature, then assemble with fresh filling when ready to serve.
