
 Pin it
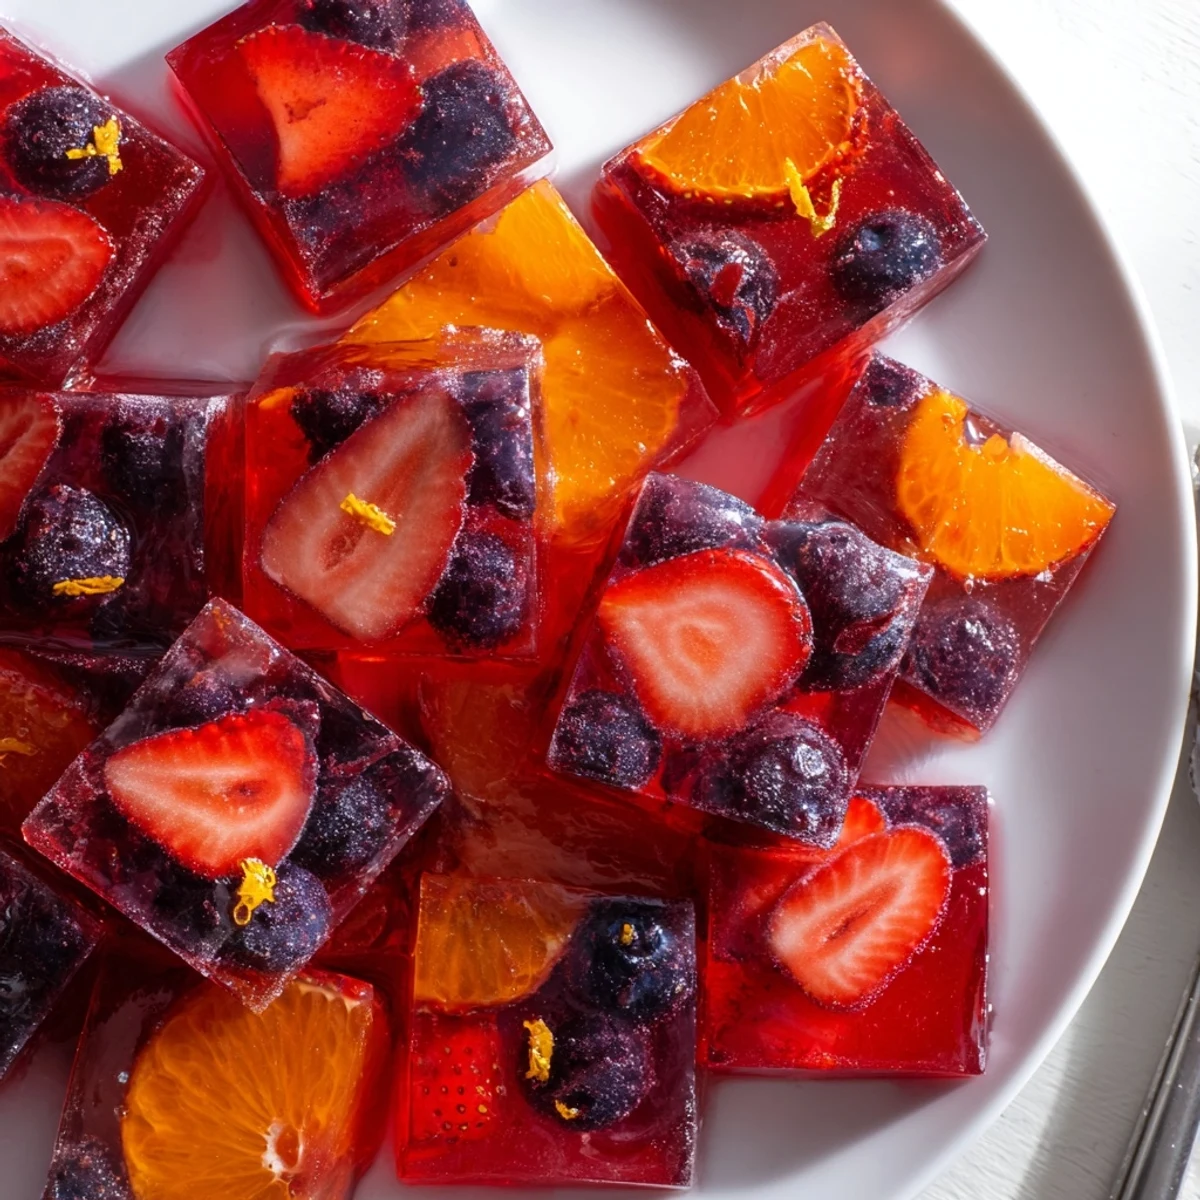
 These homemade collagen fruit jellies combine pure fruit juice with collagen peptides and gelatin for a wholesome, bite-sized treat. Ready in under 20 minutes of active preparation, they set in the refrigerator for about two hours before serving.
Each jelly delivers roughly 5 grams of protein while remaining gluten-free and low in carbohydrates. You can customize the flavors using orange, berry, or apple juice, and add fresh fruit garnishes for extra visual appeal.
Perfect for meal-prep snacking, lunchbox treats, or a lighter dessert option that still feels indulgent.
My roommate walked into the kitchen at eleven on a Tuesday night, found me hunched over a saucepan whisking something pink and fragrant, and asked if I had lost my mind. The truth was simpler: I had ordered collagen peptides three weeks prior and they were sitting unopened on the counter judging me. Fruit jellies seemed like the most honest way to use them.
I brought a batch to a potluck last spring and watched a woman eat six of them before asking what brand they were. When I said homemade she actually laughed, then followed me to the kitchen to watch me write the recipe on a napkin.
Ingredients
- Pure fruit juice (1 cup): Use something you would drink on its own, because every flaw concentrates when it sets into jelly.
- Lemon juice (2 tablespoons): This sharpens the fruit flavor and helps the gelatin do its job properly.
- Collagen peptides powder (2 tablespoons): Unflavored is essential here, and add it off the heat so it does not clump or break down.
- Honey or maple syrup (2 tablespoons): Adjust based on how sweet your juice already is.
- Unflavored powdered gelatin (2 and a half tablespoons): Bloom it before heating or you will be chasing lumps the entire time.
- Vanilla extract (1 teaspoon, optional): Rounds out the flavor especially with berry or apple juice.
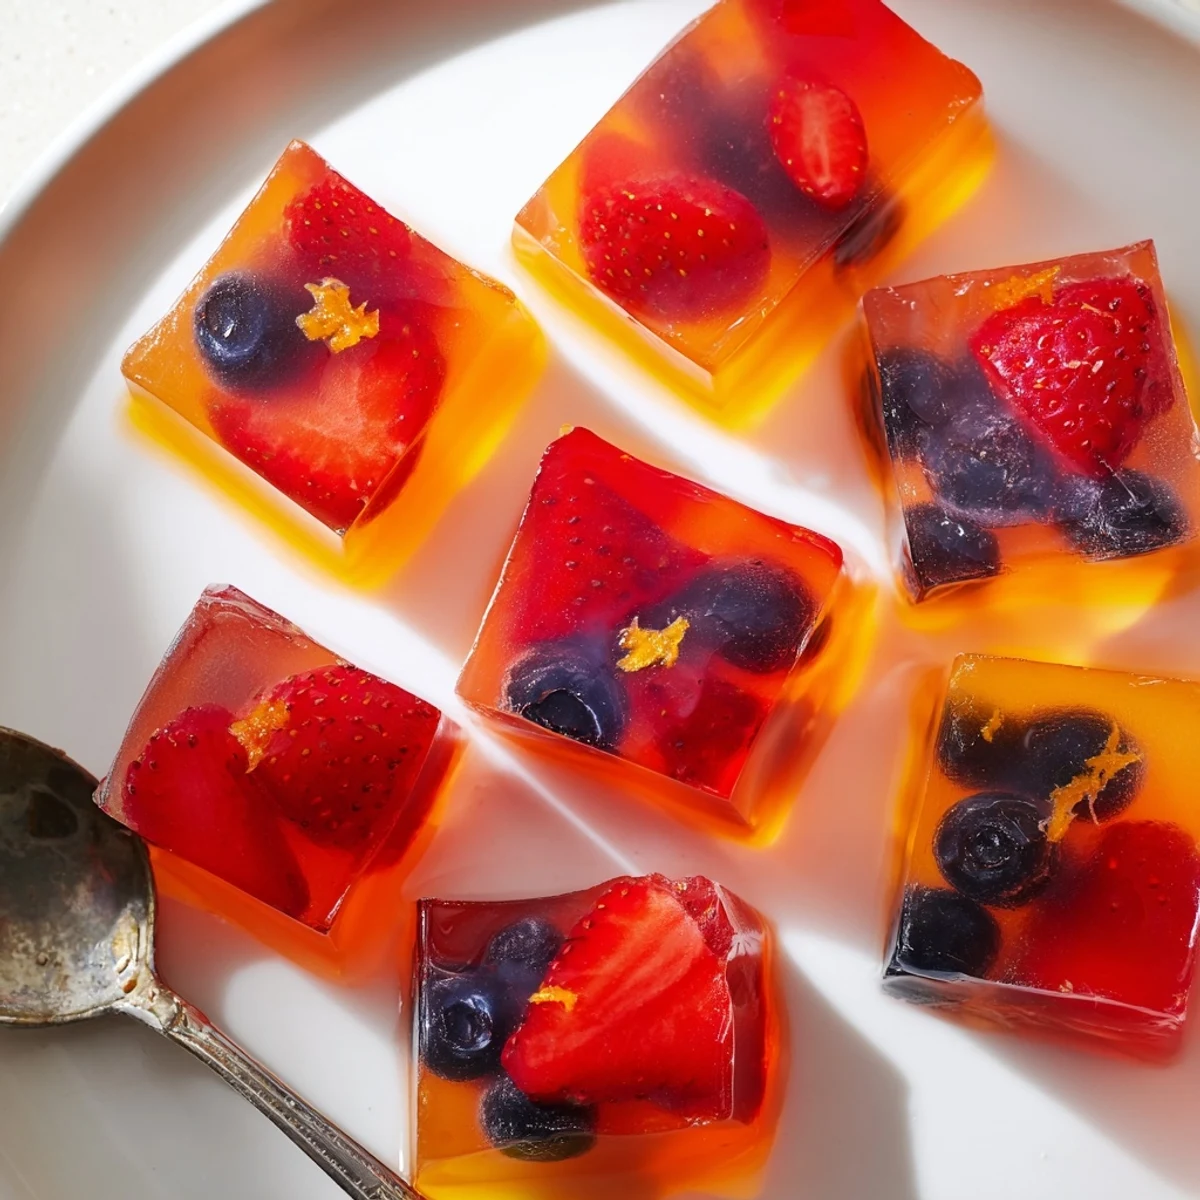
- Fresh berries or citrus zest (optional garnish): Tuck these into the molds before pouring for a pretty layered look.
Instructions
- Bloom the gelatin:
- Pour the fruit juice and lemon juice into a small saucepan, then sprinkle the gelatin across the surface in an even layer. Walk away for three to five minutes while it absorbs and softens into a wrinkled skin on top.
- Warm and dissolve:
- Set the pan over low heat and stir gently with a whisk until the gelatin disappears completely and the liquid runs smooth. Keep it below a simmer because boiling will weaken the set.
- Add the good stuff:
- Take the pan off the heat and whisk in the collagen powder, honey or maple syrup, and vanilla if you are using it. Taste a drop on your finger and add more sweetener if the fruit juice was particularly tart.
- Pour and garnish:
- Ladle the mixture into silicone molds or a lightly oiled, parchment lined baking dish. Press berries or zest into each cavity now while the liquid is still warm and workable.
- Chill until set:
- Refrigerate for at least two hours, though overnight is perfectly fine and actually firms the texture beautifully. Pop them out of the molds or slice into squares and serve cold.
 Pin it
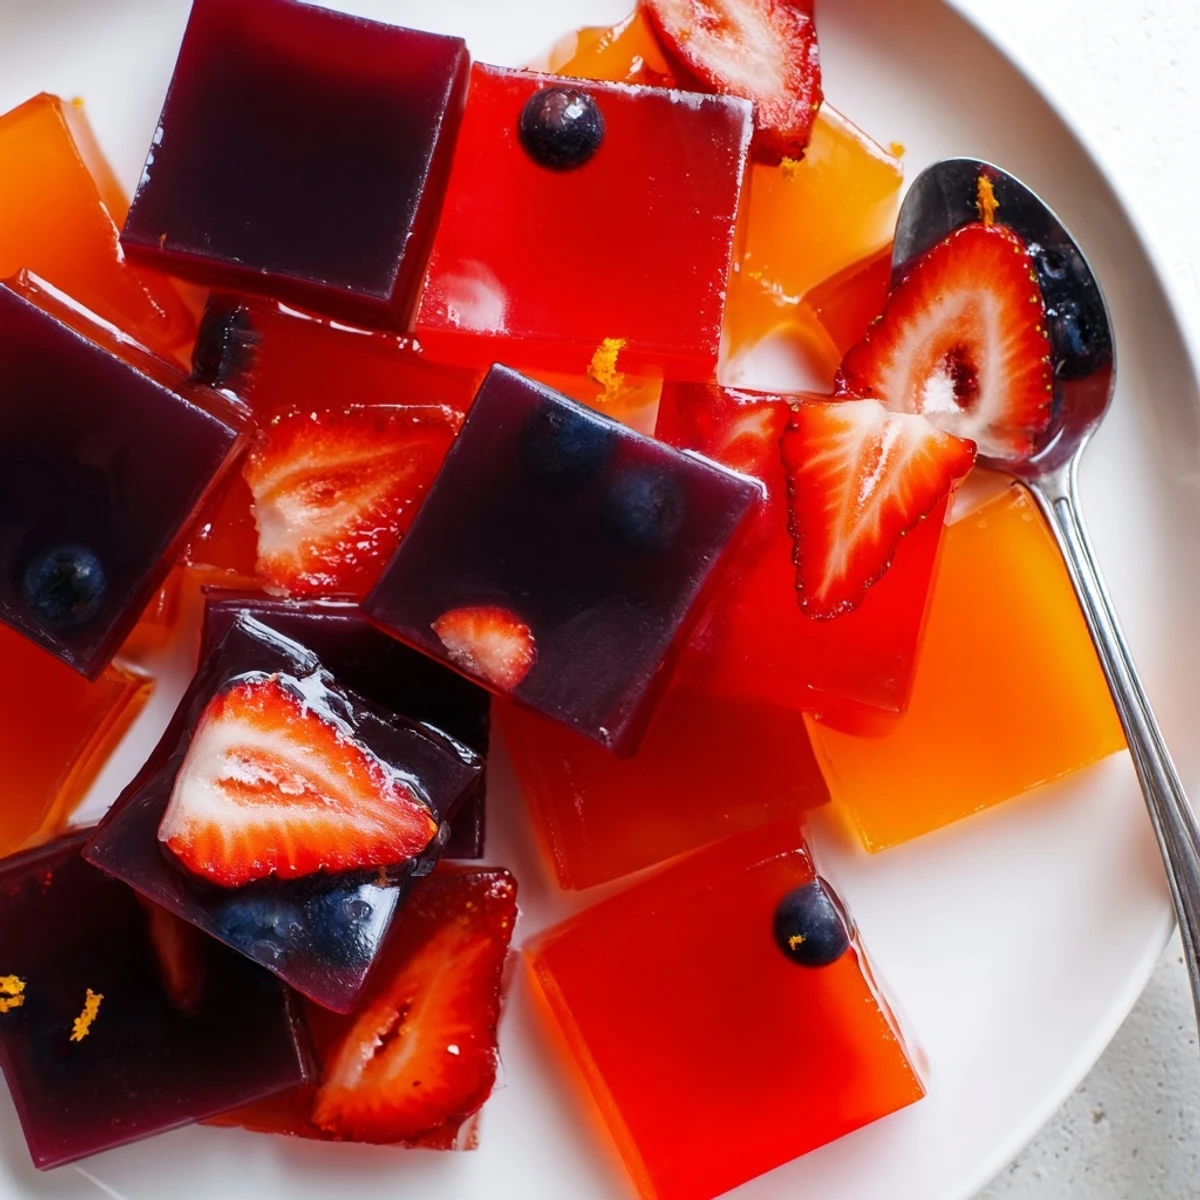
 There is something quietly wonderful about opening the fridge and finding a tray of jewel colored jellies waiting like a small gift you gave yourself earlier.
Picking the Right Juice
Cloudy apple juice gives a soft golden jelly with a mild sweetness that pairs well with a little extra lemon. Berry blends create a deep magenta that looks stunning in translucent molds. Avoid pineapple, kiwi, or mango juice because enzymes in them prevent gelatin from setting, a lesson I learned the hard way with a saucepan of expensive soup.
Storing and Serving
Keep them in an airtight container in the refrigerator and they hold their texture for up to five days, though mine rarely survive past day two. A light dusting of powdered sugar right before serving makes them feel unexpectedly elegant for a dinner party.
A Few Final Thoughts
Silicone molds are worth the small investment because they release the jellies cleanly with no prying or breaking. If you only have a baking dish, line it with parchment and lightly oil the surface so nothing sticks.
- Agar agar works as a vegan substitute but the texture will be firmer and slightly more brittle.
- Layer two different juice flavors by pouring one, chilling until tacky, then adding the second.
- Always serve these chilled because they weep and soften at room temperature.
 Pin it
 Make a double batch on a quiet Sunday and tuck them into the fridge. Your future self will understand exactly why.
Recipe Q&A Section
- → Can I use frozen fruit juice instead of fresh?
-
Yes, frozen fruit juice works well. Thaw it completely and strain out any pulp or solids before measuring to ensure a smooth, clear jelly that sets properly.
- → Why won't my jellies set firmly?
-
The most common reason is insufficient gelatin or not allowing enough chilling time. Make sure the gelatin fully blooms and dissolves over low heat, and refrigerate for at least two hours. Using a higher juice-to-gelatin ratio can also weaken the set.
- → Can I make these jellies vegan?
-
You can replace the gelatin and collagen with agar agar powder. Use approximately two and a half tablespoons of agar agar, but note that the texture will be slightly firmer and more brittle, and you will lose the collagen protein benefit.
- → How should I store leftover jellies?
-
Keep them in an airtight container in the refrigerator for up to five days. Avoid leaving them at room temperature for extended periods, as they will soften and may weep moisture.
- → What type of collagen powder works best?
-
Unflavored collagen peptides dissolve most cleanly without altering the fruit taste. Avoid flavored or marine collagen products that may clash with the juice you have chosen.
- → Can I layer different juice flavors?
-
Absolutely. Pour one flavor into the molds, let it set partially in the fridge for about 45 minutes, then add a second juice layer on top. This creates a beautiful multi-colored effect with complementary flavors.