 Pin it
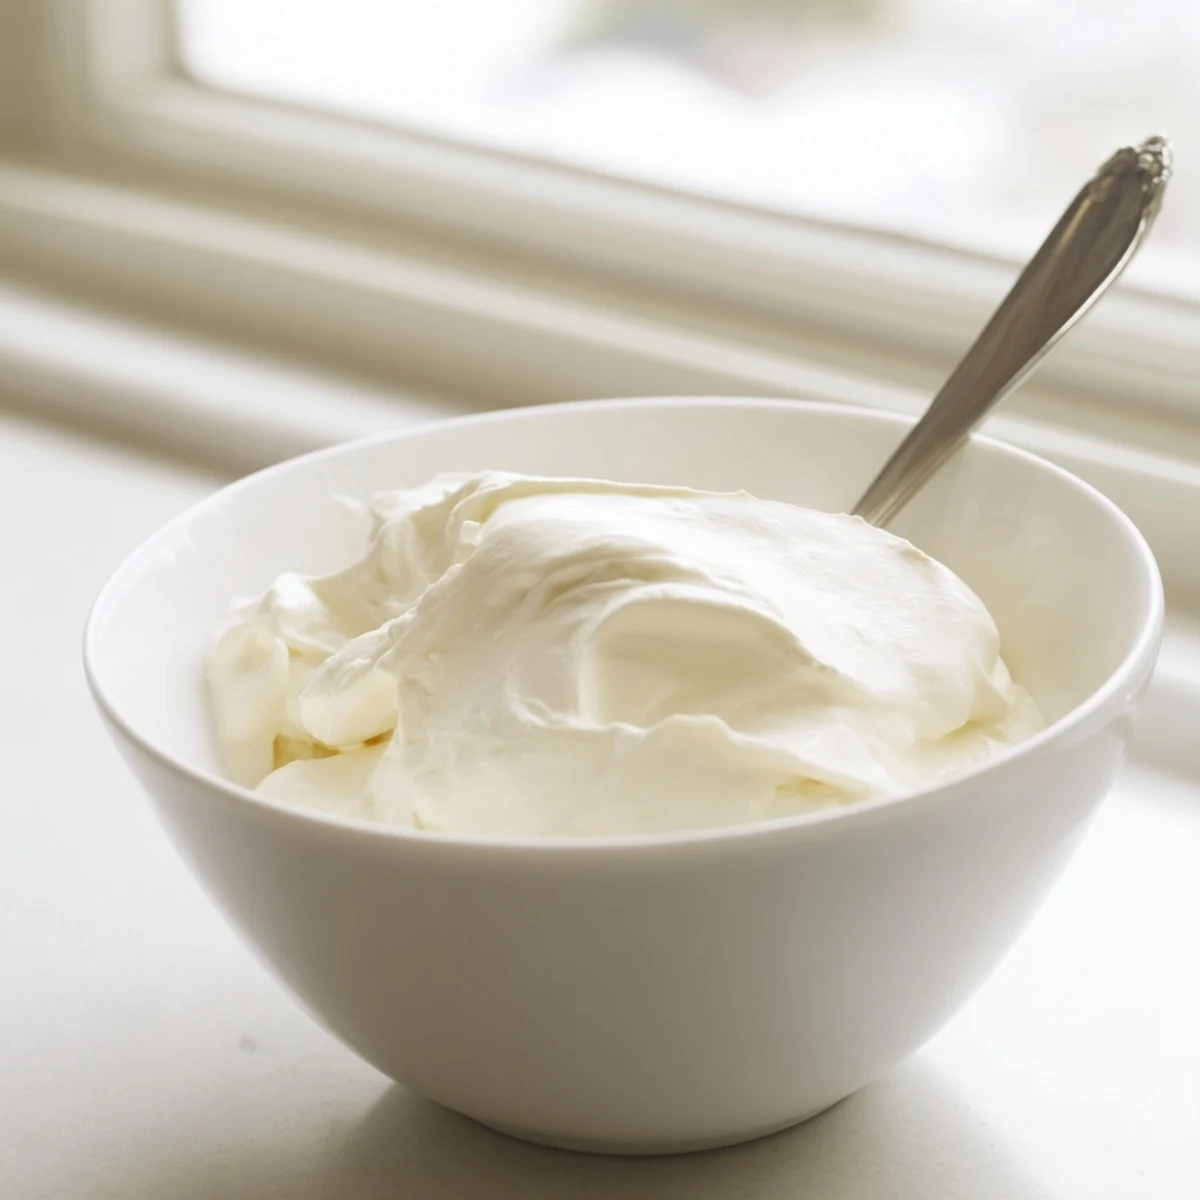
 This homemade yogurt requires just two ingredients — whole milk and a spoonful of plain yogurt with live active cultures. Gently heat the milk to 85°C, then cool it to around 43°C before stirring in the starter.
Once mixed, pour the preparation into clean jars and let it incubate in a warm spot for 8 to 12 hours. The longer it sits, the tangier and firmer it becomes. After chilling in the refrigerator for a couple of hours, you'll have silky, creamy yogurt ready to enjoy.
Serve it topped with fresh fruit, honey, or granola for breakfast, or use it as a base for savory dips and sauces. Save a few spoonfuls to culture your next batch — it keeps beautifully for up to one week refrigerated.
My kitchen smelled like a warm dairy farm the morning I decided to stop buying yogurt altogether. It was a Tuesday, nothing special, and I had a liter of milk threatening to expire staring me down from the fridge. Figured I had nothing to lose except a dollar's worth of milk and fifteen minutes of my time.
I left my first batch incubating inside the oven with just the pilot light on and forgot about it until the next morning. The spoon stood straight up when I dipped it in, and I actually laughed out loud in an empty kitchen at six in the morning.
Ingredients
- 1 liter whole milk: Whole milk gives you that luxuriously thick, custardy texture but low fat works too if you prefer a lighter result.
- 2 tablespoons plain yogurt with active cultures: This is your starter and the only living part of the whole process, so check the label for live active cultures and nothing flavored or sweetened.
Instructions
- Heat the milk gently:
- Pour the milk into a saucepan over medium heat and bring it up to 85 degrees Celsius, stirring now and then so the bottom does not scorch. You will see small bubbles forming at the edges but pull it off before a full boil happens.
- Cool it down patiently:
- Let the milk drop to between 43 and 45 degrees Celsius, which takes about twenty minutes and is the perfect window for your cultures to survive. Dip your clean finger in and if it feels pleasantly warm like bath water, you are close.
- Wake up the starter:
- In a small bowl, whisk the yogurt starter with a few spoonfuls of the cooled milk until perfectly smooth with no lumps hiding in there. This step tempers the cultures so they do not shock when they hit the full volume of milk.
- Marry them together:
- Pour the starter mixture back into the saucepan and stir with a gentle sweeping motion for about a minute to distribute the cultures evenly throughout. Think of it as introducing old friends to a new neighborhood.
- Find a warm home for incubation:
- Transfer the mixture into a clean container or divide it among jars, cover loosely, and tuck them into a warm spot for 8 to 12 hours. A turned off oven with the light switched on becomes a cozy little incubator.
- Chill before you dig in:
- Once set to your liking, move the yogurt to the refrigerator for at least two hours so it firms up properly and the flavors mellow into something creamy and wonderful.
 Pin it
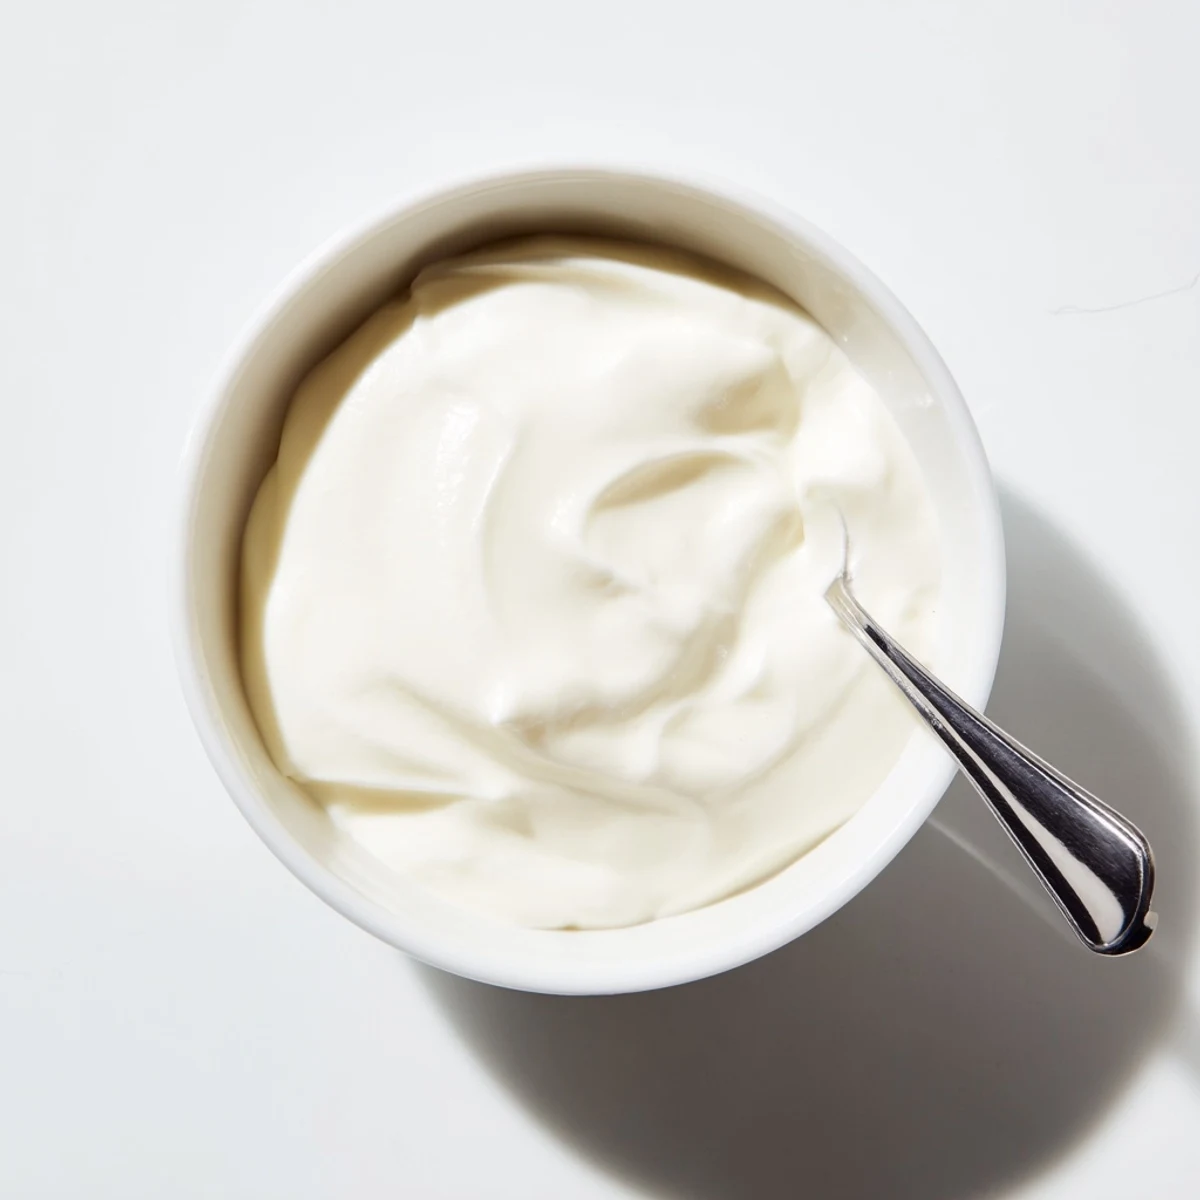
 I started saving a small jar from each batch to use as the next starter, and somehow that simple rhythm made Monday mornings feel a little less harsh. There is something deeply grounding about feeding yourself from a cycle you created.
Getting That Thick Greek Style Consistency
If spoonable thickness is what you are after, line a strainer with cheesecloth and let your finished yogurt drain in the fridge for a few hours. The whey that drips out can go into smoothies or bread dough, so nothing goes to waste.
Ways to Dress It Up
A drizzle of honey and a handful of granola turns a plain bowl into something you would pay twelve dollars for at a cafe. Fresh berries in summer, stewed apples in fall, and a pinch of cinnamon in winter keep it interesting all year round.
Keeping Your Yogurt Alive and Happy
Homemade yogurt stays good in the fridge for about a week, though in my house it rarely lasts that long. A few things to keep in mind as you make this a habit.
- Always use a clean spoon when scooping from your batch to avoid introducing unwanted bacteria.
- Save your starter from a fresh batch rather than one nearing the end of its fridge life.
- Trust your nose first and foremost, if something smells off, it probably is.
 Pin it
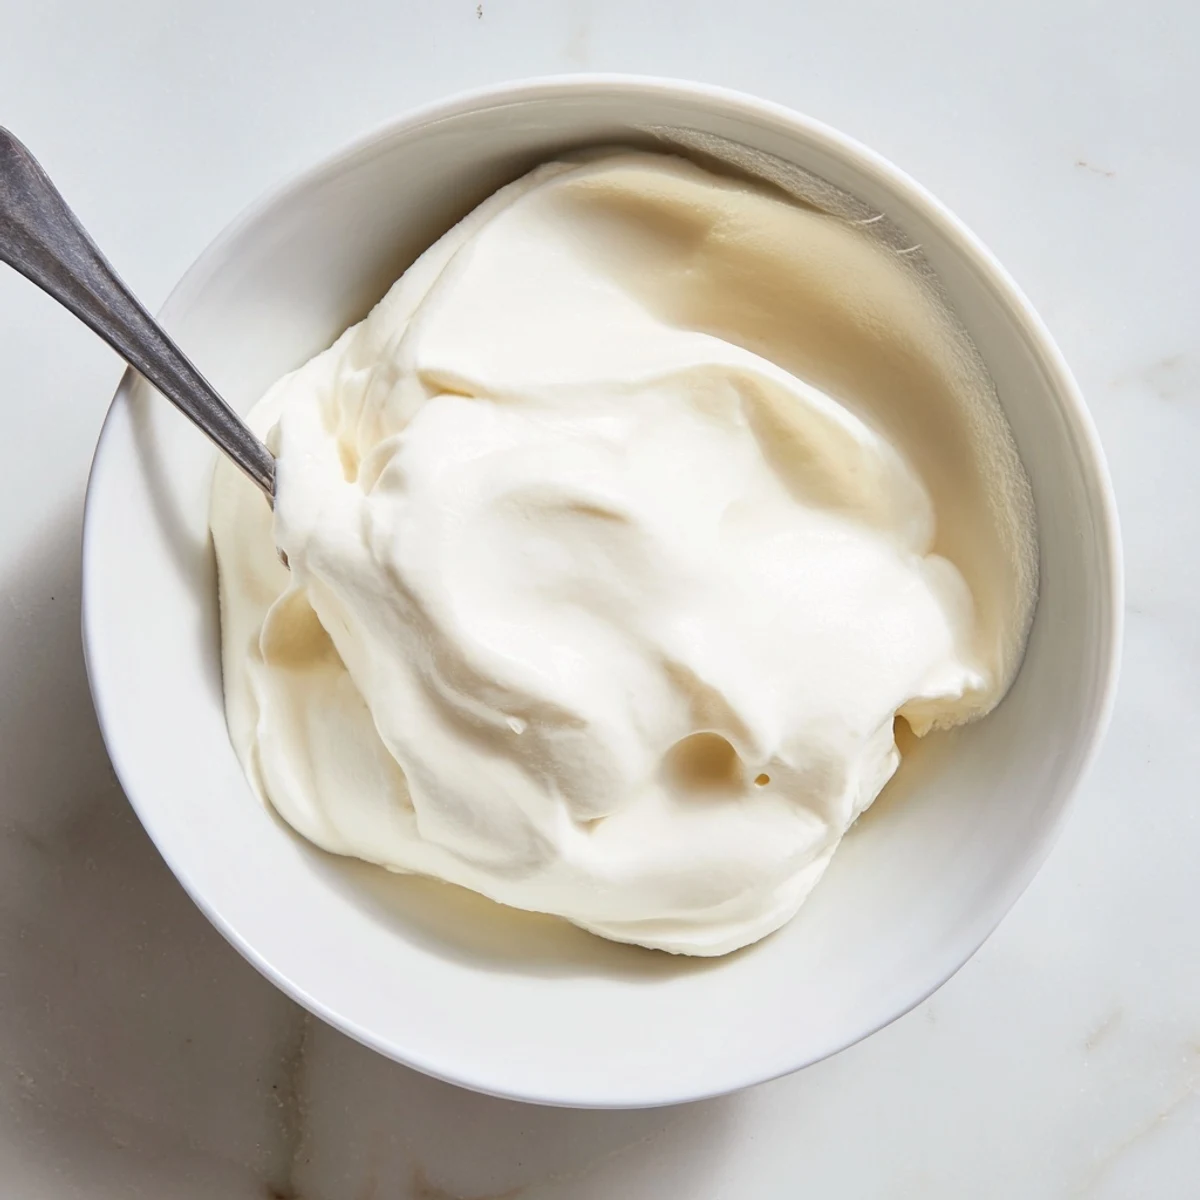
 Once homemade yogurt becomes part of your rhythm, you will wonder why you ever settled for anything from a plastic cup. It asks almost nothing of you and gives back so much.
Recipe Q&A Section
- → What type of milk works best for making yogurt?
-
Whole milk produces the thickest, creamiest results, but low-fat milk also works well. Avoid ultra-pasteurized milk if possible, as the high-heat processing can affect culturing. For dairy-free versions, use a plant-based milk paired with a compatible vegan starter.
- → Why does the milk need to be heated to 85°C first?
-
Heating the milk to 85°C (185°F) denatures the proteins, which helps the yogurt set properly and achieve a smoother, thicker texture. It also kills any competing bacteria that could interfere with the culturing process.
- → How do I maintain a warm environment for incubation?
-
A turned-off oven with the interior light switched on provides gentle, consistent warmth. You can also use a dedicated yogurt maker, a thermos, or wrap the container in a towel and place it near a warm spot in your kitchen. The ideal incubation temperature is between 40°C and 45°C.
- → Can I reuse my homemade yogurt as a starter for the next batch?
-
Yes, saving a few tablespoons from your current batch works perfectly as a starter for the next one. However, after several generations the cultures may weaken, so it's best to start fresh with a commercial starter every four to five batches for consistent results.
- → How can I make my yogurt thicker?
-
For a Greek-style consistency, strain the finished yogurt through a cheesecloth or fine-mesh sieve lined with paper towels for several hours in the refrigerator. The longer you strain, the thicker it becomes. You can also add a tablespoon of powdered milk during heating for extra body.
- → How long does homemade yogurt last in the refrigerator?
-
Properly stored in an airtight container, homemade yogurt stays fresh for up to one week. Always use a clean spoon when scooping out portions to avoid introducing bacteria that could cause premature spoilage.
