 Pin it
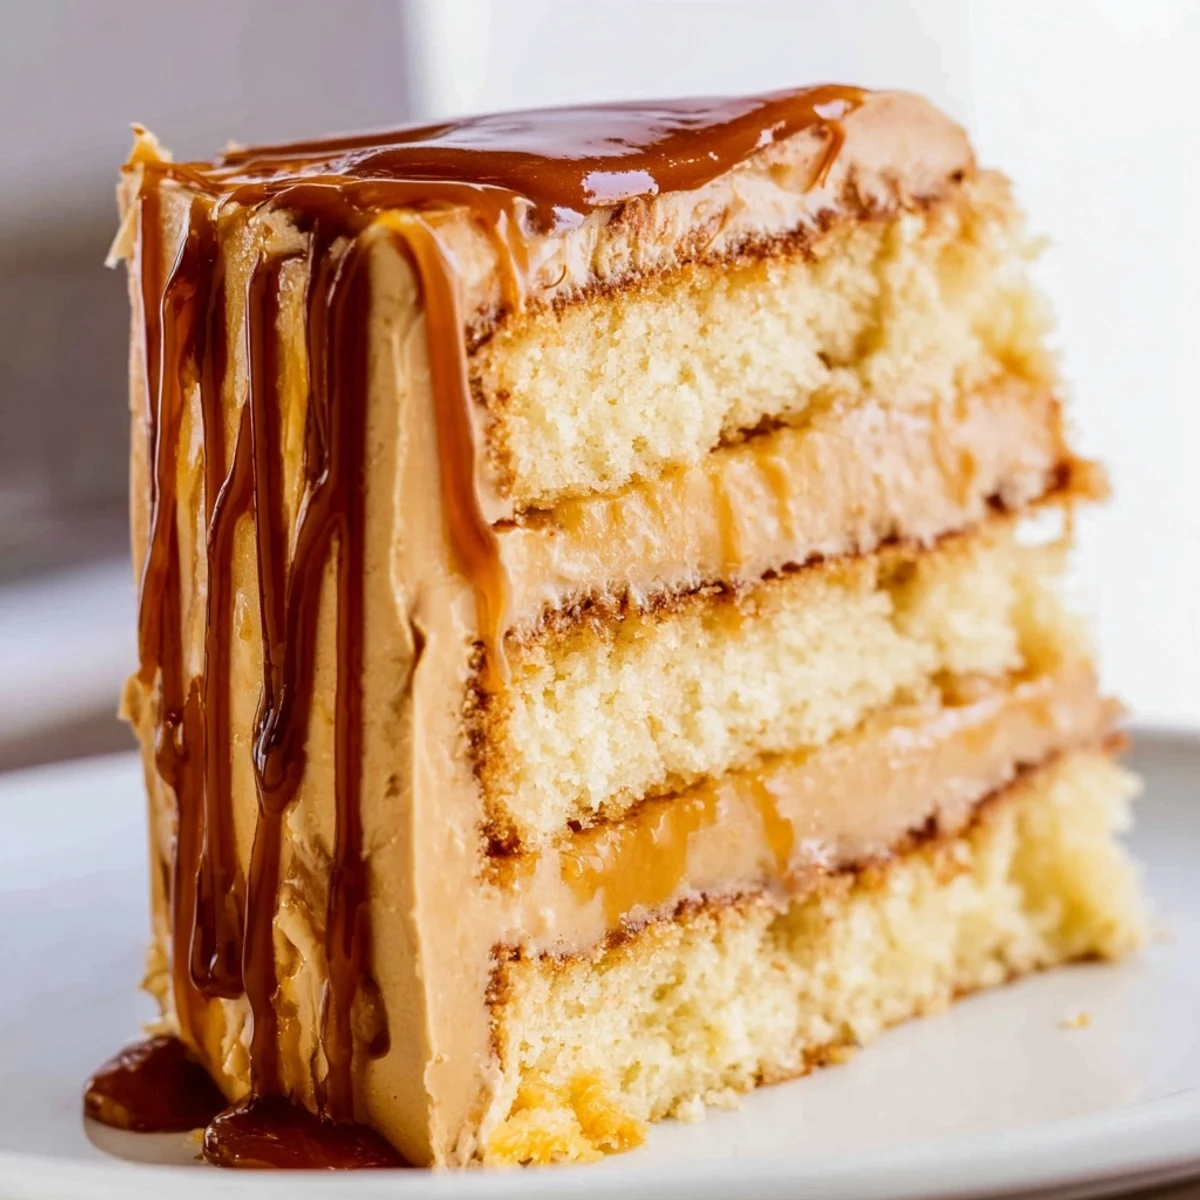
 This decadent caramel cake features three tender, buttery layers infused with vanilla, topped with a luxuriously smooth caramel frosting and finished with a glossy caramel drizzle. The homemade caramel sauce adds depth with its golden amber color and perfectly balanced sweet-salty profile.
Ideal for birthdays, anniversaries, or any celebration calling for something truly special. The cake requires moderate baking skills, particularly when preparing the caramel sauce—watch carefully as it transforms from clear to golden amber.
Chill for 30 minutes before serving to achieve clean, professional slices. The finished cake keeps beautifully for 3-4 days refrigerated.
The first time I attempted caramel from scratch, I watched sugar transform from sandy white to molten gold with something like awe. My kitchen filled with that distinctive buttery sweetness, and I knew this cake would become the one I turned to for life's sweetest celebrations. There's something almost magical about watching simple ingredients melt into liquid amber.
I made this cake for my sister's birthday last year, and the way her eyes lit up when she saw those glossy caramel drips down the sides was absolutely worth every minute of stirring. My husband kept finding excuses to walk through the kitchen while the caramel was bubbling, drawn in by that unmistakable scent. Now it's become our family's request for everything from graduations to quiet Sunday dinner celebrations.
Ingredients
- All-purpose flour: The backbone of this tender cake, providing structure while keeping each bite soft and velvety
- Baking powder: Essential for lift, giving the cake its delicate crumb and preventing any density
- Salt: A crucial enhancer that balances sweetness and intensifies the caramel flavors
- Unsalted butter: Room temperature butter creates the perfect airy creamed base for a tender, moist cake
- Granulated sugar: Sweetens the cake while creating a tender crumb and beautiful golden color
- Large eggs: Must be room temperature to emulsify properly and create structure
- Vanilla extract: Pure extract adds depth and warmth that complements the caramel notes
- Whole milk: Adds moisture and richness, creating a velvety tender cake texture
- Granulated sugar for caramel: Melting sugar creates the foundation of that gorgeous amber sauce
- Water: Helps dissolve sugar evenly for smooth caramel without graininess
- Unsalted butter for caramel: Cubed cold butter creates that luxurious silky finish and rich flavor
- Heavy cream: Room temperature cream prevents seizing and adds decadent body to the caramel
- Powdered sugar: Sifted sugar ensures silky smooth frosting without any lumps
- Prepared caramel sauce: The star ingredient that transforms ordinary buttercream into something extraordinary
Instructions
- Prepare your cake pans:
- Properly greased and lined pans are your insurance against sticking, ensuring those beautiful layers release perfectly every time
- Whisk your dry ingredients:
- This step ensures even distribution of leavening, preventing any bitter pockets of baking powder in your finished cake
- Cream butter and sugar:
- Spend the full 3 to 4 minutes here beating until the mixture looks pale and fluffy, creating the tender airy texture that makes this cake exceptional
- Add eggs one at a time:
- This slow incorporation prevents the batter from breaking and ensures each egg fully emulsifies for maximum structure
- Alternate wet and dry ingredients:
- Starting and ending with flour prevents overmixing while ensuring everything combines into a smooth batter
- Bake to golden perfection:
- Your kitchen will smell incredible, and those toothpick tested centers tell you the cake is perfectly set through
- Make the caramel sauce:
- Resist the urge to stir, simply swirl the pan occasionally and watch for that perfect amber color that signals deep flavor development
- Whisk in butter and cream:
- Stand back slightly as you add these, and whisk continuously until the sauce becomes impossibly smooth and glossy
- Prepare the caramel frosting:
- Room temperature ingredients and sifted powdered sugar create that silky pipeable texture that spreads like a dream
- Assemble your masterpiece:
- Work generously but patiently, spreading frosting between layers then coating the entire cake before adding those signature caramel drips
- Chill before serving:
- This resting period firms the frosting for cleaner slices and allows all those flavors to meld together beautifully
 Pin it
 After my third attempt at caramel sauce, I finally understood why pastry chefs develop such a relationship with sugar. The patience required, the attention to color, the way it rewards you for staying present in the moment, there's something almost meditative about the process. This cake taught me that some things in the kitchen cannot be rushed, and that's exactly what makes them worth serving to the people you love most.
Making Caramel Without Fear
The secret to foolproof caramel is using a heavy bottomed saucepan and resisting the urge to stir. Swirling the pan instead distributes heat evenly while allowing those beautiful amber tones to develop naturally. I've learned that even slightly overcooked caramel still tastes incredible, so don't let fear of failure stop you from trying.
Assembly Made Simple
Chill your cake layers for 30 minutes before frosting, and they'll be much easier to work with. Use an offset spatula and apply a thin crumb coat first, then chill for 15 minutes before the final coat. This simple technique transforms potentially frustrating moments into a genuinely relaxing decorating experience.
Serving Suggestions
This cake reaches its absolute peak when served at cool room temperature, allowing the frosting to soften slightly while maintaining structure. The texture contrast between tender cake and silky caramel becomes most pronounced about 30 minutes after removing from refrigeration.
- Toast your cake knife under hot water and wipe dry between slices for the cleanest cuts through that gooey caramel
- Portion this cake slightly smaller than you think you should, because each slice is incredibly rich and satisfying
- Store any leftovers in the refrigerator but let slices come to room temperature before serving for the best experience
 Pin it
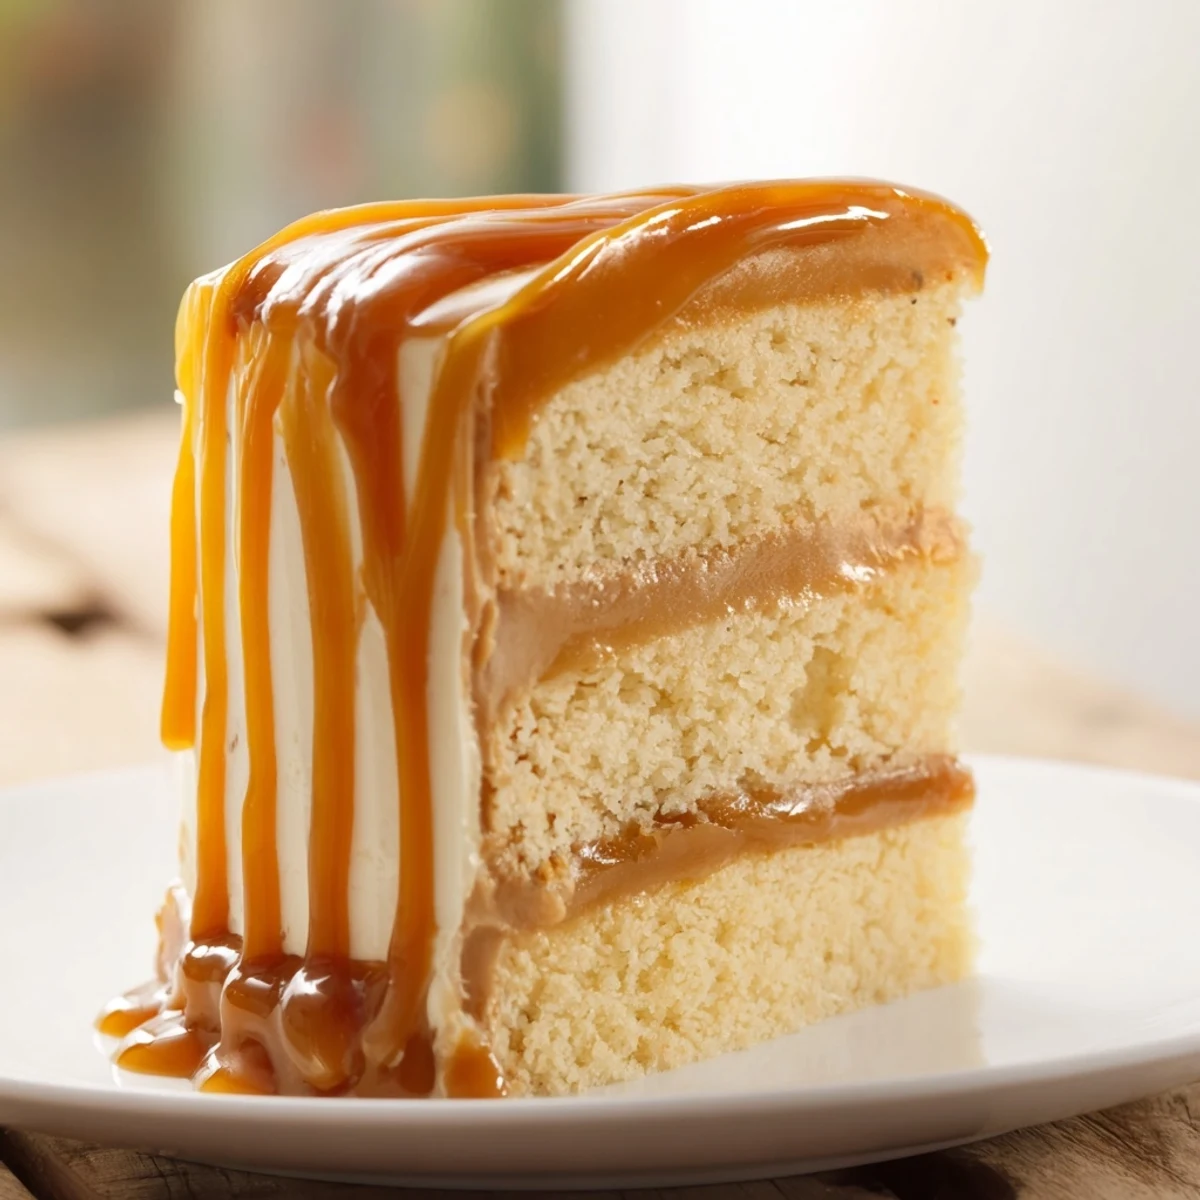
 There's something deeply satisfying about serving a cake that looks this impressive, especially when you know exactly what went into making it so special. Every caramel drip, every tender bite, tells the story of time spent creating something extraordinary.
Recipe Q&A Section
- → How do I prevent the caramel from burning?
-
Swirl the sugar-water mixture gently instead of stirring. Watch carefully as it turns amber—this happens quickly in the final 1-2 minutes. Remove from heat immediately once golden.
- → Can I make the caramel sauce ahead of time?
-
Yes, prepare the caramel sauce up to 1 week in advance. Store in an airtight container in the refrigerator. Warm slightly before using in frosting.
- → Why did my caramel turn grainy?
-
Sugar crystals forming on the sides of the pan cause graininess. Brush down the sides with a wet pastry brush during cooking, and avoid stirring once the sugar dissolves.
- → Can I use salted butter instead of unsalted?
-
Yes, but reduce the added salt in both the caramel and frosting by half. This prevents the final result from becoming overly salty.
- → How do I know when the cake layers are done?
-
Insert a toothpick into the center—it should come out clean or with just a few moist crumbs. The edges should pull slightly away from the pan sides.
- → Can I freeze the assembled cake?
-
Freeze unfrosted layers wrapped tightly for up to 3 months. Once frosted, freeze the whole cake uncovered for 1 hour, then wrap well. Thaw in refrigerator overnight.
