 Pin it
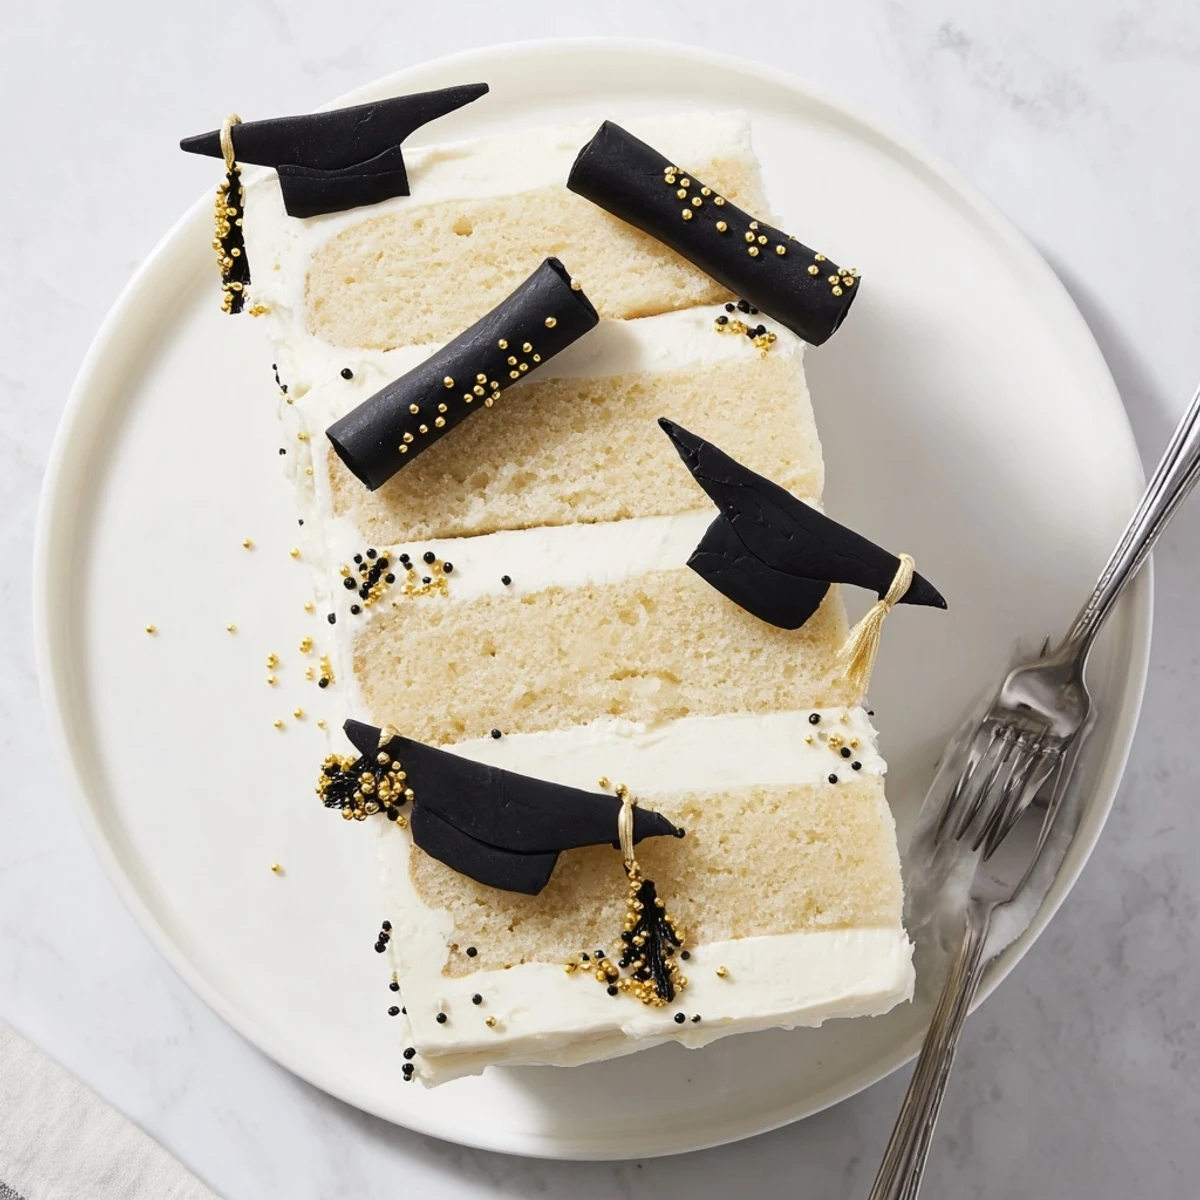
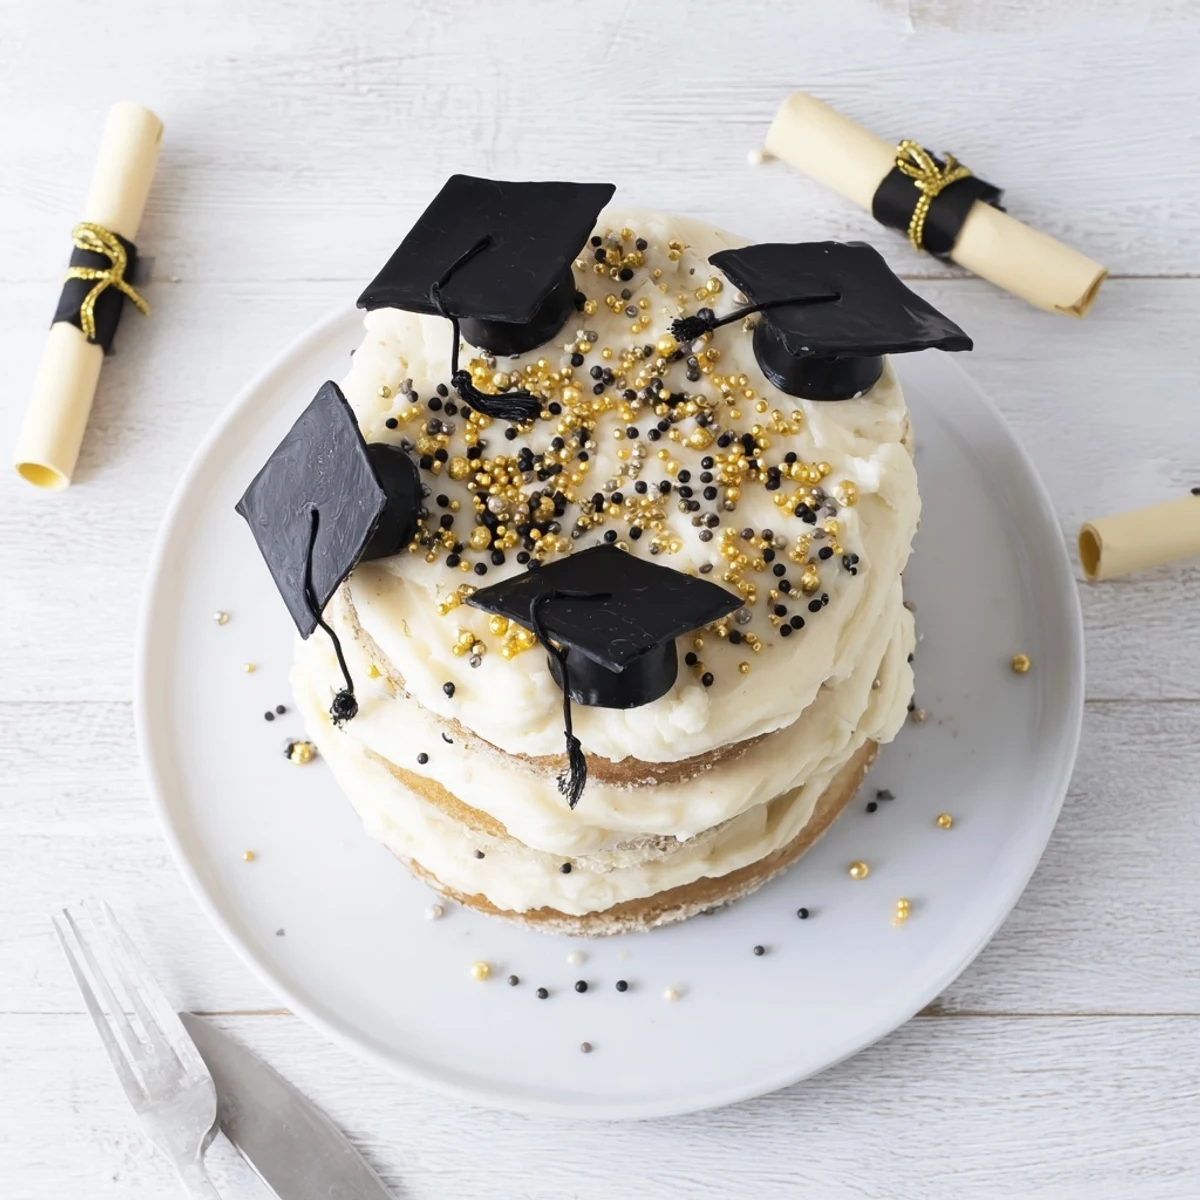
 This impressive three-tier vanilla sponge features moist, tender layers baked to golden perfection. The creamy vanilla buttercream frosting creates a smooth canvas for personalized graduation touches including fondant caps, diplomas, and edible gold accents. Perfect for feeding a crowd of 12, this celebration centerpiece balances classic American flavors with festive presentation.
The straightforward process involves creaming butter and sugar, alternating dry ingredients with whole milk for that signature tender crumb, then crowning each layer with silky buttercream. Customizable with school colors and graduate's name or class year.
The kitchen smelled like vanilla and sugar the morning my niece graduated high school, and I had been up since dawn trying to get the layers even. She walked in still wearing her pajamas, looked at the mess of flour on my counter, and said it already looked like a celebration. That cake was far from perfect, lopsided and barely frosted, but it disappeared within twenty minutes at her party. Every graduation since, someone in the family requests I make it again, and each time I get a little better at hiding the imperfections under enough buttercream.
My sister once caught me at two in the morning trying to shape fondant graduation caps with a butter knife and a glass of wine, and we both laughed until our sides hurt. She grabbed a second knife and somehow her caps turned out even worse than mine, which made the whole thing even better. We ended up sticking the lumpy caps on top anyway, and the kids at the party thought they were hilarious. That is the real secret to this cake: it carries the energy you put into it, not the perfection.
Ingredients
- All-purpose flour (2 3/4 cups, 340 g): The backbone of the sponge, and sifting it first makes a noticeable difference in how light the crumb turns out.
- Baking powder (1 tablespoon): Do not skip checking the expiration date, because stale baking powder has ruined more of my cakes than I care to admit.
- Salt (1/2 teaspoon): Just enough to balance the sweetness and wake up the vanilla flavor.
- Unsalted butter, softened (1 cup, 225 g for cake and 1 1/2 cups, 340 g for buttercream): Leave it out on the counter for at least an hour, because cold butter will leave you with lumpy batter and broken frosting.
- Granulated sugar (2 cups, 400 g): Creaming this with butter properly is what gives the cake its lift and tenderness.
- Large eggs (4): Room temperature eggs blend into the batter more smoothly and help everything emulsify.
- Vanilla extract (2 teaspoons for cake and 2 teaspoons for buttercream): Use the real stuff if you can, because imitation vanilla leaves a flat, chemical aftertaste that no amount of sugar can hide.
- Whole milk (1 cup, 240 ml): The fat content matters here, so avoid substituting skim milk if you want that rich, soft texture.
- Powdered sugar, sifted (6 cups, 720 g): Sifting is nonnegotiable for silky buttercream, and I learned this the hard way after serving gritty frosting at a birthday dinner.
- Heavy cream (1/4 cup, 60 ml): This thins the buttercream to a spreadable consistency and adds a luxurious mouthfeel.
- Fondant or modeling chocolate (gold, black, or school colors): Optional but transforms a plain layer cake into something worthy of a graduation stage.
- Edible gold pearls or sprinkles: A small handful goes a long way toward making the whole thing feel festive without much effort.
Instructions
- Prepare your pans and oven:
- Preheat the oven to 350 degrees F (175 degrees C), then grease three 8-inch round pans and line the bottoms with parchment paper so nothing sticks when you flip them out later.
- Whisk the dry ingredients:
- In a medium bowl, whisk together the flour, baking powder, and salt until evenly distributed and you see no clumps.
- Cream butter and sugar:
- In a large bowl, beat the softened butter and granulated sugar together on medium high speed until the mixture turns pale, fluffy, and almost cloudlike, which usually takes about 3 to 4 minutes.
- Add eggs and vanilla:
- Add the eggs one at a time, mixing well after each one so the batter stays smooth, then stir in the vanilla extract until it is fully incorporated.
- Combine wet and dry:
- Add the flour mixture in three additions, alternating with the milk, starting and ending with the flour, and mix only until each addition disappears into the batter.
- Bake the layers:
- Divide the batter evenly among the three prepared pans, smooth the tops with a spatula, and bake for 25 to 30 minutes until a toothpick inserted in the center comes out clean.
- Cool completely:
- Let the cakes rest in their pans for 10 minutes, then turn them out onto wire racks and wait until they are completely cool to the touch before touching the frosting.
- Make the buttercream:
- Beat the softened butter until creamy, then gradually add sifted powdered sugar on low speed before pouring in the heavy cream, vanilla, and salt, and whipping everything on high for about 3 minutes until light and fluffy.
- Assemble the cake:
- Level the cooled cake layers with a serrated knife if they domed, then stack them with generous layers of buttercream between each one, pressing gently so they sit flat.
- Frost and decorate:
- Spread the remaining buttercream over the top and sides as smoothly as you can, then arrange fondant graduation caps, diplomas, edible gold pearls, and any personal touches like a name or class year.
 Pin it
 The best graduation cake I ever made was the one where I ran out of time and had to spread the frosting with the back of a spoon, and the graduate told me it was the most beautiful thing she had ever seen. Sometimes the food we make is really just the love we are trying to say out loud.
When Things Go Sideways
One year my oven ran hot without me realizing, and the tops of my layers cracked and browned too deeply. I simply trimmed off the dark edges with a knife, brushed the cakes with a little extra milk to restore moisture, and carried on with frosting. Nobody at the party noticed a thing, and I learned to always check my oven temperature with an inexpensive thermometer before baking anything important.
Making It Your Own
Swap out three quarters of a cup of flour for unsweetened cocoa powder and suddenly you have a chocolate graduation cake that tastes just as celebratory. You can also tint the buttercream with food coloring in the graduate's school colors, which is a small touch that makes people gasp when you carry the cake into the room.
Getting Ahead of the Rush
The cake layers freeze beautifully for up to a month if you wrap each one tightly in plastic wrap, which means you can bake on a Tuesday and decorate on a Saturday without stress. The buttercream also keeps in the refrigerator for a week, so you can make it ahead and simply rewhip it before spreading.
- Label your frozen layers with the date so you remember which batch to use first.
- Bring refrigerated buttercream back to room temperature before rewhipping or it will look curdled.
- Always assemble and decorate on the day you plan to serve for the freshest presentation.
 Pin it
 Every time I frost one of these cakes, I think about the kid standing at the end of a long hallway in a cap and gown, and I try to make the cake feel just as proud of them as the people cheering in the crowd. That is really all this recipe asks of you: make it with care, and it will be enough.
Recipe Q&A Section
- → How far in advance can I make the graduation cake?
-
Bake the sponge layers up to two days ahead, wrap tightly in plastic, and refrigerate. The buttercream can be prepared three days in advance and stored in an airtight container. Frost and decorate the cake 24 hours before the event for optimal freshness and texture.
- → Can I customize the colors for school spirit?
-
Absolutely. Gel food coloring blends seamlessly into the buttercream without affecting consistency. Divide frosting into batches and tint with your graduate's school colors. Fondant decorations also accept color beautifully for coordinated graduation caps, ribbons, and year numbers.
- → What's the best way to transport a layered graduation cake?
-
Place the finished cake on a sturdy cake board and box. Refrigerate until firm, about 30 minutes before transport. Keep the box flat and level on a non-slip mat in your vehicle. Avoid sudden stops or sharp turns. Once at the venue, refrigerate until 30 minutes before serving.
- → How do I achieve smooth buttercream sides?
-
Start with a thin crumb coat to seal in loose crumbs. Chill for 15 minutes until firm to the touch. Apply a generous final layer, then use an offset spatula and bench scraper held at a 45-degree angle. Smooth while rotating the turntable, heating the scraper with warm water for extra polish.
- → Can I make this dessert gluten-free?
-
Yes, substitute the all-purpose flour with a high-quality gluten-free 1:1 baking blend containing xanthan gum. The texture remains remarkably similar. Ensure all other ingredients, including fondant and sprinkles, are certified gluten-free. baking time may vary slightly.
- → What's the ideal serving size for this graduation celebration cake?
-
This three-layer beauty yields 12 generous portions. Slice with a sharp knife warmed under hot water, wiping clean between cuts. For larger crowds, consider baking two cakes or cutting slightly smaller slices. The rich buttercream and dense sponge satisfy even with modest portions.
