 Pin it
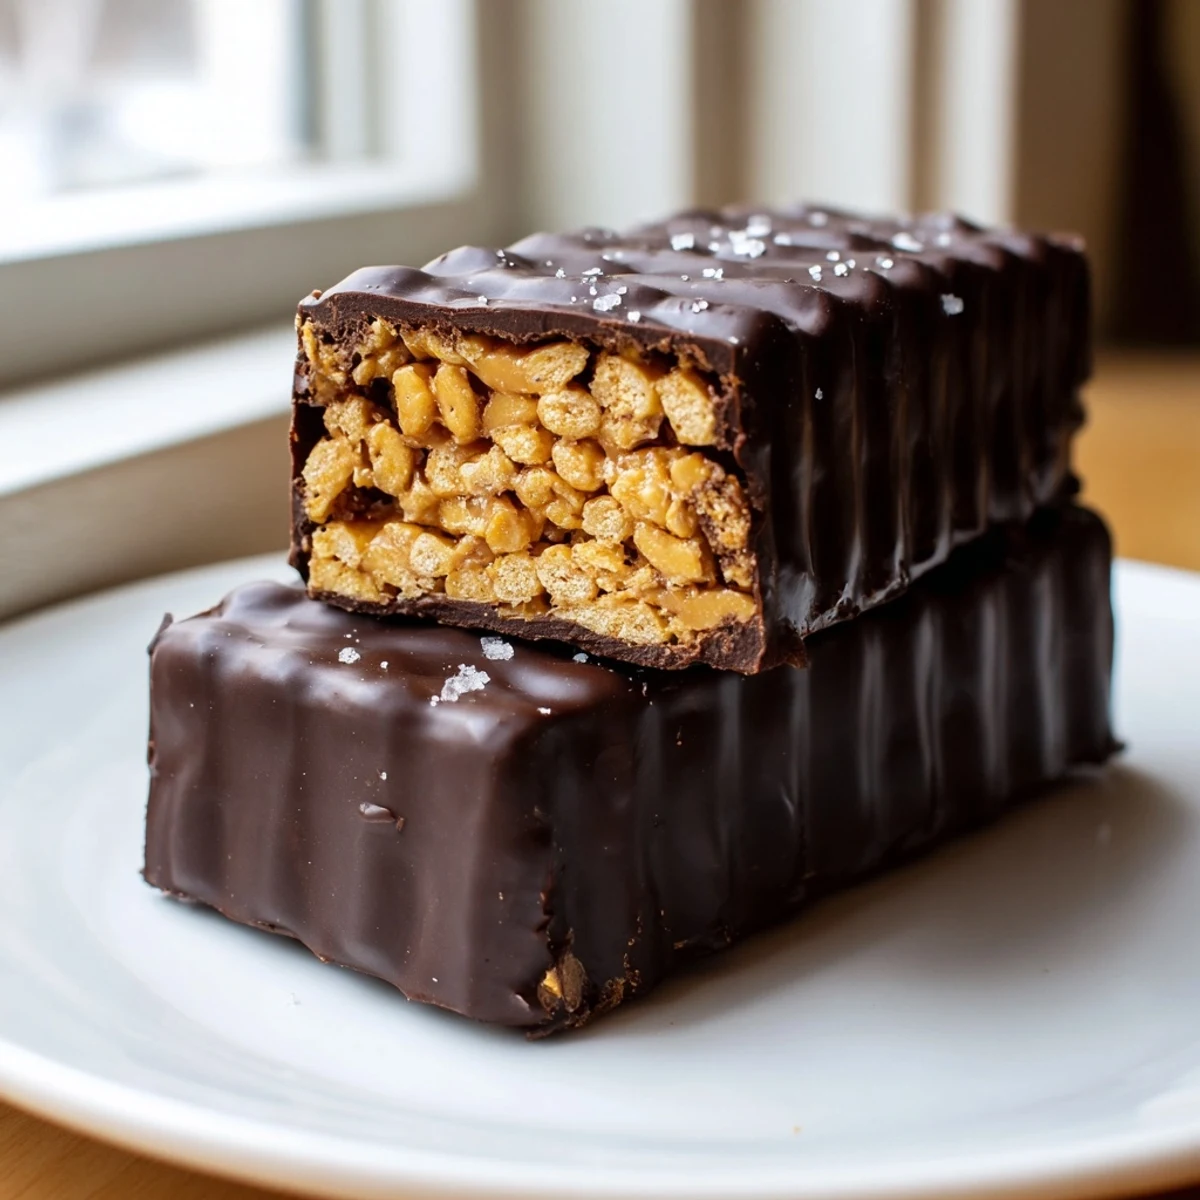
 These homemade Butterfinger bars capture everything you love about the classic candy — a shattering peanut butter crunch enrobed in glossy dark chocolate — but with simpler, wholesome ingredients.
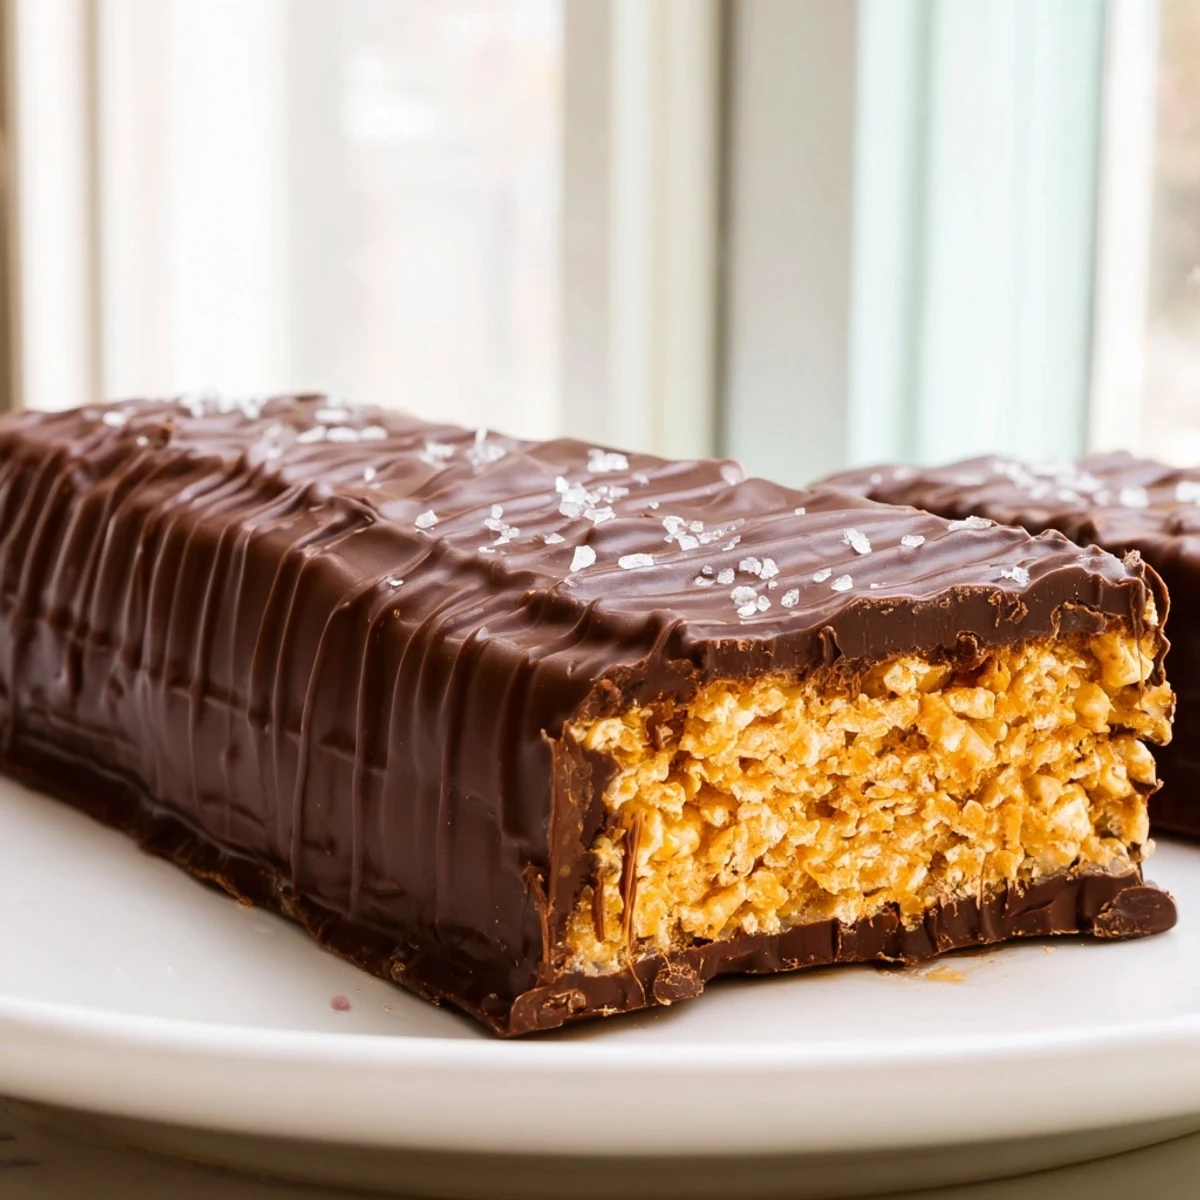
The crunch comes from crushed cornflakes folded into a warm peanut butter and maple syrup mixture. Once chilled and cut into bars, each piece gets fully dipped in melted dark chocolate mixed with a touch of coconut oil for the perfect snap.
Ready in about an hour with only 10 minutes of stovetop cooking, they're an easy weekend project that yields 16 satisfying bars.
The candy aisle at the grocery store always gets me, especially around Halloween when those orange and yellow Butterfinger packages are stacked everywhere. Something about that flaky peanut butter crunch inside a chocolate shell is impossible to resist. Last autumn I decided to stop resisting and start recreating, but with ingredients I actually felt good about eating. Twenty minutes of prep and a little freezer patience later, I had a tray of bars that disappeared faster than the store bought ones ever did.
My neighbor knocked on the door one afternoon while I was cutting these into bars, chocolate still glistening on my fingers. She took one bite, leaned against the doorframe, and declared she was never buying candy bars again. We stood there eating two each before she even went home.
Ingredients
- Natural creamy peanut butter: The only peanut butter worth using here is the kind with peanuts and maybe salt on the label, nothing else, because added oils make the mixture greasy instead of set.
- Pure maple syrup or honey: Maple syrup keeps it vegan and adds a gentle caramel note, while honey brings a rounder sweetness.
- Vanilla extract: A small splash rounds out the sweetness and makes the peanut butter taste more like dessert than breakfast.
- Cornflakes, lightly crushed: Crush them with your hands, not a processor, because you want irregular shards that mimic that signature Butterfinger flake, not dust.
- Sea salt: Just a pinch makes the peanut butter sing and balances the sweetness of the chocolate coating.
- Dark chocolate chips: Go for something around sixty percent cacao for a coating that snaps when you bite into it.
- Coconut oil: This thins the chocolate just enough for dipping and gives the shell a glossy finish once set.
Instructions
- Prep your pan:
- Line an eight by eight inch baking dish with parchment paper, letting the edges hang over like handles so you can lift the whole slab out later without fuss.
- Melt and marry:
- In a saucepan over medium low heat, stir the peanut butter and maple syrup together until they melt into one smooth, glossy mixture, about two to three minutes. Take it off the heat and stir in the vanilla and salt.
- Fold in the crunch:
- Gently fold the crushed cornflakes into the warm peanut butter mixture with a spatula, scooping from the bottom so every flake gets coated without crushing them further.
- Press and freeze:
- Spread the mixture into your prepared pan and press it flat and even with your spatula, then slide the whole thing into the freezer for twenty to thirty minutes until it holds its shape when touched.
- Cut into bars:
- Lift the slab out using the parchment overhang and set it on a cutting board, then slice it into sixteen bars with a sharp knife using one confident stroke per cut.
- Melt the chocolate:
- Combine the chocolate chips and coconut oil in a microwave safe bowl and heat in thirty second bursts, stirring between each, until the mixture is completely smooth and pourable.
- Dip and coat:
- Lower each bar into the melted chocolate, turning it with a fork to cover every side, then tap the fork gently on the bowl edge to shake off the excess before placing it on a parchment lined tray.
- Set and store:
- Refrigerate the dipped bars for fifteen to twenty minutes until the chocolate shell is firm to the touch, then transfer them to an airtight container kept in the fridge.
 Pin it
 I packed a handful of these in a tin and brought them on a road trip through Vermont last October. My husband and I ate them somewhere between barns covered in falling leaves, chocolate melting slightly against our fingers, and I realized this recipe had officially become part of our traditions.
A Few Words on Chocolate Choices
Dark chocolate is my default because its slight bitterness cuts through the sweet peanut butter layer in a way that milk chocolate never manages. That said, if you are making these for kids or for people who lean sweet, milk chocolate chips work too. Just know the bars will be sweeter overall, so maybe skip that extra sprinkle of salt on top.
Storing and Freezing
These bars live happily in the refrigerator for about a week, though honestly they rarely last that long in my house. For longer storage, layer them between sheets of parchment in a freezer safe container and they will keep for up to three months. Eat them straight from the freezer if you like a firmer crunch, or let them sit at room temperature for ten minutes if you prefer a softer bite.
Making Them Your Own
The beauty of a homemade candy bar is how easily you can riff on it once you know the basic technique. Think of this recipe as a starting point and let your pantry guide you.
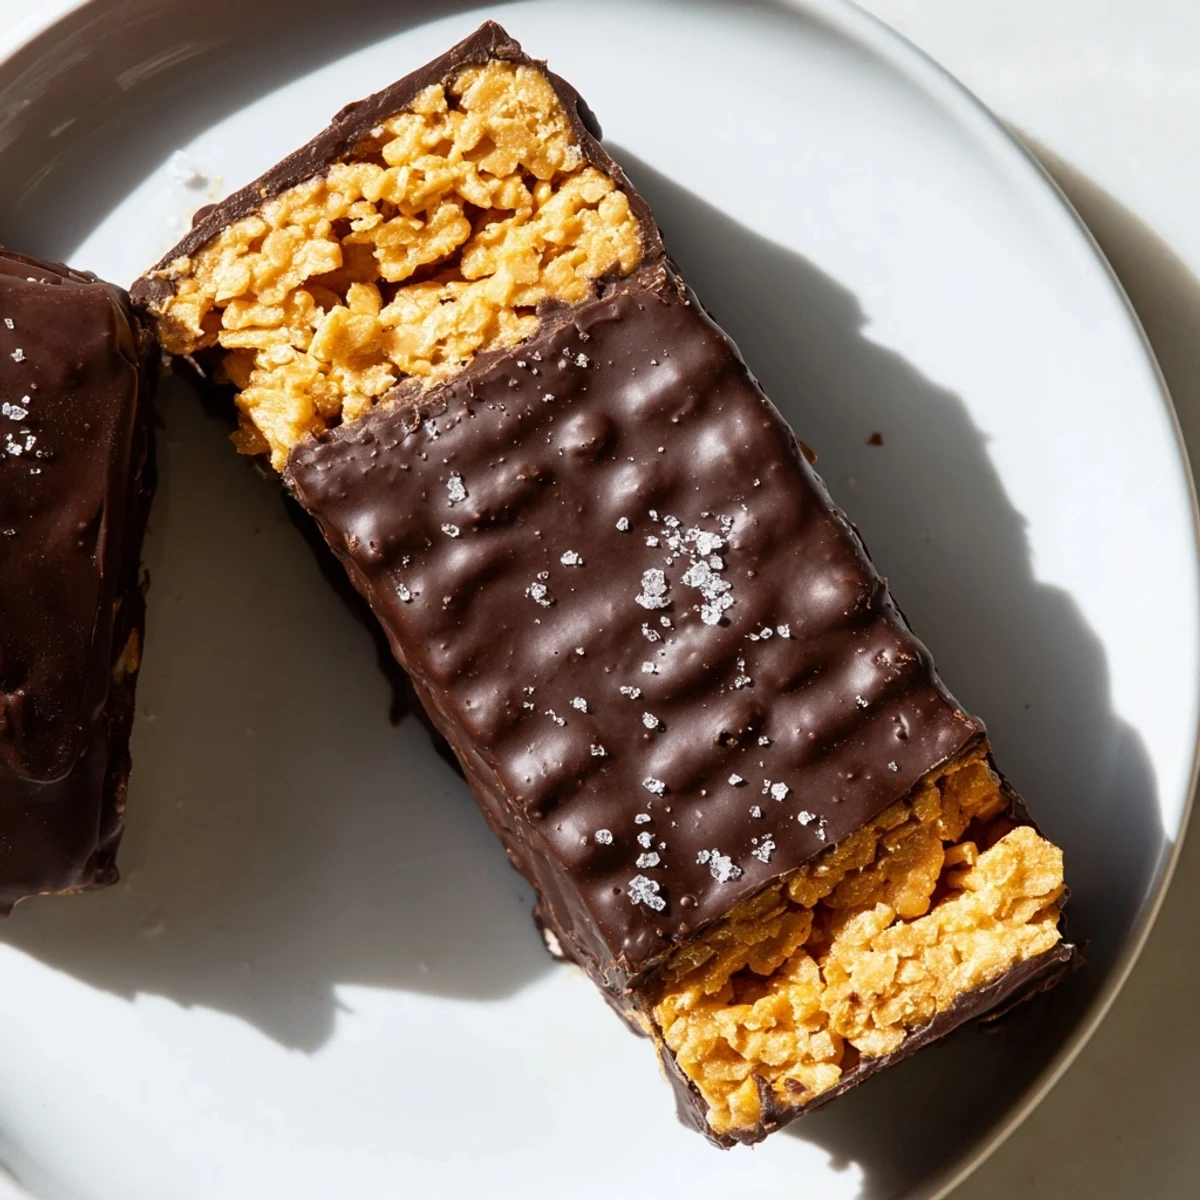
- Sprinkle flaky sea salt over the chocolate before it sets for a sweet and salty finish that people go wild for.
- Roll the edges of each bar in crushed peanuts or toasted coconut for extra texture and a bakery style look.
- Swap the peanut butter for almond butter if someone in your crowd has a peanut allergy, the method stays exactly the same.
 Pin it
 There is something deeply satisfying about making your own candy bars, knowing every single ingredient that went into them. Keep a batch tucked in the back of your fridge and you will always have a little something sweet worth reaching for.
Recipe Q&A Section
- → Can I make these Butterfinger bars vegan?
-
Yes. Use maple syrup instead of honey, and choose dairy-free dark chocolate chips. The rest of the ingredients are naturally plant-based.
- → Why are my bars falling apart when I cut them?
-
The peanut butter mixture needs adequate chilling time — at least 20 to 30 minutes in the freezer. If the bars are still soft, return them to the freezer for another 10 minutes before slicing with a sharp knife.
- → What can I substitute for cornflakes?
-
Rice Krispies work well as a gluten-free alternative. Crushed pretzels or graham cracker crumbs can also provide crunch, though the texture will differ from the classic Butterfinger snap.
- → How should I store the finished bars?
-
Keep them in an airtight container in the refrigerator for up to two weeks. For longer storage, freeze them layered between parchment paper for up to three months. Let frozen bars sit at room temperature for a few minutes before eating.
- → Can I use milk chocolate instead of dark chocolate?
-
Absolutely. Milk chocolate will give a sweeter, creamier coating closer to the original candy bar. Just note that milk chocolate softens faster at room temperature, so keep the bars chilled until serving.
- → Do I need to crush the cornflakes completely?
-
Lightly crush them — you want small pieces, not fine dust. Some texture variation is ideal for that authentic Butterfinger crunch. Place them in a zip-top bag and gently press with your hands or a rolling pin.
