
 Pin it
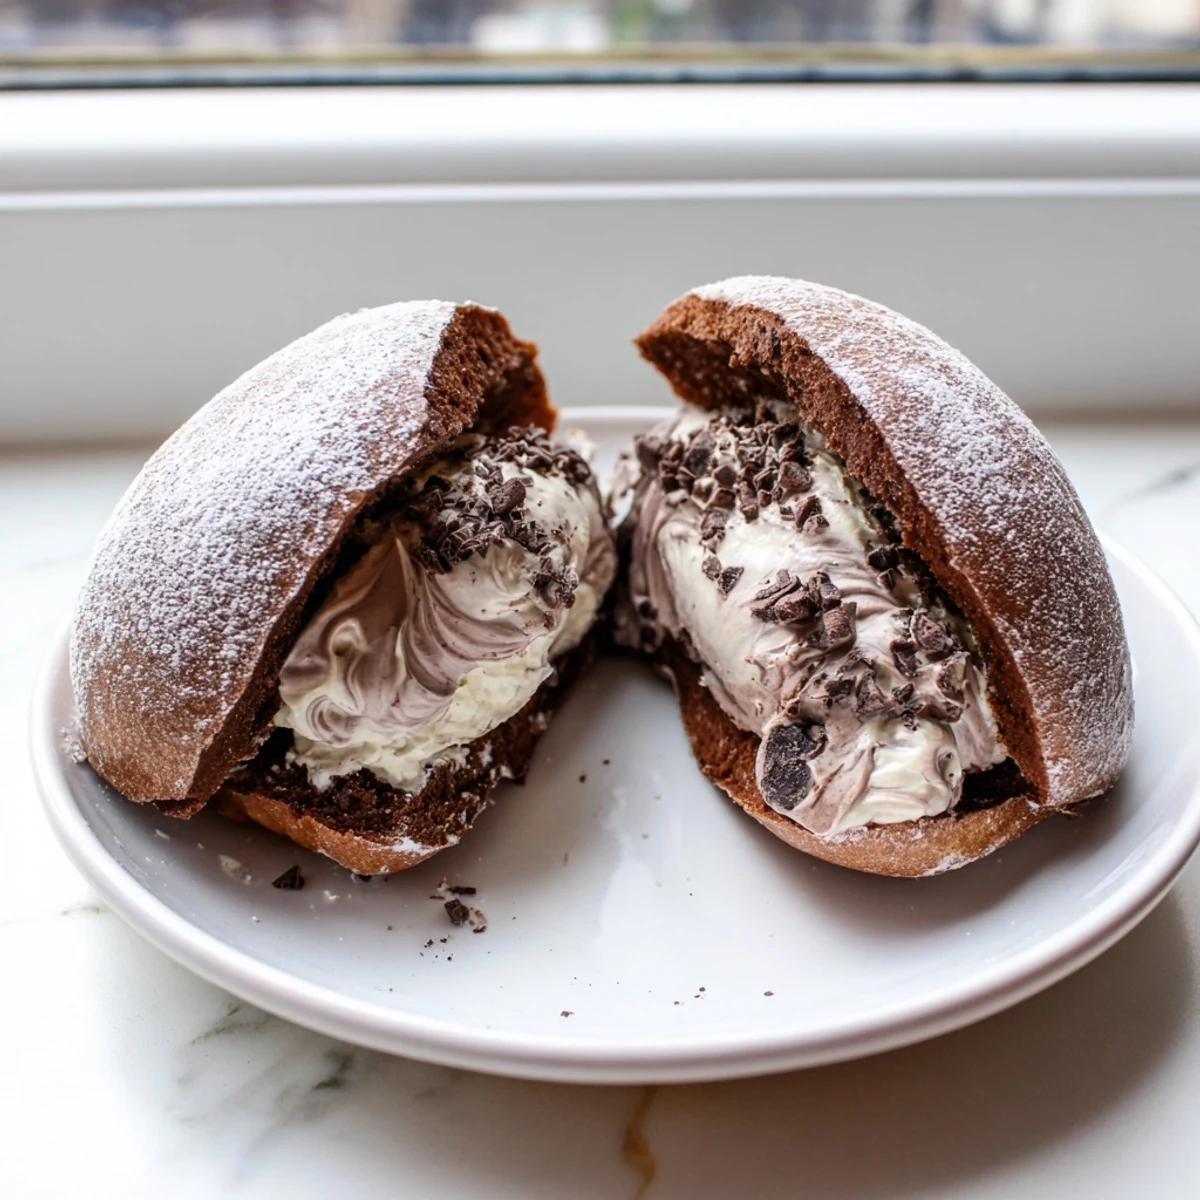
 Maritozzi are beloved Roman sweet buns, traditionally enjoyed at breakfast with a cappuccino. This chocolate version enriches a soft, pillowy dough with cocoa powder and chopped dark chocolate.
Once baked to golden perfection, each bun is sliced and generously filled with a velvety chocolate whipped cream made from heavy cream and melted dark chocolate. The result is an indulgent, bakery-worthy treat that brings the authentic flavors of an Italian pasticceria straight to your kitchen.
Plan ahead for rising time — the dough needs about two hours to double in size before shaping and a second shorter proof before baking.
The smell of cocoa and yeast hitting a warm kitchen on a lazy Sunday morning is enough to make anyone believe in small miracles. I stumbled across maritozzi in a tiny Roman bakery years ago and spent months trying to recreate that impossibly soft texture at home. These chocolate versions are what happened when I refused to stop experimenting until the dough was pillowy and the filling was almost obscenely rich. They are worth every minute of waiting for the dough to rise.
My neighbor Luca knocked on my door the morning I made my third batch, drawn by the smell drifting through the hallway. He stood in my kitchen eating two in silence before saying anything at all, which remains the highest compliment my baking has ever received.
Ingredients
- All purpose flour (350 g): Plain flour gives the right structure here, bread flour makes them too chewy and cake flour too fragile.
- Unsweetened cocoa powder (40 g): Use a good quality one, it is doing half the flavor work in the dough and you will taste the difference.
- Whole milk, lukewarm (120 ml): Cold milk will shock the yeast, hot milk will kill it, aim for bathwater temperature.
- Granulated sugar (60 g): Not too sweet on its own but essential for browning and feeding the yeast properly.
- Active dry yeast (7 g): Check the expiry date, I learned this lesson the hard way with a flat dense tray of buns.
- Large egg (1): Adds richness and helps bind the dough together beautifully.
- Unsalted butter, softened (40 g): Room temperature butter incorporates smoothly, cold chunks leave greasy pockets.
- Vanilla extract (1/2 tsp): A quiet background note that rounds out the chocolate flavor.
- Salt (1/2 tsp): Do not skip this, salt makes chocolate taste more like itself.
- Dark chocolate, chopped (60 g): Folded into the dough for little pockets of melted chocolate throughout each bun.
- Heavy whipping cream (300 ml): Cold cream whips faster and holds its shape better for the filling.
- Dark chocolate, melted and cooled (70 g): Let it come to room temperature before folding in or it will deflate the cream.
- Powdered sugar (30 g): Sweetens the filling without adding graininess.
- Vanilla extract (1 tsp): A full teaspoon for the filling gives it that bakery depth.
- Egg yolk plus 2 tbsp milk: For brushing the tops before baking to get that gorgeous deep brown shine.
Instructions
- Wake up the yeast:
- Stir the yeast and a tablespoon of sugar into the lukewarm milk and set a timer for ten minutes. You should see a bubbly foam on top, and if you do not, your yeast is dead and you need to start over.
- Build the dry base:
- Whisk together the flour, cocoa powder, remaining sugar, and salt in a large bowl until the color is uniform with no pale streaks.
- Bring it together:
- Make a well in the center and drop in the egg, vanilla, softened butter, and the foamy yeast mixture. Stir with a wooden spoon until a shaggy dough forms and no dry patches remain.
- Knead with patience:
- Work the dough by hand or with a mixer on medium speed for eight to ten minutes until it becomes smooth and springs back when you poke it gently. Toss in the chopped chocolate during the last two minutes and knead just until the pieces are distributed.
- First rise:
- Transfer the dough to a clean lightly oiled bowl, cover it with a damp towel or plastic wrap, and leave it somewhere warm for one to two hours until it has puffed to double its size.
- Shape the buns:
- Divide the dough into eight even pieces and roll each into a plump oval, tucking the seams underneath. Set them on a parchment lined baking tray with space between them for spreading.
- Second rise:
- Cover the tray loosely and let the shaped buns rest for forty minutes until they look visibly puffy and have nearly doubled again.
- Preheat and glaze:
- Heat your oven to 180 degrees Celsius while the buns finish their rise. Whisk the egg yolk with two tablespoons of milk and brush it gently over each bun without pressing down.
- Bake:
- Slide the tray into the oven and bake for fifteen to eighteen minutes until the tops are firm to the touch and smell deeply of chocolate. Transfer to a wire rack and let them cool completely before filling.
- Make the filling:
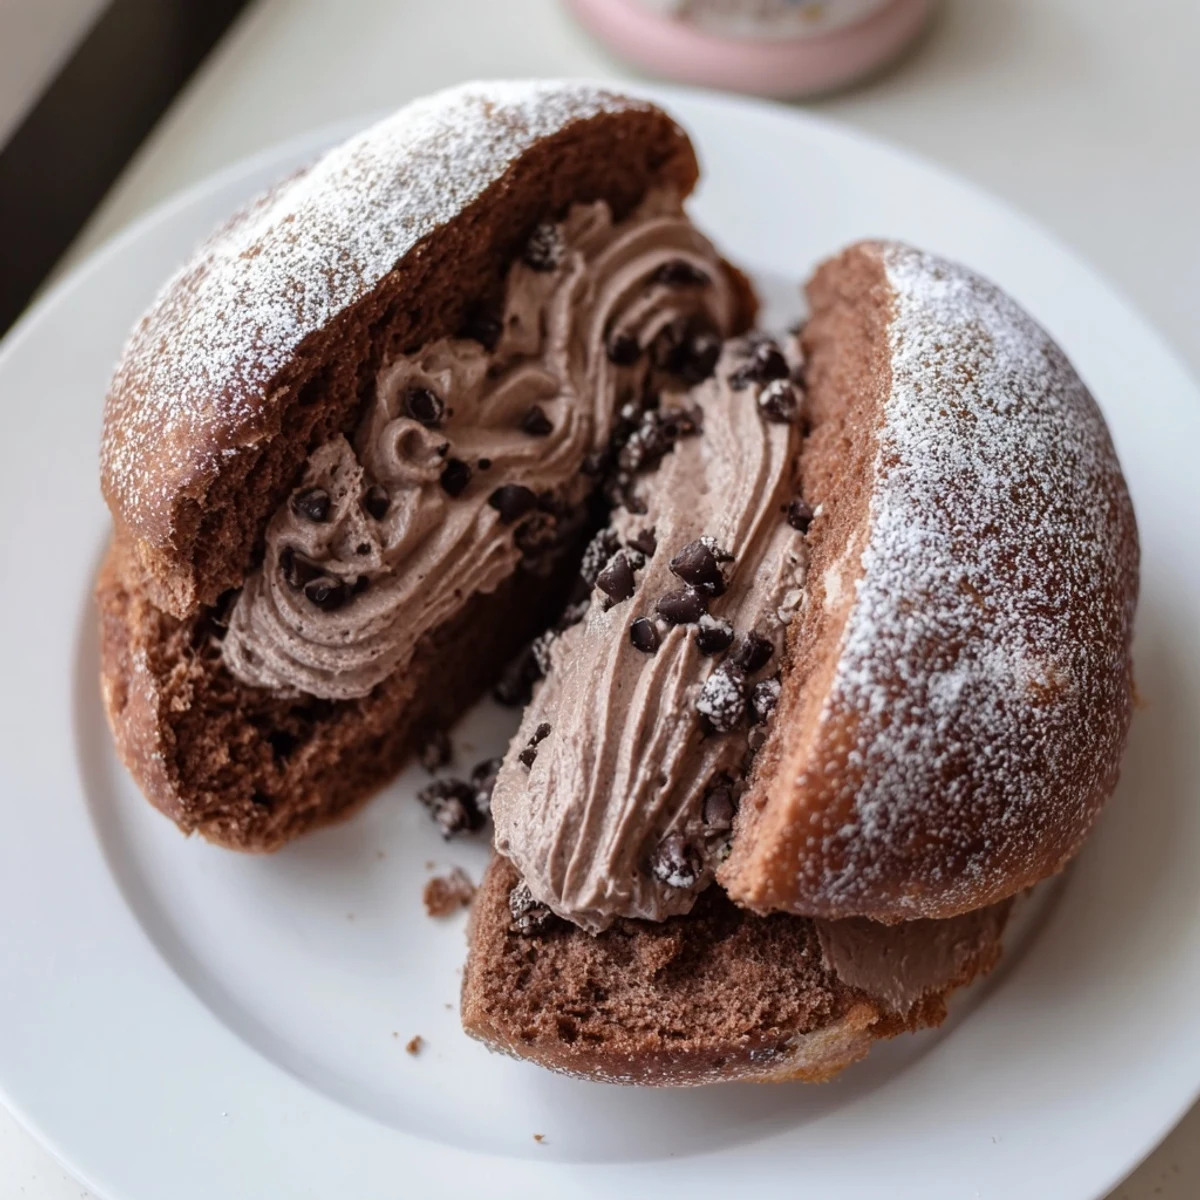
- Whip the cold heavy cream with powdered sugar and vanilla until it holds firm peaks. Drizzle in the cooled melted chocolate and fold gently with a spatula until the streaks are just combined.
- Fill and serve:
- Slice each bun lengthwise with a serrated knife, leaving one side attached as a hinge. Pipe or spoon the chocolate cream generously inside and dust with powdered sugar if you like.
 Pin it
 The morning I finally nailed the recipe, I wrapped four of them in parchment and rode my bike to a friends house unannounced. We sat on her balcony in the sun drinking espresso and not talking much, which is exactly how food is meant to be shared.
Getting the rise right every time
Enriched dough is slower to rise than plain bread dough because the butter, sugar, and cocoa all weigh it down. In winter I turn my oven on for one minute then shut it off and use the residual warmth as a proofing box. The dough should look visibly puffy and hold a dent when you press it with a floured finger.
Shaping without stress
Do not obsess over perfectly identical ovals because they puff and round out during the second rise anyway. Use a bench scraper or knife to divide the dough rather than tearing it, which damages the gluten structure. Cup your hand over each piece and roll it in a circular motion on the counter to build surface tension.
Serving and storing your maritozzi
These are best eaten the same day you fill them, when the cream is cold and the buns are still soft at room temperature. If you need to prepare ahead, bake the buns one day in advance and store them in an airtight container, then fill just before serving.
- Unfilled buns freeze beautifully for up to one month if wrapped tightly in foil.
- Milk chocolate swaps into the filling beautifully if dark chocolate is too intense for your taste.
- A cappuccino beside one of these is not optional, it is mandatory.
 Pin it
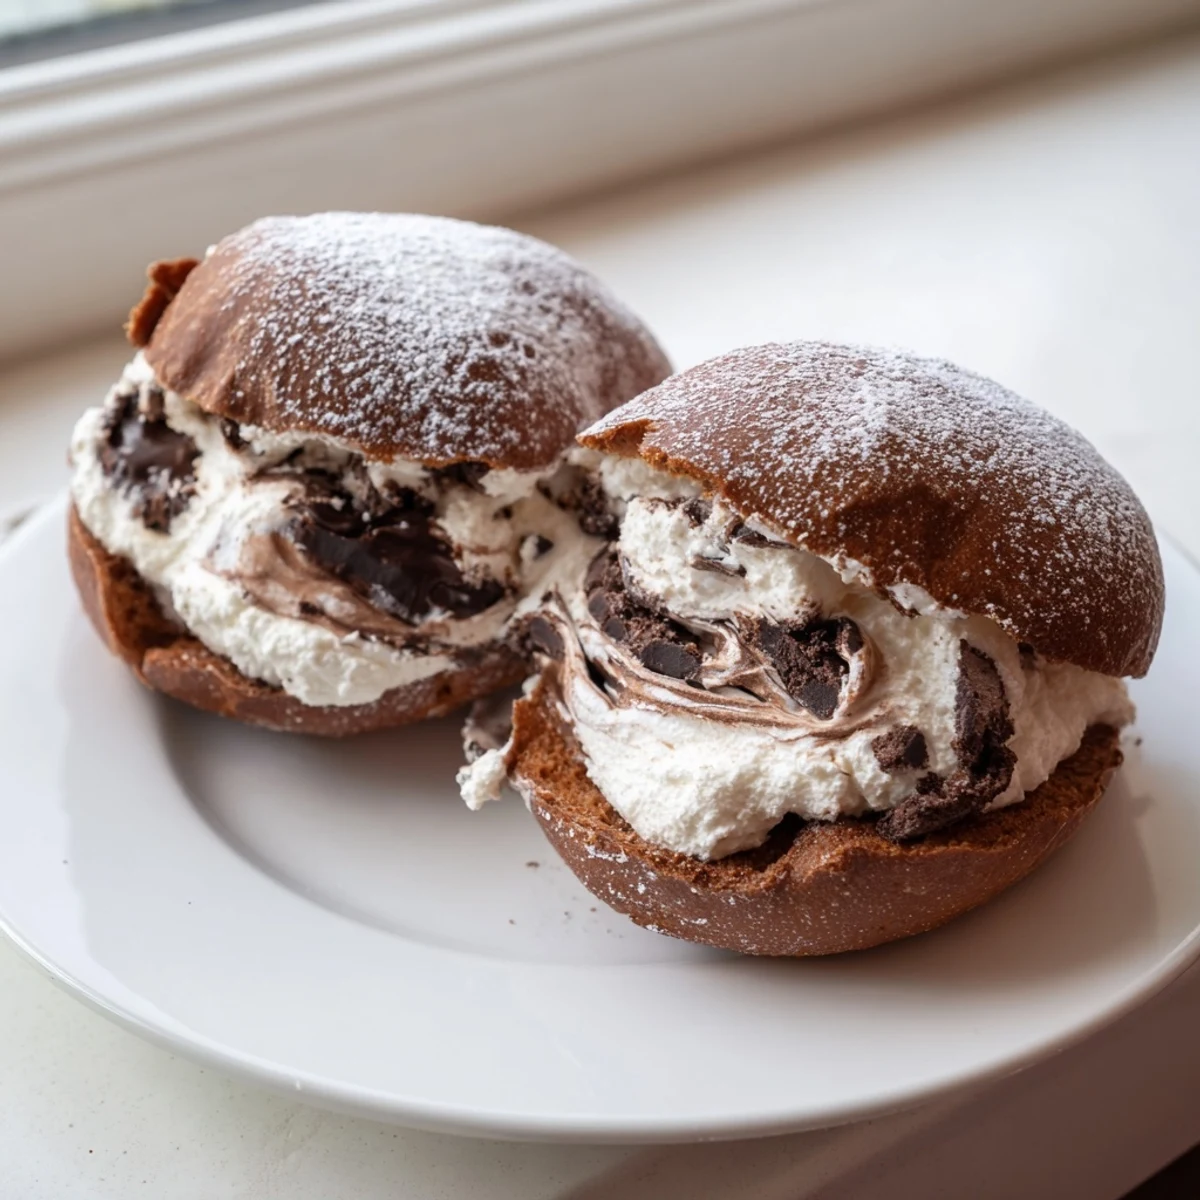
 Some recipes become part of your regular rotation and some become part of your story. These little chocolate buns managed to do both, and I suspect they will do the same for you.
Recipe Q&A Section
- → Can I make the dough ahead of time?
-
Yes, you can prepare the dough and let it undergo its first rise in the refrigerator overnight. This slow fermentation actually enhances the flavor. Bring the dough to room temperature before shaping and proceeding with the second rise.
- → Why did my maritozzi turn out dense instead of fluffy?
-
Dense buns usually result from under-kneading or insufficient rising time. Ensure you knead the dough for a full 8 to 10 minutes until it passes the windowpane test, and allow it to double in size during both rises. Using lukewarm milk around body temperature also helps activate the yeast properly.
- → Can I use milk chocolate instead of dark chocolate?
-
Absolutely. Milk chocolate will give the buns and filling a sweeter, milder flavor. You can also use semi-sweet chocolate as a middle ground. Just keep in mind that milk chocolate contains more sugar, so you may want to slightly reduce the added sugar in the filling.
- → How should I store leftover maritozzi?
-
Store filled maritozzi in an airtight container in the refrigerator for up to two days. The whipped cream filling requires refrigeration. For the best texture, let them sit at room temperature for about 15 minutes before serving. You can also freeze the unfilled buns for up to one month.
- → Can I freeze the baked buns before filling?
-
Yes, the baked unfilled buns freeze beautifully. Wrap each bun individually in plastic wrap, then place them in a freezer bag. Thaw at room temperature for about an hour, then fill with freshly made chocolate whipped cream whenever you are ready to serve.
- → What type of cocoa powder works best for the dough?
-
Use unsweetened cocoa powder for the dough. Dutch-processed cocoa will give a deeper, darker color and smoother flavor, while natural cocoa powder provides a more intense, slightly fruity chocolate taste. Both work well, so choose based on your preference.