 Pin it
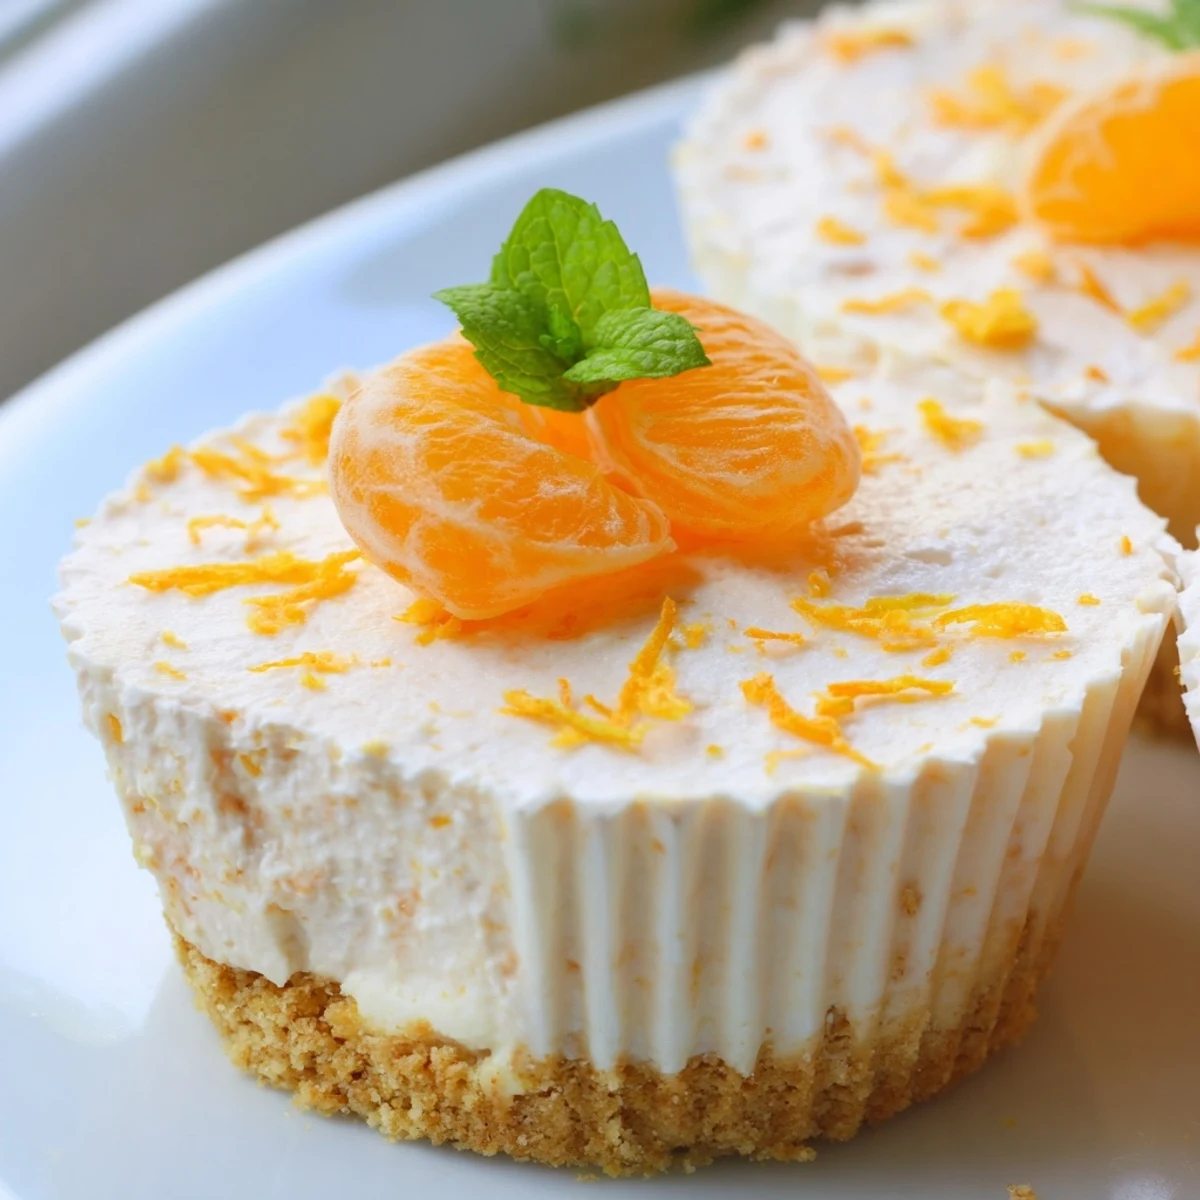
 These mini no bake orange cheesecakes combine a buttery digestive biscuit base with a luscious cream cheese and orange filling. Fresh orange zest and juice bring a bright, citrusy note that cuts through the richness beautifully.
With zero baking time and just 25 minutes of hands-on preparation, they're ideal for warm days when you want something impressive without heating up the kitchen. Simply chill for a few hours until set, then garnish with fresh orange segments and mint.
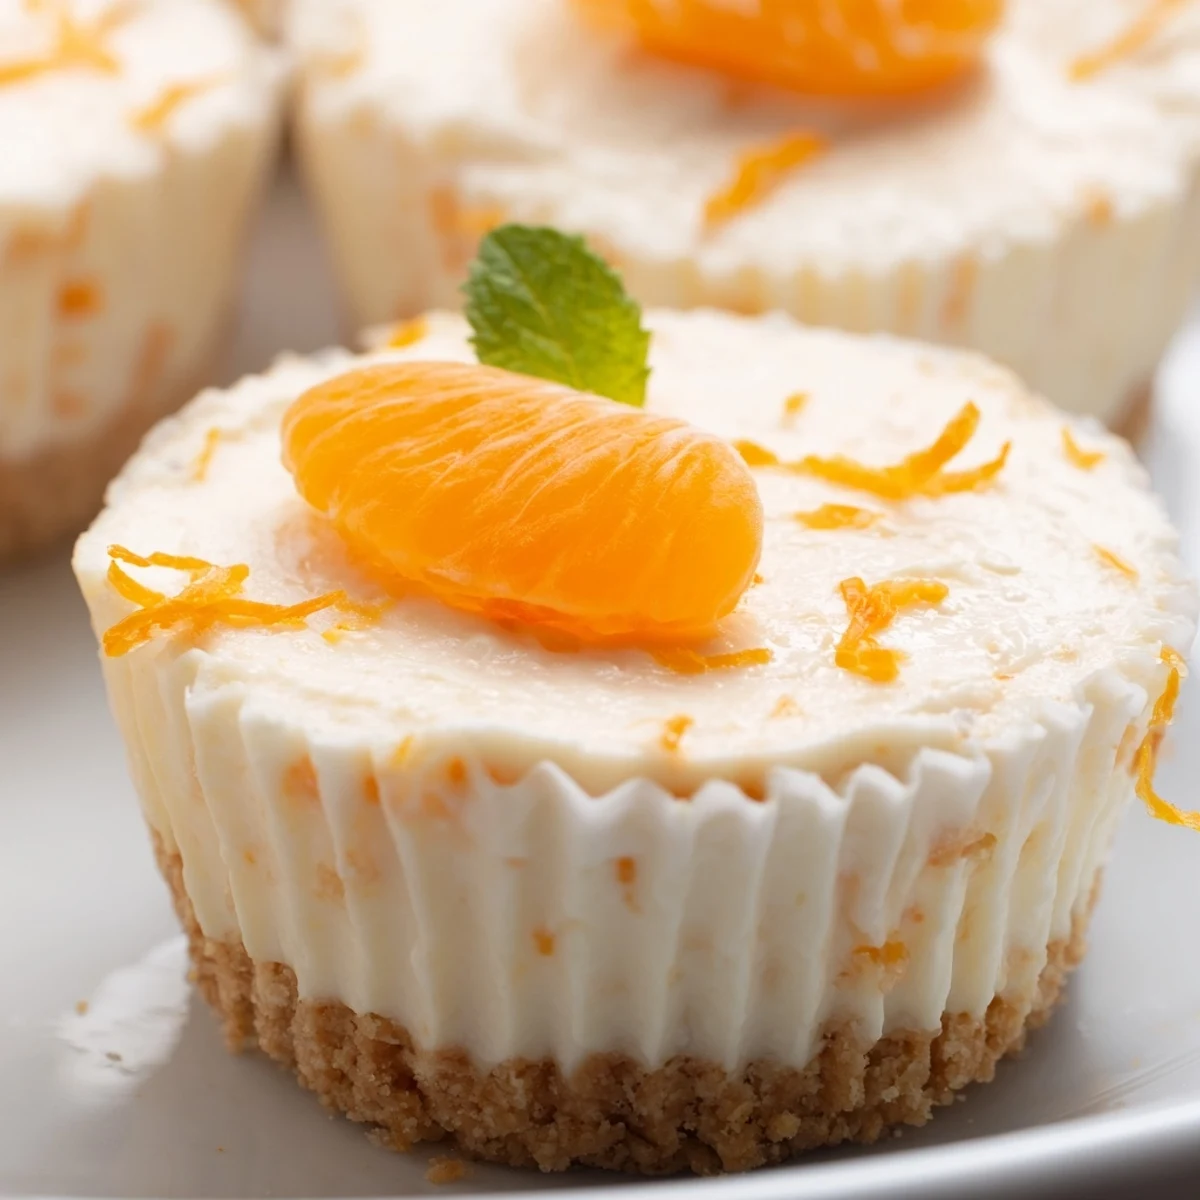
Each mini cheesecake is perfectly portioned, making them wonderful for entertaining, afternoon tea, or a light seasonal dessert.
The smell of orange zest hitting cream cheese is one of those small kitchen pleasures that stops you in your tracks. I stumbled onto these little no bake cheesecakes during a scorching July afternoon when turning on the oven felt like a personal offense. Three hours of chilling later, I had six sunshine colored cups that disappeared faster than anything I had ever pulled from an oven. They have been my warm weather secret weapon ever since.
I brought a batch of these to a friend rooftop dinner last summer, setting them on a table beside a pile of farmers market peaches and a bottle of chilled rosé. Someone asked which bakery I had ordered from, and I honestly laughed out loud. That is the magic of individual desserts with fresh zest on top. They whisper elegance while hiding how genuinely simple they are.
Ingredients
- Digestive biscuits or graham crackers (120 g): The foundation of every good crust is crumbs that hold together without turning to mush. Digestive biscuits give a slightly earthy, wheaty flavor that pairs beautifully with citrus, but graham crackers work just as well if that is what your pantry offers.
- Unsalted butter, melted (55 g): This binds the crumbs and adds richness. Let it cool slightly before mixing so it does not melt the sugar in your filling later.
- Cream cheese, room temperature (250 g): Cold cream cheese will leave you with lumps no amount of mixing can fix. Set it on the counter for at least an hour and your filling will be silky smooth.
- Powdered sugar (60 g): Dissolves seamlessly into the cream cheese without any grainy texture. Sift it if it has been sitting in your cupboard for a while.
- Heavy cream, cold (120 ml): Whipping cold cream to stiff peaks is what gives these mini cheesecakes their light, airy structure instead of a dense brick. Keep it in the refrigerator until the exact moment you need it.
- Orange zest, 2 tsp from 1 large orange: Rub the zest into the sugar with your fingers before mixing to release the essential oils. This one extra step makes the flavor bloom in a way that juice alone never could.
- Fresh orange juice (2 tbsp): Just enough to round out the zest with a gentle sweetness. Use the orange you zested so nothing goes to waste.
- Vanilla extract (1 tsp): A quiet background note that ties the orange and cream flavors together without competing for attention.
- Topping: orange segments, extra zest, and mint leaves: Entirely optional but highly recommended because we eat with our eyes first and these little garnishes transform a simple dessert into something memorable.
Instructions
- Prepare your molds:
- Line a standard muffin tin with paper liners or grab your silicone molds. Silicone gives a cleaner edge if you have them, but paper liners have their own charming, rustic appeal.
- Build the crust:
- Pulse the biscuits in a food processor until they resemble wet sand, then pour in the melted butter and pulse again until every crumb glistens. Divide the mixture among your six liners and press down firmly with the back of a spoon or a small glass to create a compact, even layer.
- Chill the bases:
- Slide the tin into the fridge while you make the filling so the butter has time to firm up and hold everything together when you assemble later.
- Whip the filling base:
- Beat the room temperature cream cheese and powdered sugar together until completely smooth, scraping down the bowl once or twice to catch any stubborn streaks.
- Whip the cream separately:
- In a cold bowl with cold beaters, whip the heavy cream until it holds stiff peaks but stop before it turns grainy or starts separating into butter.
- Fold and flavor:
- Gently fold the whipped cream into the cream cheese mixture using a spatula with slow, sweeping motions. Add the orange zest, orange juice, and vanilla, then fold until the color is uniform and the mixture looks like a soft cloud.
- Assemble the cheesecakes:
- Spoon or pipe the filling over the chilled bases, filling each liner almost to the top. Smooth the surface with a small offset spatula or the back of a spoon dipped in warm water.
- Chill until set:
- Refrigerate for at least three hours, though overnight is even better if you can wait that long. The filling needs time to firm up so each bite holds its shape.
- Garnish and serve:
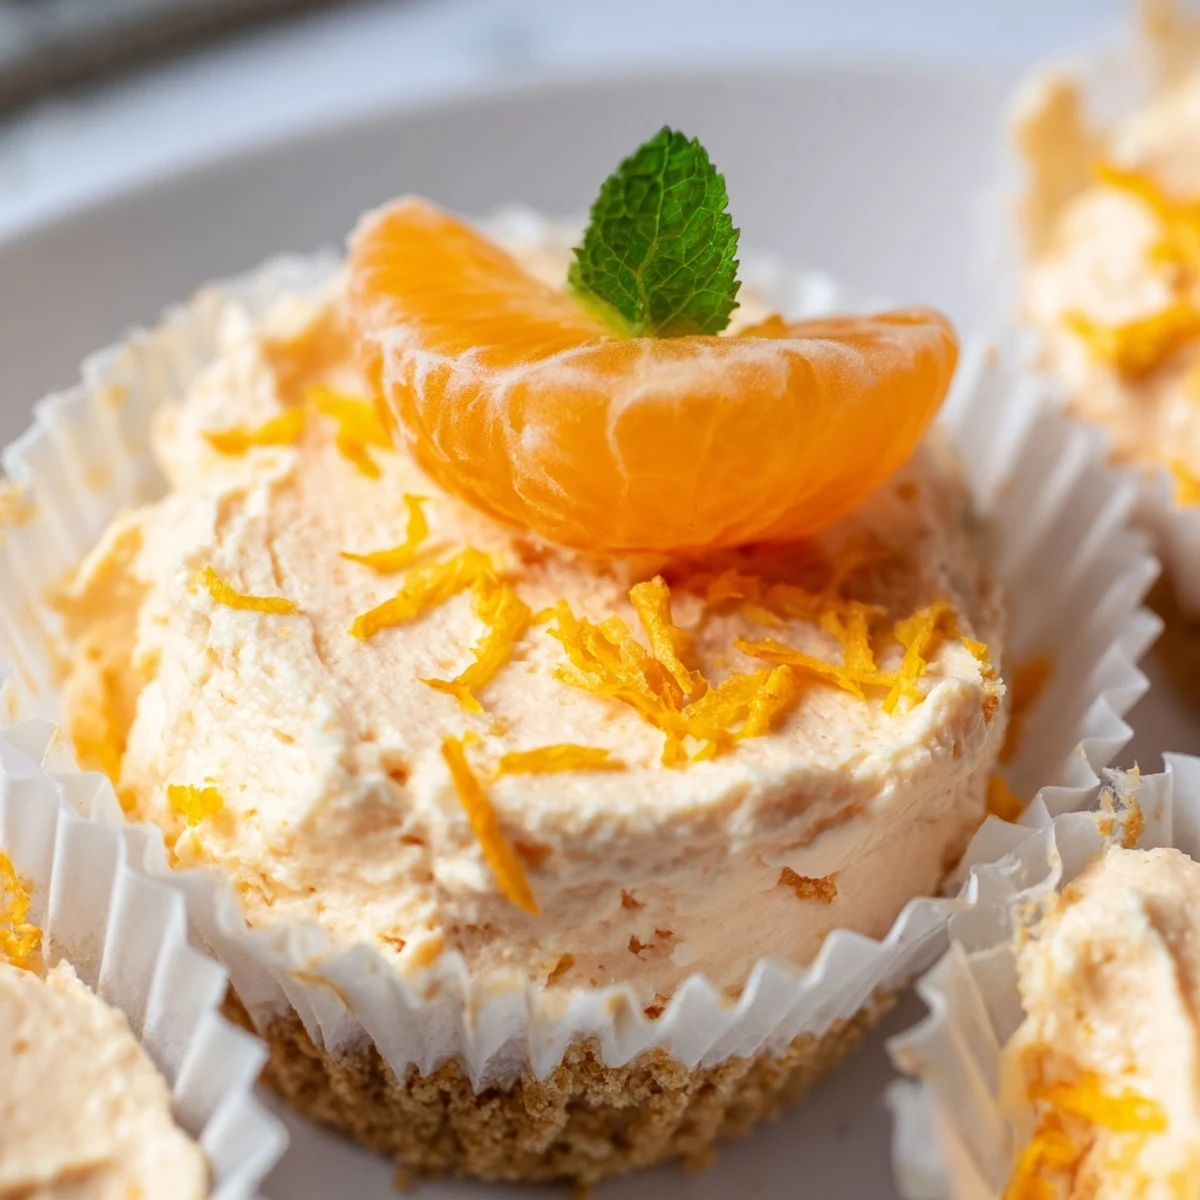
- Top with orange segments, a scattering of fresh zest, and a few mint leaves right before serving so everything looks vibrant and bright.
 Pin it
 There is something quietly satisfying about pulling a tray of perfectly set mini cheesecakes from the fridge and watching the first person take a bite. Their eyes light up at that burst of orange and they always lean in for a second one before the plate has finished going around.
Choosing the Right Orange
Not all oranges are created equal when it comes to dessert. Navel oranges are my go-to because they are sweet, easy to zest, and have very few seeds to wrestle with. Blood oranges make a stunning variation if you find them in season, lending a jewel-toned blush and a slightly more complex flavor. Whatever you choose, pick oranges that feel heavy for their size because that means they are bursting with juice.
Making Them Your Own
Once you have the base technique down, these little cheesecakes are endlessly adaptable. Swap the orange for lemon and add a handful of blueberries on top for a completely different personality. A tablespoon of orange liqueur in the filling elevates the flavor into something genuinely special for adult gatherings. You could even press a thin layer of marmalade between the crust and filling for a sweet surprise.
Storage and Make Ahead Advice
These mini cheesecakes are one of the rare desserts that actually improve with a night in the fridge, as the orange flavor deepens and the crust firms up beautifully.
- Cover the tin tightly with plastic wrap if you are making them more than a few hours ahead to keep the filling from absorbing fridge odors.
- If using silicone molds, pop them out onto a plate and store in an airtight container layered with parchment paper between each one.
- Do not add the fresh toppings until just before serving or the mint will wilt and the orange segments will weep juice everywhere.
 Pin it
 Keep these in your back pocket for the next time someone drops by unexpectedly or you need a dessert that impresses without stress. A little sunshine in a muffin liner is never a bad idea.
Recipe Q&A Section
- → Can I make these mini orange cheesecakes ahead of time?
-
Yes, they actually benefit from being made in advance. You can prepare them up to 2 days ahead and keep them covered in the fridge. The flavors meld and the texture firms up beautifully during resting.
- → What can I substitute for digestive biscuits?
-
Graham crackers work perfectly as a direct substitute. For a gluten-free option, use your favorite gluten-free cookies. Chocolate biscuits also add a lovely contrast to the orange filling if you want a richer base.
- → How do I get clean edges when removing them from the tin?
-
Use paper liners or silicone molds for the easiest release. If using a standard muffin tin without liners, run a thin knife around the edges after chilling, then gently lift them out. Chilling them thoroughly for at least 3 hours helps them hold their shape.
- → Can I use bottled orange juice instead of fresh?
-
Fresh orange juice and zest are strongly recommended for the brightest, most natural flavor. Bottled juice lacks the aromatic oils found in fresh zest and can taste flat. One large orange gives you everything you need for the filling.
- → How long do they need to chill before serving?
-
Plan for at least 3 hours of chilling time for the cheesecakes to set properly. If you can leave them overnight, the texture becomes even creamier and more cohesive. They should feel firm to the touch when properly set.
- → What toppings work best for these cheesecakes?
-
Fresh orange segments and extra zest are classic choices. A sprig of mint adds color and freshness. You could also try a drizzle of chocolate, a dollop of whipped cream, or candied orange peel for something more indulgent.
