
 Pin it
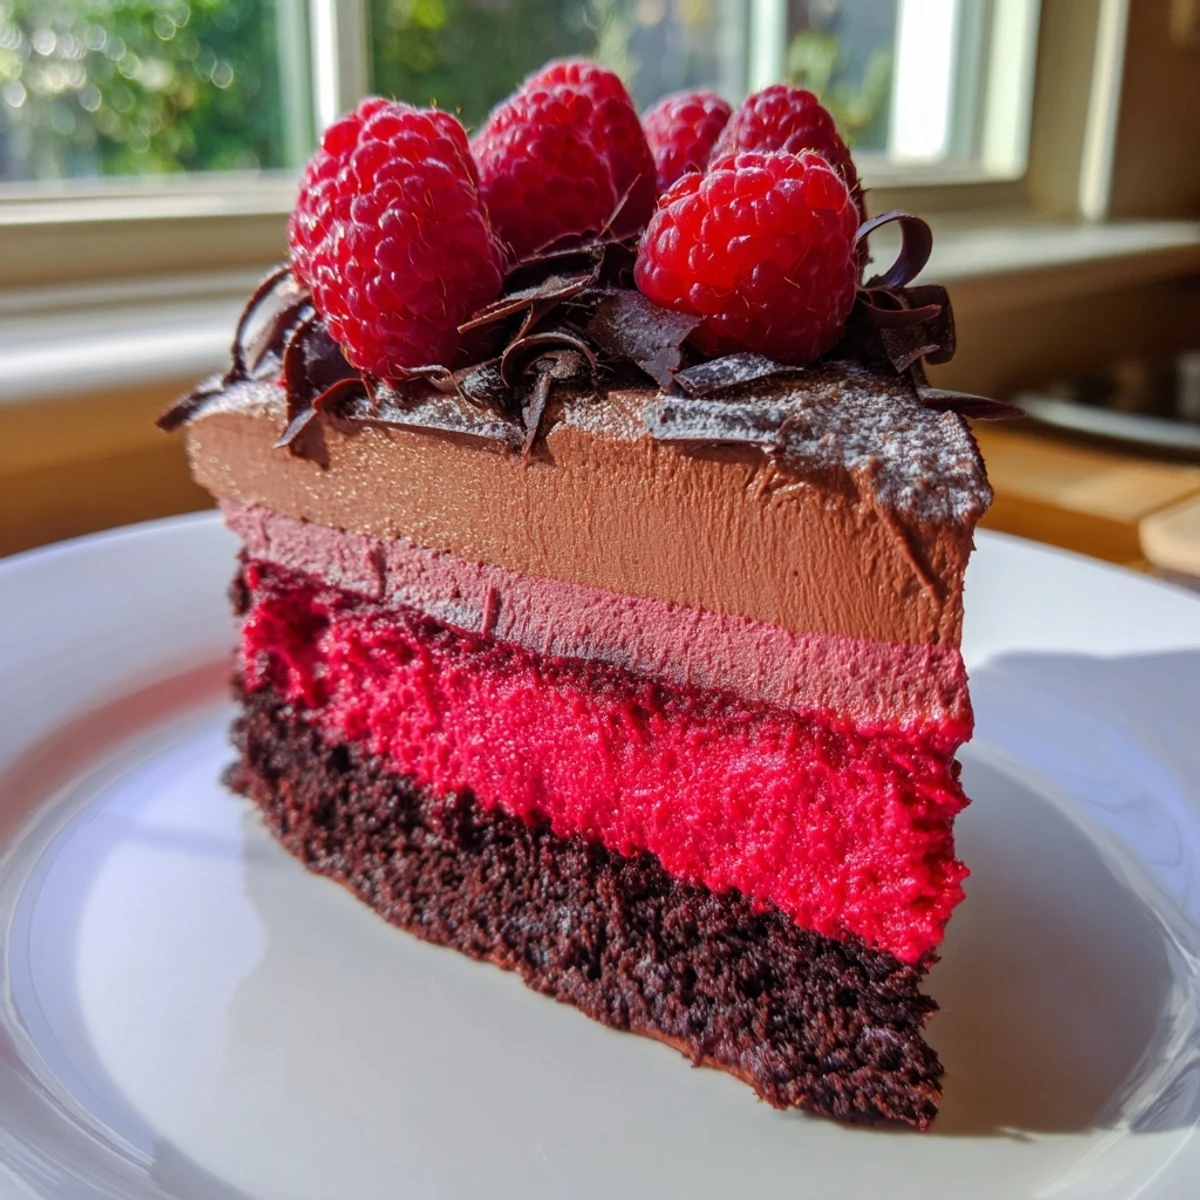
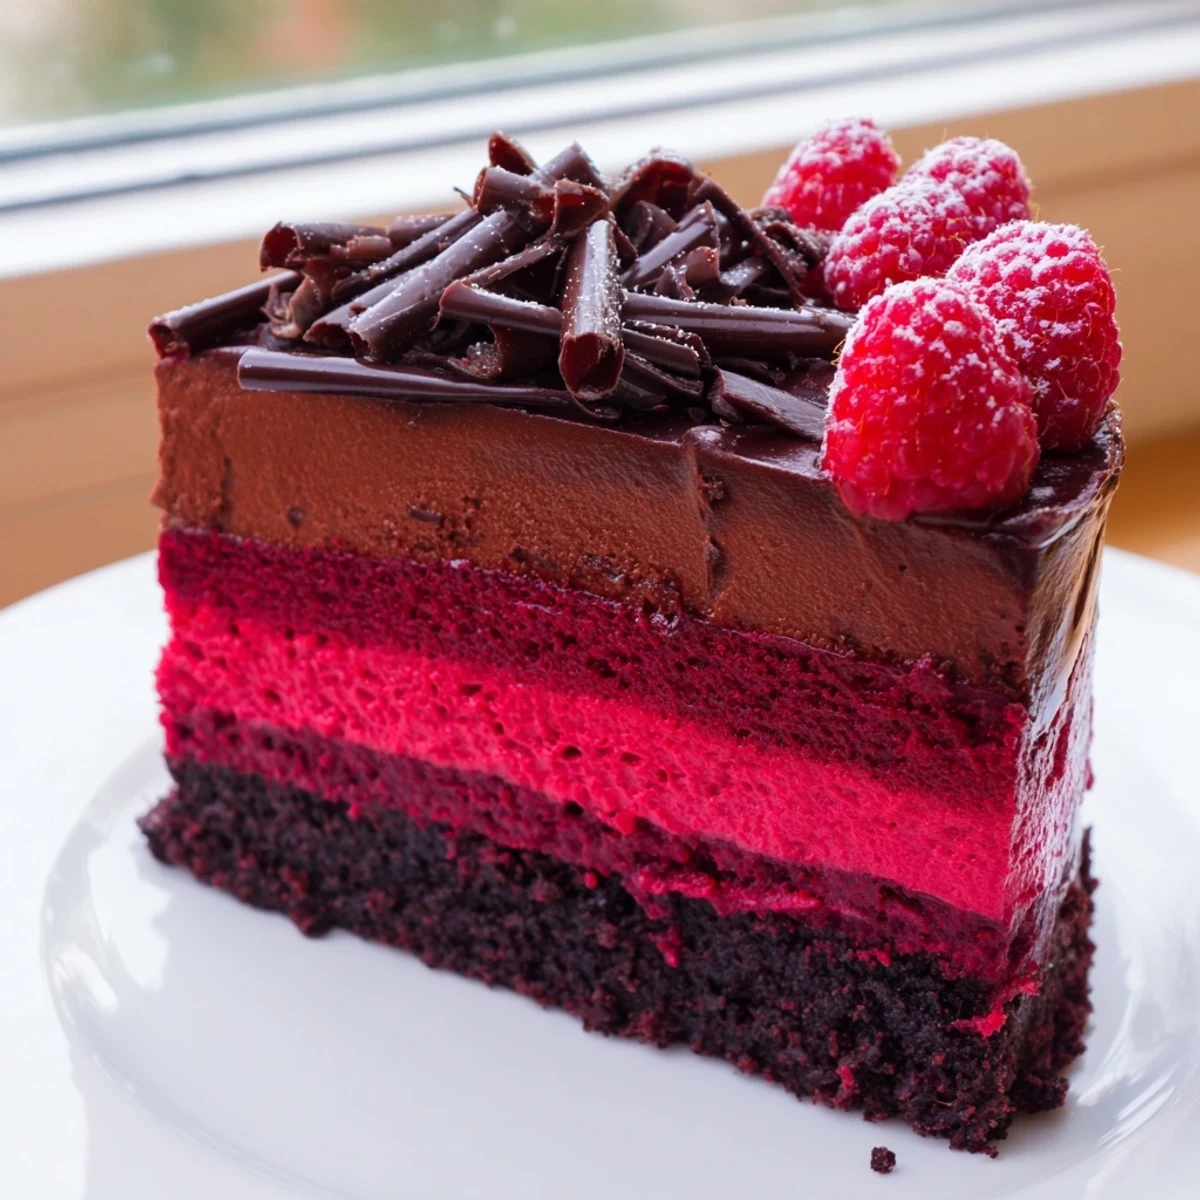
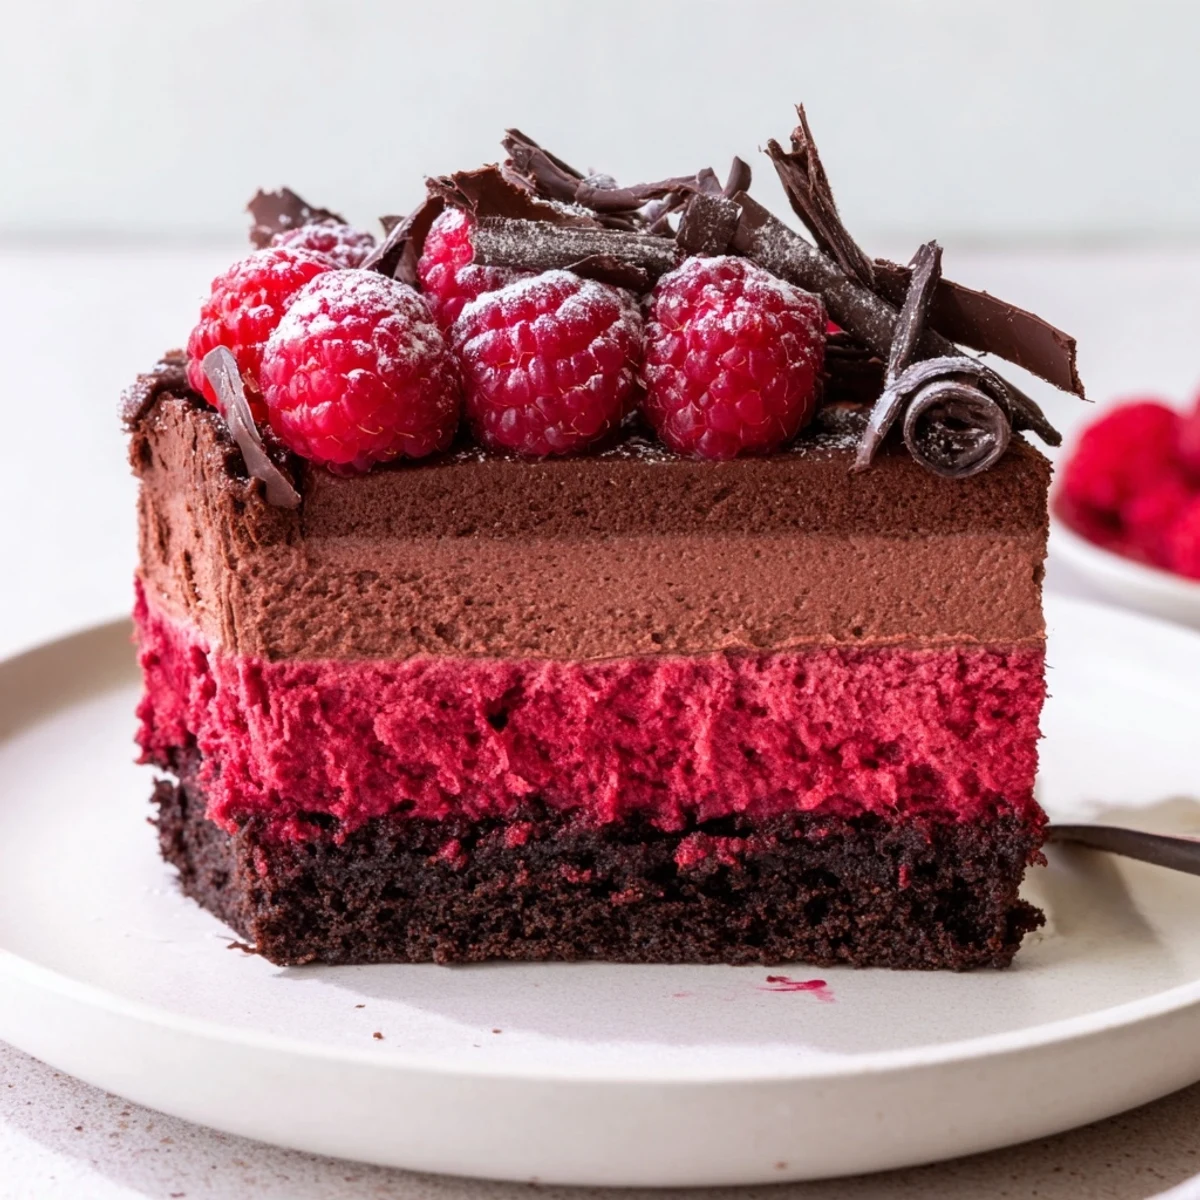
 This showstopping dessert combines three irresistible layers: a fudgy chocolate cake base, a jewel-toned raspberry gelatin layer, and an airy dark chocolate mousse on top.
While it requires some patience with chilling time, each component is straightforward to prepare. The contrast between the tart raspberries and the velvety chocolate mousse makes every bite unforgettable.
Plan ahead for at least 6 hours of chilling, but the impressive result is absolutely worth the wait for birthdays, dinner parties, or any occasion that calls for something extraordinary.
The first time I attempted this cake, it was for my sister's birthday and I spent three days convinced I had ruined every single layer. The cake base seemed too thin, the raspberry layer refused to set, and I was certain the mousse would collapse. But when we finally cut into it that evening, watching those perfect layers reveal themselves like some kind of edible magic trick, I understood why people bother with multi-step desserts.
I served this at a dinner party last winter, and my friend Sarah literally stopped mid conversation after her first bite, closed her eyes, and refused to speak until she had finished the entire slice. That moment of seeing someone genuinely stunned by something you created in your own kitchen is exactly why I keep attempting these ambitious desserts despite the effort and occasional failures along the way.
Ingredients
- All-purpose flour: The structure builder for your cake base, do not pack it down when measuring or you will end up with a dense brownie instead of a light cake layer
- Unsweetened cocoa powder: Use a good quality Dutch processed cocoa for that deep chocolate flavor without any bitterness
- Dark chocolate: I have found that 60 to 70 percent cacao hits the perfect spot between too bitter and too sweet, and chopping it yourself helps it melt more evenly
- Raspberries: Frozen berries work absolutely fine here and are often more flavorful than fresh ones out of season, just thaw them completely before cooking
- Gelatin sheets: If you can only find powdered gelatin, that works perfectly fine, just make sure to bloom it properly in cold water before dissolving
- Heavy cream: The cream needs to be very cold from the fridge to whip up properly, and do not over whip or you will get butter instead of whipped cream
Instructions
- Bake the chocolate foundation:
- Whisk together your flour, cocoa powder, baking powder, sugar, and salt until well combined. In another bowl, beat the eggs with melted butter and vanilla until the mixture looks glossy and smooth. Pour the wet ingredients into the dry ones and fold everything together just until no dry flour remains visible. Spread the batter into your prepared pan and bake for 20 to 25 minutes until a toothpick inserted in the center comes out clean. Let the cake cool completely in the pan before adding any layers.
- Create the raspberry jelly:
- Soften your gelatin sheets in cold water for about 5 minutes while you heat the raspberries, sugar, and water in a saucepan. Cook until the berries have completely broken down and released their juices, then puree the mixture and strain it through a fine mesh sieve to remove all the seeds. Warm the strained puree slightly and stir in the softened gelatin until it dissolves completely. Let the mixture cool to room temperature, then pour it evenly over your cooled cake base and refrigerate for about 1 hour until firmly set.
- Craft the chocolate mousse:
- Melt your chopped dark chocolate over a gentle water bath, stirring occasionally, then let it cool until it is warm but not hot. Beat the egg yolks with half the sugar and vanilla until they turn pale and creamy, then gradually stir in the melted chocolate until smooth and glossy. In a completely clean bowl, whip the egg whites with a pinch of salt until they form soft peaks, then gradually add the remaining sugar and continue whipping until stiff and glossy. In another bowl, whip the cold heavy cream to soft peaks. Fold the whipped cream into the chocolate mixture first, followed by the egg whites, being gentle to maintain all that air you just worked so hard to incorporate.
- Assemble and chill:
- Pour your finished mousse over the completely set raspberry layer and smooth the top with an offset spatula. Tap the pan gently on the counter to release any air bubbles, then cover and refrigerate for at least 4 hours or overnight until completely firm.
- Add the finishing touches:
- Run a thin knife around the edge of the pan, then release the springform ring carefully. Arrange fresh raspberries on top however you like, scatter with chocolate curls, and dust with icing sugar right before serving for that professional bakery look.
 Pin it
 This cake has become my go to for celebrations because it always looks spectacular and tastes even better than it looks. Last summer I made it for a garden party and even though I was worried about the chocolate melting in the heat, the firm structure held up beautifully and we ended up eating it outside as the sun went down.
Making It Ahead
You can prepare this cake up to 2 days in advance, which actually helps the flavors meld together and the texture becomes even more luxurious. Just keep it well covered in the refrigerator and add the fresh decorations no more than a few hours before serving.
Getting Clean Layers
Take your time when pouring each layer and use the back of a spoon to gently spread the mixture to the edges without disturbing the layer underneath. If you accidentally create a marbled effect, do not stress because it will still taste absolutely delicious.
Serving Suggestions
This cake is incredibly rich on its own, so small slices go a long way. A cup of black coffee or espresso cuts through the richness beautifully.
- Let the cake sit at room temperature for about 15 minutes before serving so the mousse softens slightly
- Use a hot knife dipped in hot water and wiped dry between cuts for the cleanest slices
- If you are transporting this cake, keep it level and cold until the very last moment
 Pin it
 There is something deeply satisfying about slicing into this cake and seeing those perfect layers you spent hours creating finally revealed. Every bite feels like a small victory worth celebrating.
Recipe Q&A Section
- → Can I make this mousse cake ahead of time?
-
Absolutely. This cake actually benefits from being made a day in advance, as the layers have more time to set and the flavors meld together beautifully. Keep it covered in the refrigerator for up to 48 hours before serving.
- → Can I use frozen raspberries instead of fresh ones?
-
Yes, frozen raspberries work perfectly for the filling layer. Thaw them first and drain any excess liquid before cooking. For decoration on top, fresh raspberries look and taste best.
- → How do I get clean slices when cutting this cake?
-
Use a sharp knife dipped in hot water and wiped dry between each cut. The warmth helps the blade glide through the mousse and raspberry layers cleanly. Chill the cake for the full recommended time before slicing for best results.
- → What percentage of dark chocolate should I use for the mousse?
-
A dark chocolate between 60% and 70% cacao is ideal. This range provides enough sweetness while delivering a deep, rich chocolate flavor that balances beautifully with the tart raspberry layer.
- → Can I substitute gelatin with a plant-based alternative?
-
Yes, you can use agar-agar as a vegetarian substitute for gelatin sheets. Generally, 1 teaspoon of agar-agar powder replaces 2 sheets of gelatin, but follow the package instructions as brands vary. Dissolve it in the warm raspberry puree and allow it to set.
- → Why did my chocolate mousse turn out grainy?
-
Grainy mousse usually happens when the melted chocolate is too hot when combined with the egg yolks or cream. Let the chocolate cool to about 35°C (95°F) before folding it in. Also, fold gently to keep the mixture light and smooth.