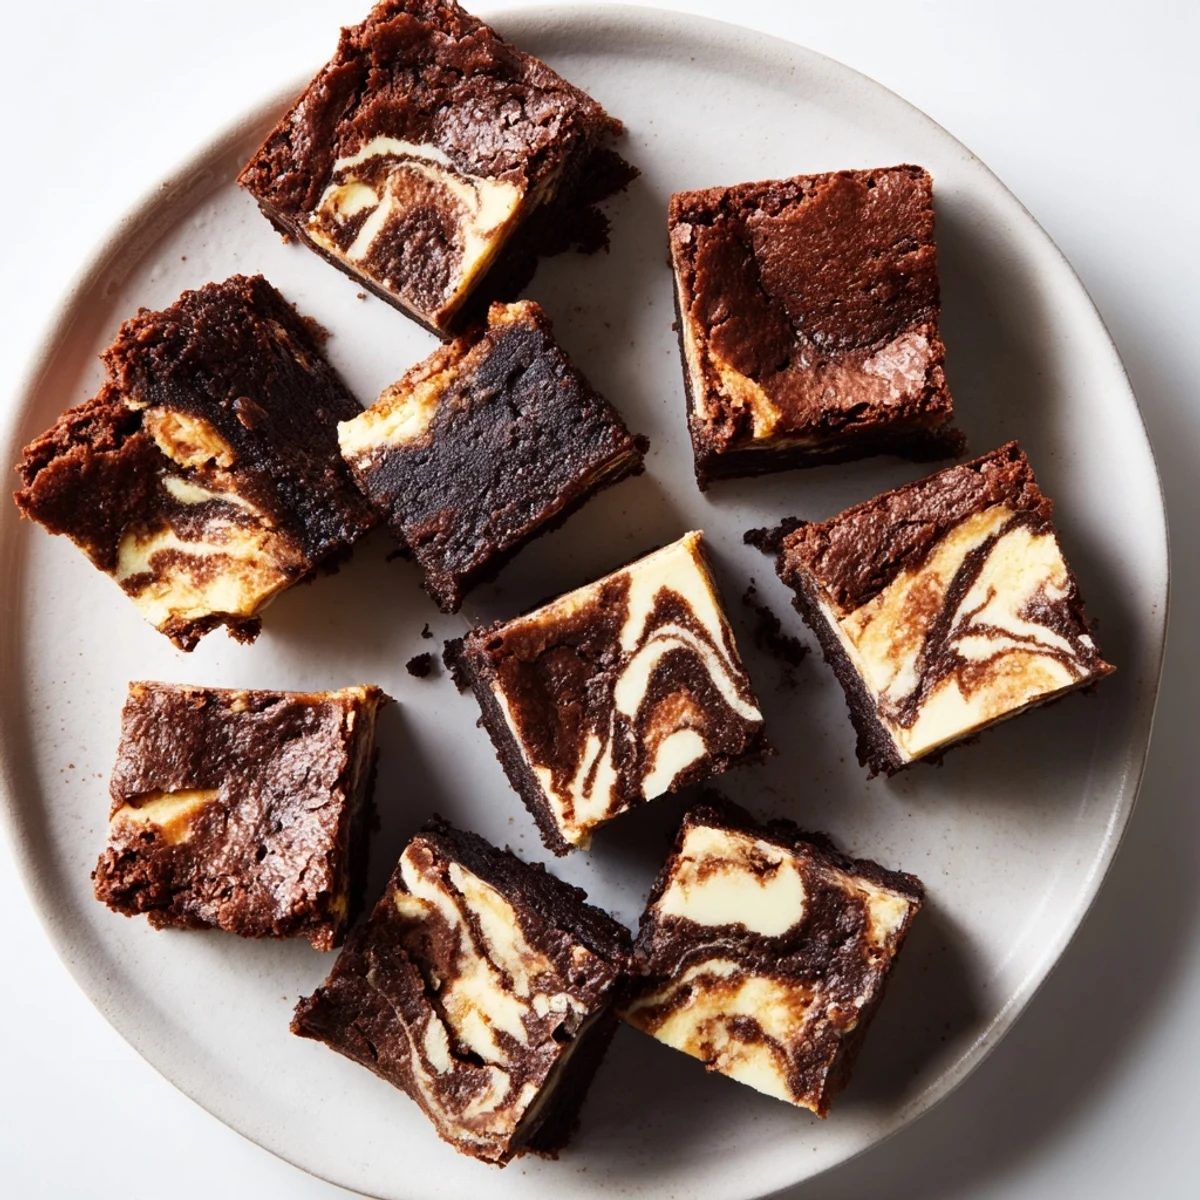
 Pin it
 These luscious bars combine the best of both worlds: fudgy sourdough brownie base meets creamy cheesecake topping in beautiful swirls. The active starter adds subtle tang while keeping the texture incredibly moist and dense. Perfect for chocolate lovers seeking something beyond ordinary brownies.
The rain was hammering against the kitchen window the afternoon I dumped sourdough discard into brownie batter on a whim, fully expecting a disaster worth laughing about later. What came out of the oven was something else entirely, a fudgy slab with a tang I could not stop thinking about, and I immediately started plotting the cheesecake layer that would make it complete. These bars are the result of that restless, rainy experiment, and they have since become the thing friends actually text me about at random hours.
I brought a tin of these to a potluck once and watched a friend who never touches dessert eat three bars standing up without saying a word. That silence was the loudest compliment my kitchen has ever received.
Ingredients
- Unsalted butter (115 g): Good butter makes or breaks a brownie, so use the real stuff and let it shine.
- Dark chocolate (120 g), chopped: A decent bar of dark chocolate with at least 60 percent cocoa gives you that deep, fudgy character.
- Granulated sugar (150 g for brownies, 50 g for cheesecake): Do not skimp here, the sugar is doing heavy lifting for texture.
- Large eggs (2 for brownies, 1 for cheesecake): Room temperature eggs blend more smoothly into warm batter.
- Vanilla extract (1 tsp per layer): Real vanilla is worth it when you only need two teaspoons total.
- Sourdough starter (90 g, active or discard): This is the magic twist, and honestly discard works beautifully so nothing goes to waste.
- All-purpose flour (65 g): Just enough to hold things together without turning the bars cakey.
- Salt (1/4 tsp): A pinch wakes up every flavor in the pan.
- Cream cheese (225 g), softened: Let it sit out until it yields easily to a gentle press of your thumb.
Instructions
- Get the oven ready:
- Preheat to 175 degrees Celsius (350 degrees Fahrenheit) and line a 20 by 20 centimeter pan with parchment, leaving overhang on two sides like handles you will thank yourself for later.
- Melt the chocolate base:
- In a saucepan over low heat, melt the butter and chocolate together, stirring gently until glossy and smooth, then pull it off the heat and stir in the sugar until it dissolves into the warmth.
- Build the brownie batter:
- Let the mixture cool a minute so you do not scramble the eggs, then whisk them in one at a time followed by the vanilla and sourdough starter, folding in the flour and salt at the end until just combined.
- Save some for the swirl:
- Scoop about a quarter cup of batter into a small bowl, then spread the rest evenly across the bottom of your prepared pan.
- Whip the cheesecake layer:
- Beat the softened cream cheese with sugar until perfectly smooth and lump free, then blend in the egg and vanilla until the mixture is silky and spreadable.
- Layer and swirl:
- Spread the cheesecake gently over the brownie base, dollop the reserved brownie batter on top in scattered spoonfuls, and drag a skewer through in loose figure eights to create those beautiful ribbons.
- Bake and set:
- Bake for 30 to 35 minutes until the center is just set with a slight wobble underneath, and a toothpick comes out with moist crumbs clinging to it rather than wet batter.
- Cool completely and chill:
- Let the pan sit at room temperature until fully cool, then refrigerate for at least an hour before slicing into 16 bars with a sharp knife.
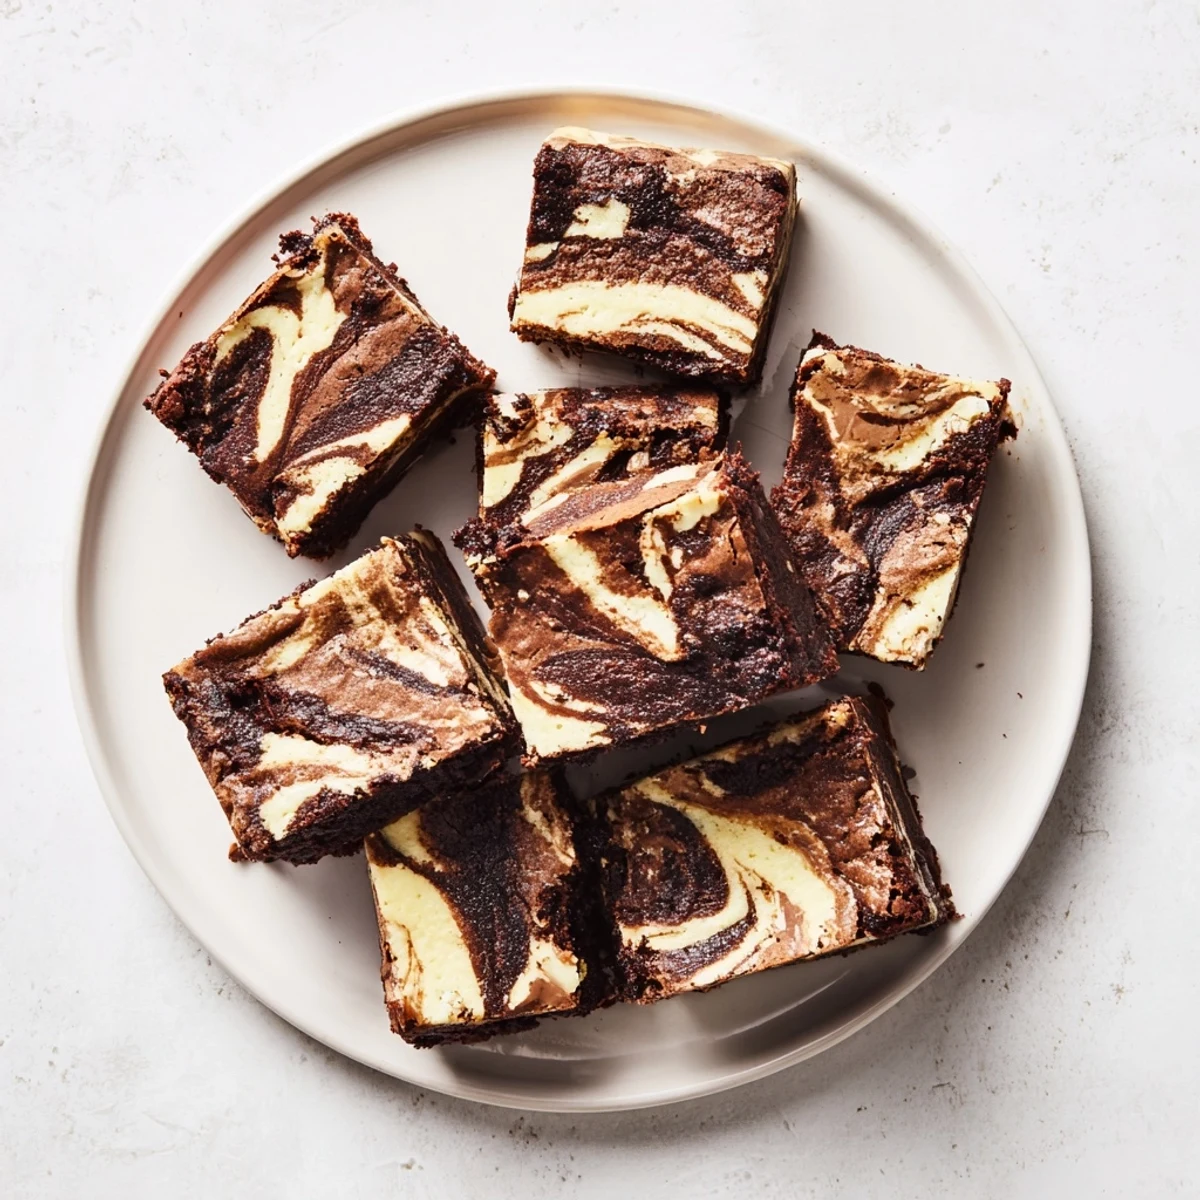 Pin it
 One holiday evening I found my cousin quietly closing the kitchen door so she could eat a bar alone in peace without sharing. That is the highest rating any recipe can achieve.
Storing Your Bars
These bars keep beautifully in the refrigerator for up to five days, and I actually think they taste better on day two when the flavors have settled into each other.
Flavor Variations Worth Trying
A teaspoon of espresso powder in the brownie batter deepens the chocolate without tasting like coffee, and a handful of chocolate chips scattered over the top before baking creates little pools of extra richness.
Tools That Make This Easier
You do not need fancy equipment for these bars, just a saucepan, a couple of bowls, and a spatula you trust. A hand mixer speeds up the cheesecake layer, but a determined whisk and a strong arm will get you there too.
- Parchment overhang is your best friend for lifting the whole slab out cleanly.
- A warm knife dipped in hot water and wiped dry makes perfectly clean slices every time.
- Do not forget to label the container before it disappears into the fridge behind everything else.
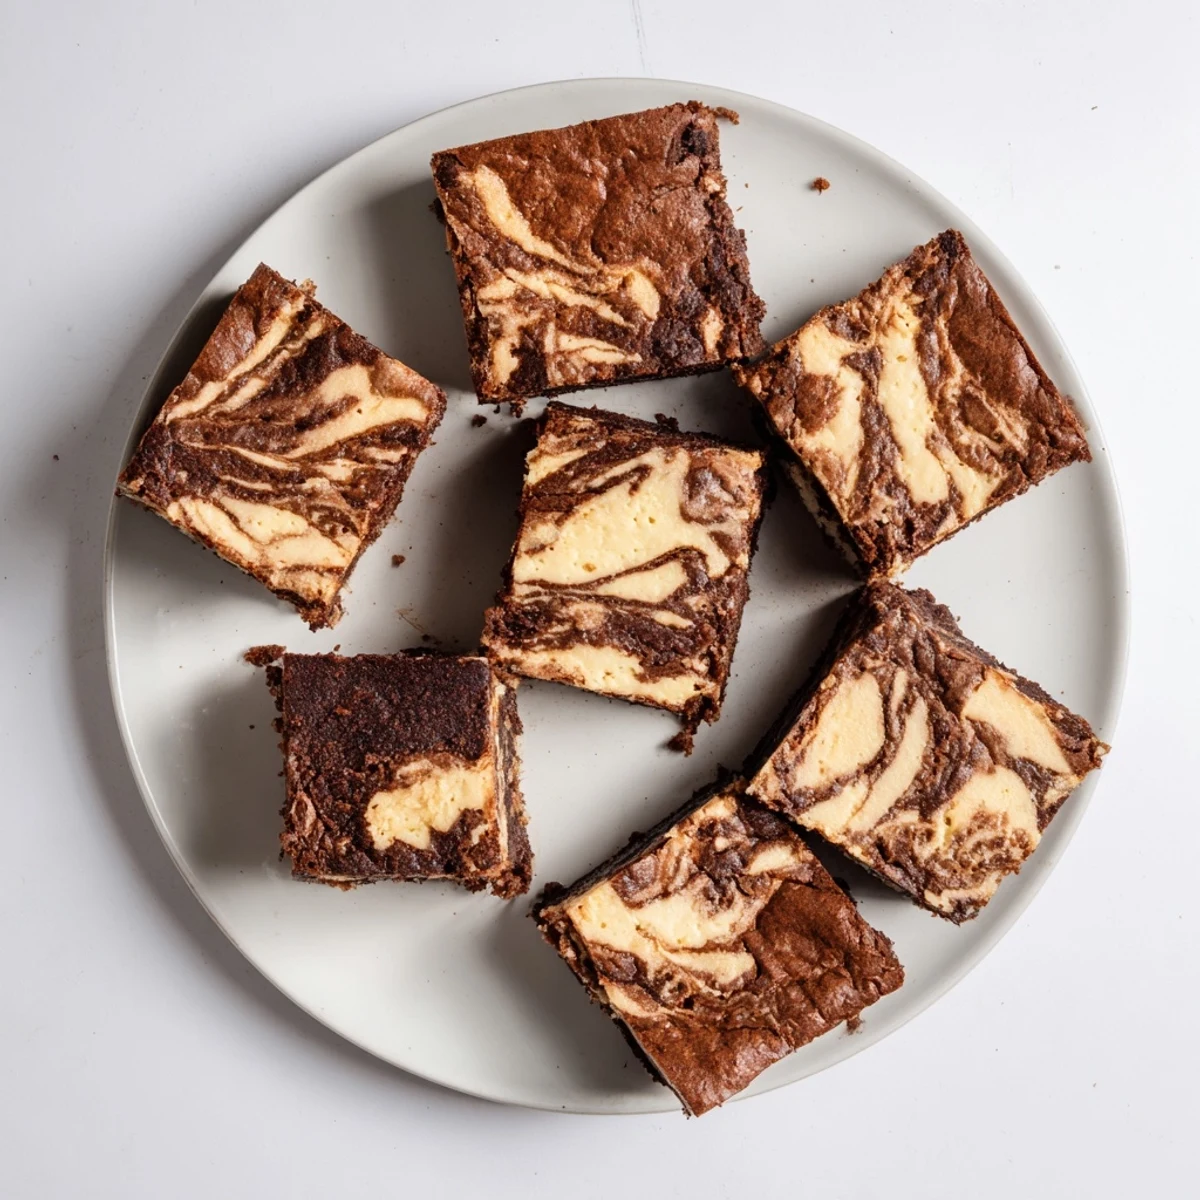 Pin it
 These bars are proof that the best recipes come from curiosity and a willingness to play, and I hope they bring the same unexpected joy to your kitchen.
Recipe Q&A Section
- → Can I use sourdough discard?
-
Absolutely! Both active fed starter and unfed discard work perfectly in this creation. The discard contributes that characteristic tang while helping create the fudgy texture everyone loves.
- → Why add sourdough to brownies?
-
The starter adds subtle tangy notes that balance the rich chocolate sweetness while creating an incredibly moist, dense texture. It's also a brilliant way to use extra starter without making bread.
- → How do I know when they're done baking?
-
The edges should be set while the center still has a slight jiggle. A toothpick inserted should come out with moist crumbs rather than wet batter. They'll continue setting while cooling.
- → Can I freeze these bars?
-
Yes! Wrap individual portions tightly in plastic then foil. Freeze up to 3 months. Thaw overnight in refrigerator for best texture. The cheesecake layer remains creamy even after freezing.
- → Why must I chill before cutting?
-
Chilling allows the cheesecake layer to firm completely, ensuring clean, neat slices. Warm cheesecake tends to smear and lose those beautiful swirl patterns you created.
- → Can I add mix-ins?
-
Certainly! Chocolate chips, chopped nuts, or espresso powder blend wonderfully into the brownie layer. Add them after folding in flour so they distribute evenly without overmixing the batter.
