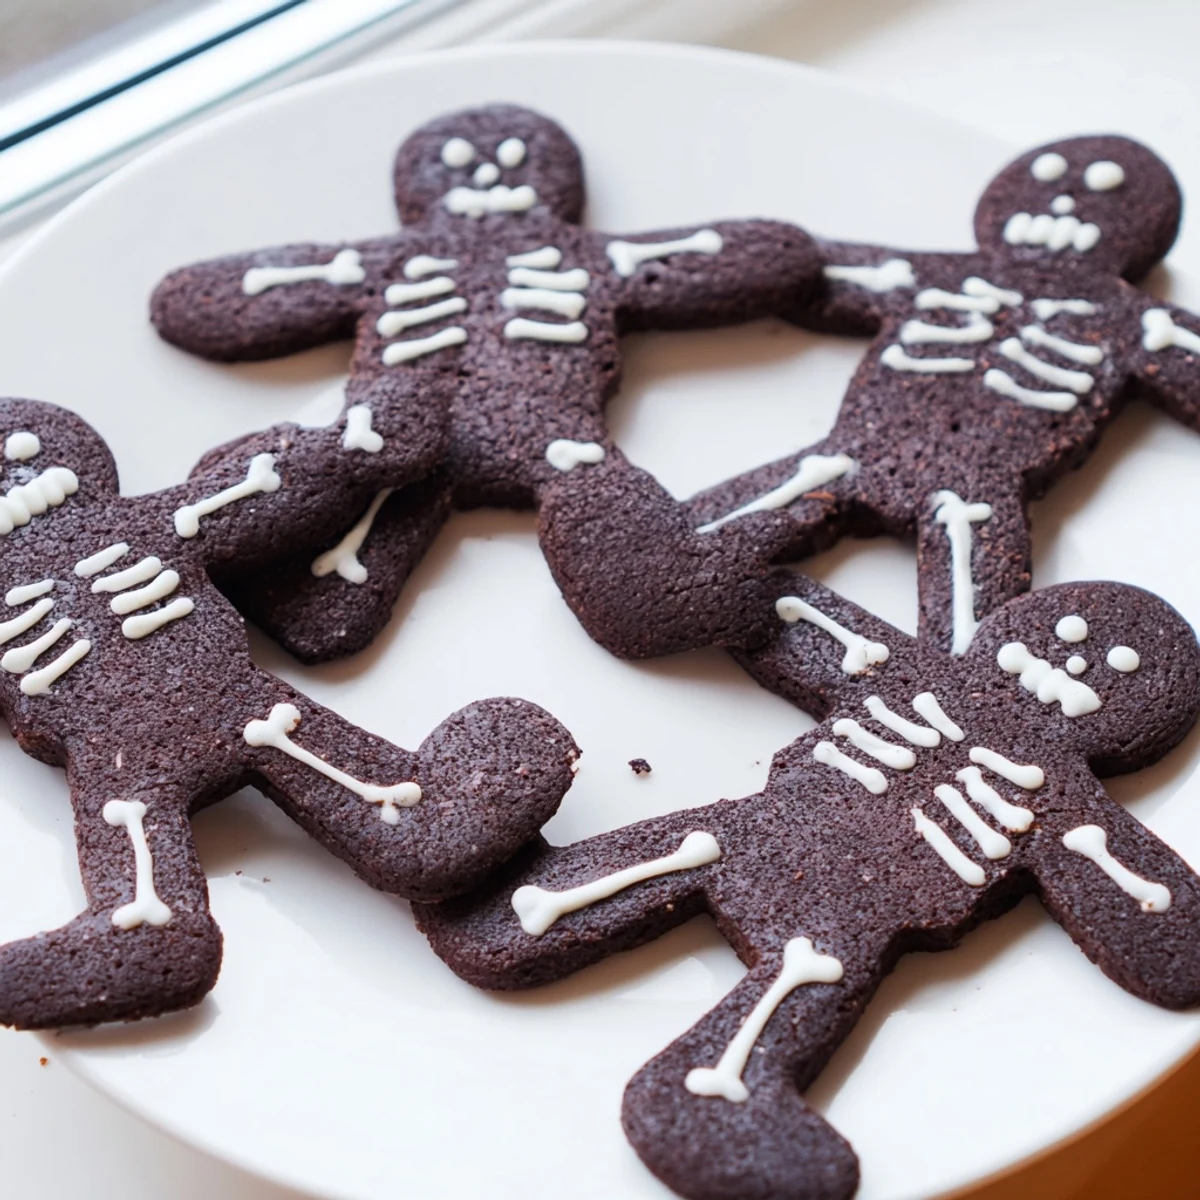
 Pin it
 Create these delightfully spooky chocolate cinnamon skeleton cookies for your next Halloween gathering. The dough combines rich cocoa powder with warming cinnamon for a depth of flavor that pairs perfectly with the sweet royal icing decorations. After chilling for 30 minutes, the dough rolls out easily and cuts into classic skeleton or gingerbread man shapes. The royal icing dries to a smooth finish, allowing you to pipe detailed bone designs that really pop against the dark chocolate background. These make fantastic party treats, classroom snacks, or gifts during the Halloween season.
The cinnamon hit me first, then the rich chocolate undertone that made these skeleton cookies unlike anything I'd ever baked. I found the recipe tucked inside an old cookbook during a particularly rainy October, and something about the playful yet sophisticated flavor combination called to me. My kitchen smelled like a bakery crossed with a spice shop while they baked, which is honestly the best kind of aromatherapy.
Last Halloween, I made three batches for my niece's school party and watched kids actually choose these over the candy bowls. One skeleton even had a little bowtie decoration because my assistant decided he needed to be formal. There's something magical about how a simple cookie cutter can transform dough into a whole personality.
Ingredients
- All-purpose flour: The structure that holds everything together, dont skip measuring it properly
- Unsweetened cocoa powder: This is where the deep chocolate flavor comes from, not sweetness
- Ground cinnamon: Two teaspoons might seem like a lot but trust me, it's what makes these special
- Baking powder: Just enough lift to keep them from being too dense
- Salt: Essential for balancing the chocolate and bringing out all the flavors
- Unsalted butter: Room temperature is nonnegotiable here for proper creaming
- Granulated sugar: Creates that perfect crisp edge while keeping centers tender
- Egg: The binding agent that also adds richness and structure
- Vanilla extract: Rounds out the chocolate and cinnamon beautifully
- Powdered sugar: For the royal icing that brings our skeletons to life
- Egg white: Creates that perfect harddrying icing that wont smudge
Instructions
- Whisk the dry ingredients:
- Combine flour, cocoa powder, cinnamon, baking powder, and salt in a medium bowl until everything is evenly distributed. The mixture should look like dark chocolate dust.
- Cream the butter and sugar:
- Beat them together for about two minutes until the mixture turns pale and fluffy, which incorporates air for lighter cookies. Add the egg and vanilla, mixing until just combined.
- Form the dough:
- Gradually add the dry ingredients to the wet mixture, mixing only until a dough forms. Overmixing will make tough cookies, so stop as soon as you no longer see dry flour.
- Chill the dough:
- Divide in half, flatten into disks, wrap in plastic, and refrigerate for at least 30 minutes. This step is crucial for preventing spreading and maintaining those sharp skeleton details.
- Prep for baking:
- Preheat oven to 350°F and line baking sheets with parchment paper. Meanwhile, let your dough sit at room temperature for a few minutes so it's easier to roll.
- Shape your skeletons:
- Roll dough 1/4 inch thick on a lightly floured surface and cut with your skeleton cutter. Transfer carefully to prepared sheets, leaving space between them.
- Bake to perfection:
- Bake for 10 to 12 minutes until set but still slightly soft to the touch. Let them cool completely on the baking sheet first, then transfer to a wire rack.
- Make the royal icing:
- Beat egg white with sifted powdered sugar and water until smooth and pipeable. The consistency should hold its shape when piped but still flow slightly.
- Decorate your creations:
- Transfer icing to a piping bag with a fine tip and pipe skeleton designs. Let dry completely before stacking or storing.
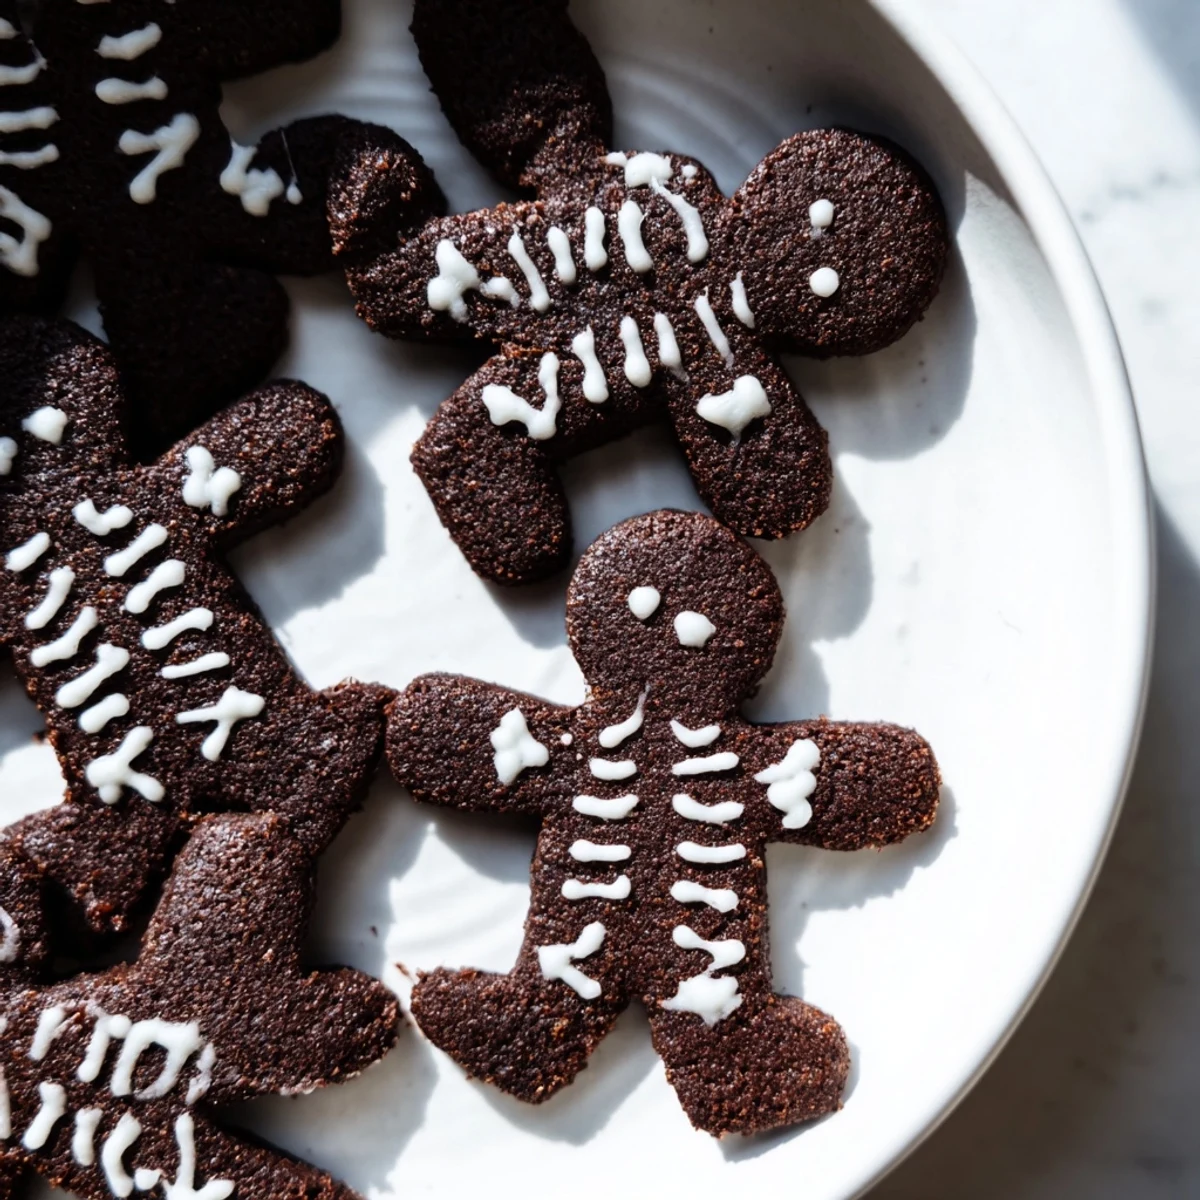 Pin it
 My friend Maria asked me to teach her how to decorate skeletons last year, and we ended up with an entire graveyard of cookies, each with different expressions. Some were grinning, some looked startled, and one had a tiny top hat because why not. That afternoon of laughing over icing bags and eating our mistakes is one of my favorite kitchen memories.
Getting The Icing Right
I've learned that royal icing consistency changes with humidity and temperature, so don't be afraid to adjust. If it's too thick, add water literally drop by drop. Too thin? Sift in more powdered sugar. The perfect consistency should hold a peak for about 10 seconds before slowly settling.
Making Them Ahead
You can freeze the undecorated cookies for up to a month, which has saved me more than once before parties. Just thaw them completely on a wire rack before decorating, because any condensation will make the icing separate. The dough itself also freezes beautifully wrapped tightly in plastic.
Decoration Ideas
Don't feel limited to traditional white skeletons, I've done glitter versions and even some with bow ties for fancy occasions. The royal icing can be tinted with food coloring if you want colorful skeletons, though the classic white really pops against the dark chocolate.
- Use different piping tip sizes to create varied bone thicknesses
- Add edible pearls or sprinkles for extra personality
- Practice your skeleton faces on parchment paper first
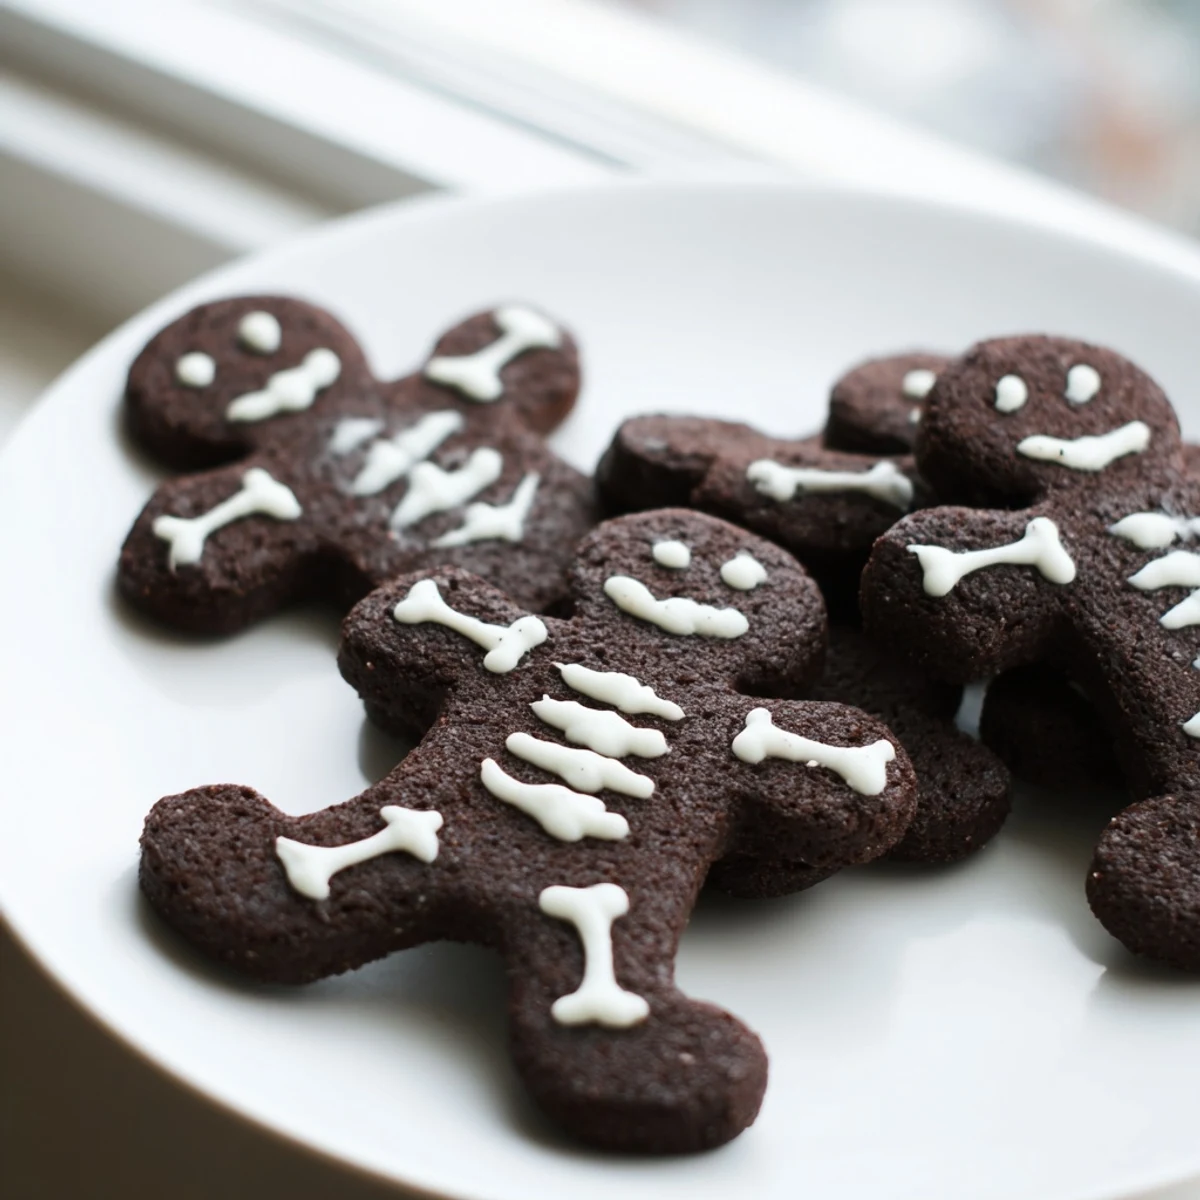 Pin it
 There's something deeply satisfying about turning simple ingredients into something that makes people smile before they even take a bite. Hope these skeleton cookies bring as much joy to your kitchen as they've brought to mine.
Recipe Q&A Section
- → Can I make the dough ahead of time?
-
Yes, the dough can be wrapped and refrigerated for up to 3 days before baking. You can also freeze the dough disks for up to 3 months—thaw in the refrigerator overnight before rolling and cutting.
- → What if I don't have a skeleton cookie cutter?
-
Gingerbread man cutters work perfectly for creating skeleton shapes. You can also freehand cut bone shapes or use a small knife to create skull and rib designs from simple round or oval cutters.
- → How do I know when the cookies are done?
-
The cookies are ready when the edges are set and the tops look slightly matte. They should still be soft to the touch—they firm up as they cool. Overbaking will make them dry and crumbly.
- → Can I use meringue powder instead of egg white?
-
Absolutely. Use 2 tablespoons of meringue powder mixed with the powdered sugar and 2-3 tablespoons of water. This is a great option for those concerned about using raw egg whites.
- → How should I store the decorated cookies?
-
Once the icing is completely dry (about 2-4 hours), store the cookies in an airtight container between layers of parchment paper. They'll stay fresh for up to a week at room temperature.
- → Can I add other spices to the dough?
-
A pinch of cayenne pepper adds a subtle heat that complements the chocolate. You could also try adding a bit of ginger, nutmeg, or allspice for a more complex spice profile.
