 Pin it
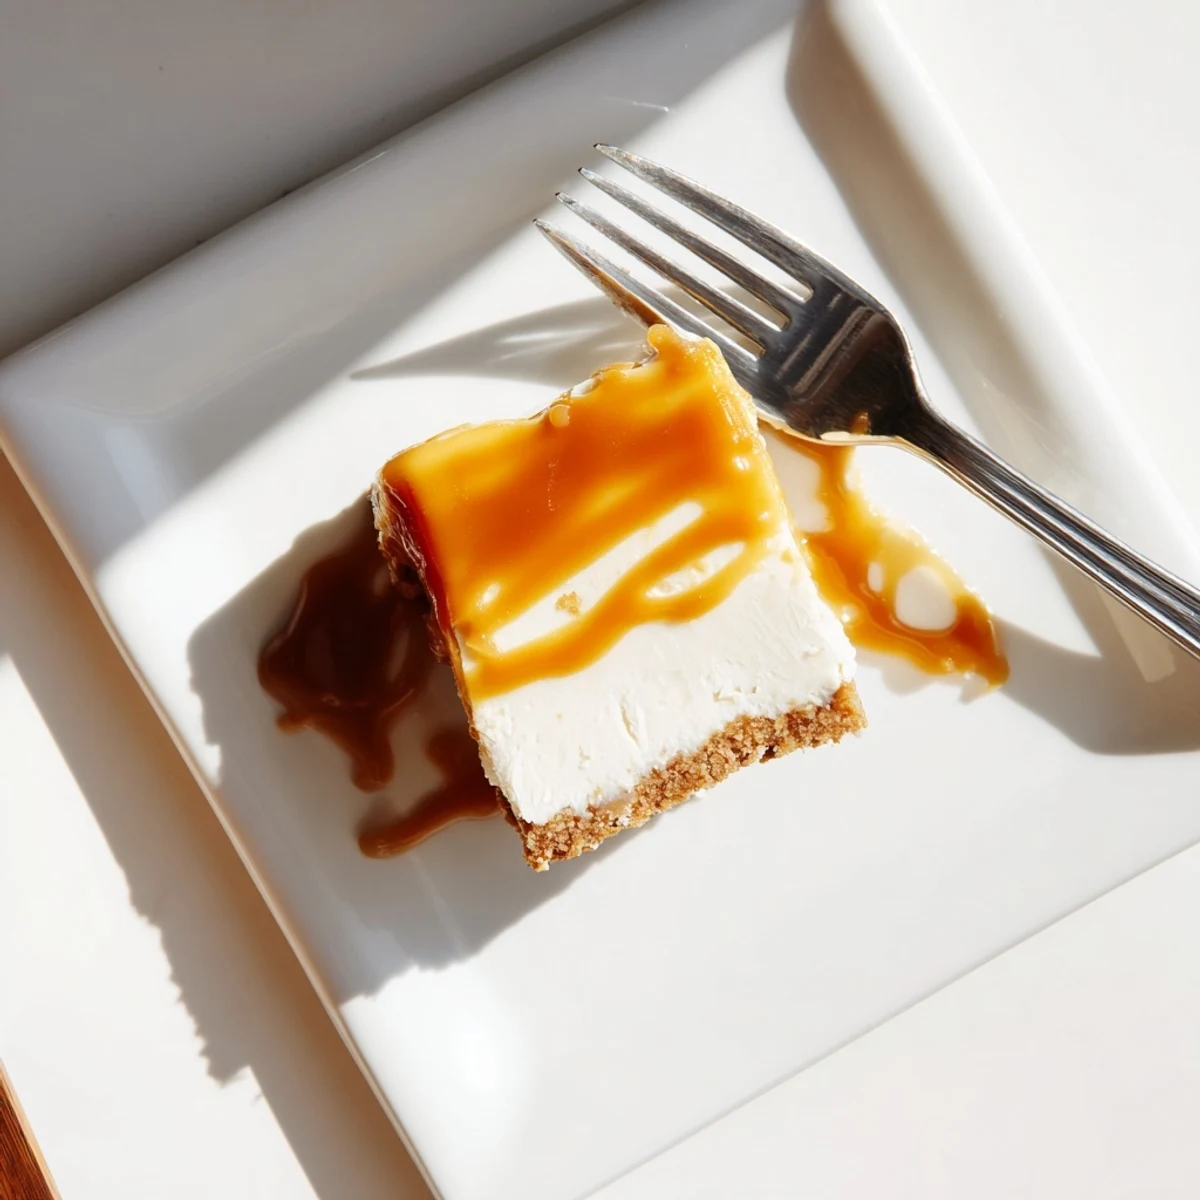
 These luxurious caramel cheesecake bars combine three irresistible elements into one stunning dessert. A crisp buttery graham cracker base supports a velvety smooth cream cheese filling, while a glossy amber caramel crown adds the perfect sweet finish. Each bite delivers contrasting textures—crunchy crust, creamy center, and silky sauce.
The process involves baking a traditional graham cracker crust, preparing a classic cheesecake mixture with sour cream for tanginess, and crafting homemade caramel from scratch. Though the total time includes chilling, the hands-on preparation is straightforward. The final chill ensures clean cuts and allows flavors to meld beautifully.
These bars are ideal for gatherings, potlucks, or holiday celebrations. They can be made ahead and store well in the refrigerator for several days. For an elevated version, finish with flaky sea salt to create salted caramel variation.
The caramel got away from me the first time I made these, turning from golden to burnt in what felt like three seconds. My entire apartment smelled like sugar gone wrong for days afterward, but I was determined to get it right. These bars became my redemption project, and now they are the dessert everyone actually requests for birthdays.
I brought these to a friends summer barbecue last year, and somehow they vanished before the main course even hit the table. My brother-in-law, who claims he does not like sweets, ate three in rapid succession and then tried to smuggle one home in his pocket.
Ingredients
- Graham cracker crumbs: Freshly crushed give you the best texture, but the store-bought crumbs work perfectly fine in a pinch
- Unsalted butter: Use it melted for the crust so every crumb gets coated evenly
- Cream cheese: Let it come to room temperature completely, otherwise you will end up with lumps in your filling
- Sour cream: Adds that essential tang that cuts through all the sweetness
- Granulated sugar: Standard white sugar dissolves perfectly into both the filling and caramel
- Eggs: Room temperature eggs incorporate better without overmixing
- Pure vanilla extract: Do not skimp here, it makes all the difference in the final flavor
- All-purpose flour: Just enough to stabilize the filling without making it taste like cake
- Heavy cream: Warm it slightly before adding to the hot caramel to prevent splattering
- Sea salt: Optional but highly recommended, it makes the caramel sing
Instructions
- Get your crust going:
- Preheat your oven to 175°C (350°F) and line a 23x23 cm (9x9 inch) baking pan with parchment paper, letting the ends hang over the sides like a little sling.
- Press and bake the base:
- Mix graham cracker crumbs, melted butter, sugar, and salt until everything looks like wet sand, then press it firmly into the bottom of your pan. Bake for 10 minutes until it smells amazing.
- Make the creamy filling:
- Beat your room temperature cream cheese until it is completely smooth, then add sour cream and sugar until everything is glossy and combined.
- Add the eggs gently:
- Beat in eggs one at a time, then stir in vanilla and flour just until you cannot see white streaks anymore.
- Bake until just set:
- Pour the filling over your crust and bake for 35 to 40 minutes until the center is set but still gives a little jiggle, like gelatin.
- Cool completely:
- Let the cheesecake cool on a wire rack until it reaches room temperature, then refrigerate for at least 2 hours until it is firm and cold.
- Watch the caramel closely:
- Heat sugar and water in a saucepan over medium heat, swirling the pan gently as it turns from clear to light amber to deep amber.
- Finish the caramel:
- Remove from heat immediately and whisk in butter, then slowly pour in warm heavy cream while whisking constantly.
- Assemble and chill:
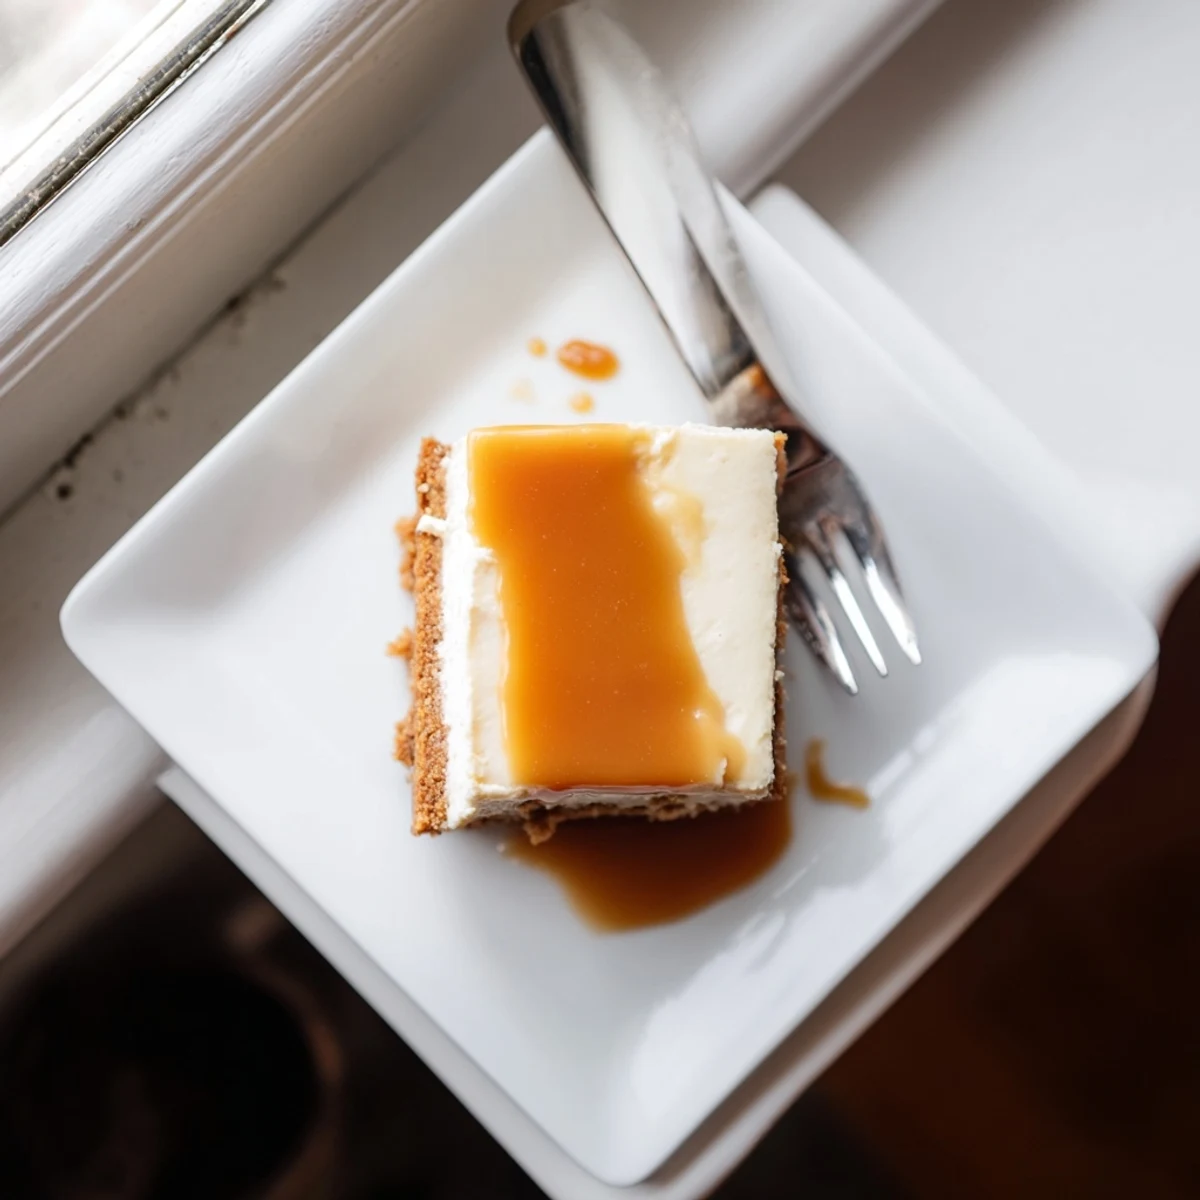
- Let the caramel cool slightly until it is pourable but not hot, then spread it over your chilled cheesecake and refrigerate for another hour.
- Clean cuts:
- Use the parchment paper to lift the whole thing out of the pan, then run your knife under hot water between cuts for perfect squares.
 Pin it
 My mom asked for the recipe after trying these, and now she makes them for every holiday gathering. Last Christmas she sent me a photo of her kitchen counter covered in cooling racks, having quadrupled the batch for neighbor gifts.
Getting The Crust Just Right
Pressing the crust into the pan with the bottom of a measuring cup gives you an even layer that bakes up perfectly firm. Do not worry if it looks slightly uneven, it will level out as it bakes and the filling will hide any imperfections.
Making Caramel Without Fear
The secret to caramel is patience and resisting the urge to stir, which can cause crystallization. Swirl the pan gently instead and trust your eyes more than the timer, since sugar color is the only real indicator you need.
Serving And Storage
These bars keep beautifully in the refrigerator for up to five days, though they rarely last that long in my house. The crust softens slightly over time, which some people actually prefer.
- Let them sit at room temperature for 15 minutes before serving for the best texture
- Clean your knife with hot water between cuts for picture-perfect slices
- Store them in an airtight container with parchment between layers
 Pin it
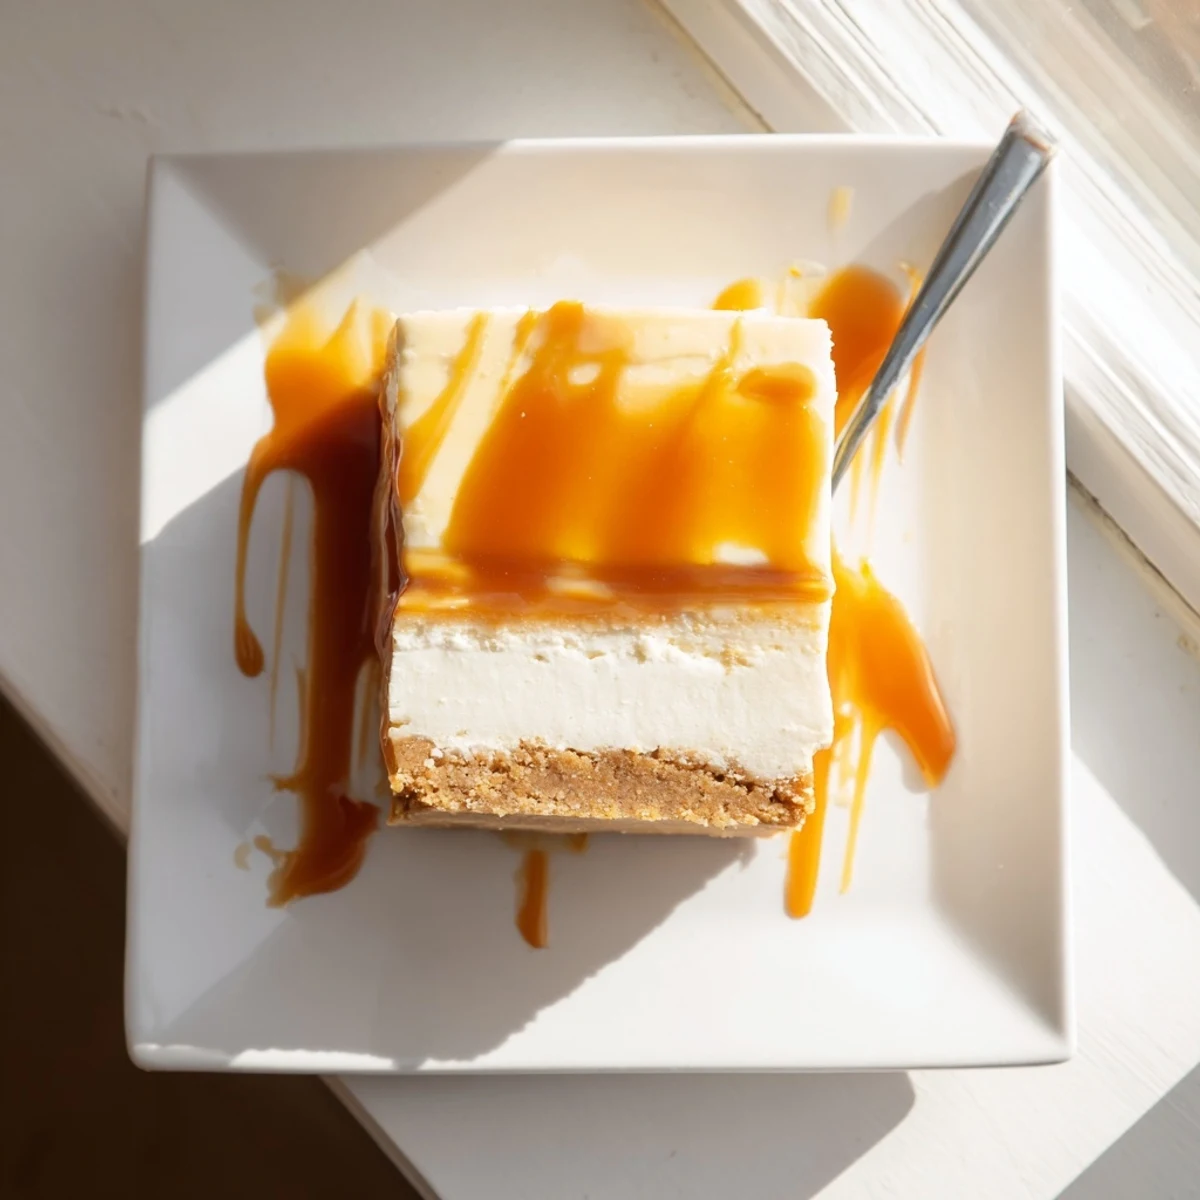
 There is something deeply satisfying about pulling a perfect tray of these from the fridge, that glossy caramel catching the light. They are the kind of dessert that makes people pause and really savor every bite.
Recipe Q&A Section
- → How long do these need to chill before serving?
-
The cheesecake bars require a minimum of 3 hours total chilling time—2 hours after baking to set the filling completely, plus an additional hour after adding the warm caramel topping. For cleanest cuts and best flavor, overnight refrigeration is recommended.
- → Can I use store-bought caramel sauce instead of making it?
-
Yes, you can substitute high-quality store-bought caramel sauce. However, homemade caramel provides superior flavor and texture. If using purchased sauce, warm it slightly before pouring to ensure even spreading over the chilled cheesecake layer.
- → What's the best way to prevent cracks in the cheesecake filling?
-
Avoid overmixing the batter once eggs are added, and don't open the oven door during baking. Cool the bars gradually—first at room temperature, then refrigerate. The slight jiggle in the center when removed from the oven is normal and will set during chilling.
- → Can I freeze these caramel cheesecake bars?
-
Yes, freeze individual bars wrapped tightly in plastic wrap and placed in an airtight container for up to 3 months. Thaw overnight in the refrigerator before serving. Note that texture may be slightly softer after freezing.
- → How do I know when the caramel is ready?
-
The caramel is ready when the sugar-water mixture turns a deep amber color and smells nutty. This typically takes 8-12 minutes. Remove from heat immediately at this stage, as the sugar can burn quickly. Swirl the pan gently rather than stirring for even cooking.
- → What can I substitute for graham crackers in the crust?
-
Digestive biscuits, vanilla wafers, or even Biscoff cookies make excellent crust alternatives. Simply crush them to fine crumbs and proceed with the same butter and sugar ratios. Each option will impart a slightly different flavor profile.
