 Pin it
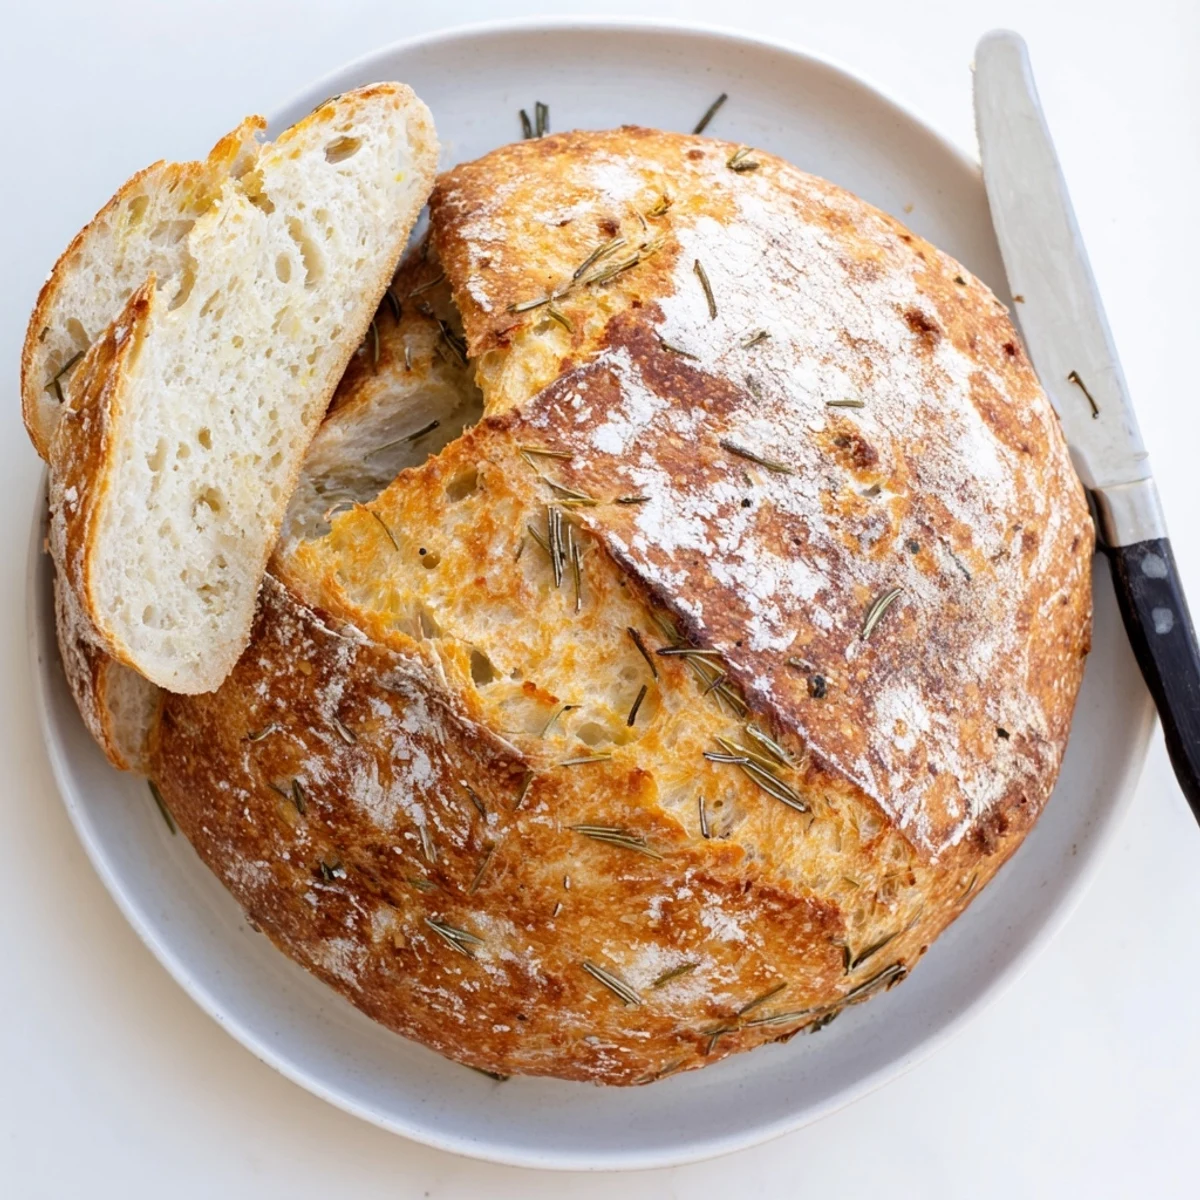
 Experience the warmth of homemade bread with this rustic Dutch oven creation. The dough transforms over hours, developing deep flavors from fresh garlic and fragrant rosemary. Baking inside a preheated cast iron vessel creates that signature crackling crust while keeping the inside tender and perfect for soaking up olive oil or sauces.
Whether you're serving it alongside pasta, soups, or simply enjoying it warm with butter, this loaf brings European bakery quality to your kitchen. The hands-on time is minimal, making it ideal for weekend baking when you want impressive results without constant attention.
The winter I discovered Dutch oven bread changed everything about my relationship with baking. Something about that heavy pot creating its own steam chamber felt like kitchen alchemy. The first loaf emerged with the most dramatic crust I had ever achieved in my home oven. Since then, this garlic rosemary version has become the one friends beg me to make.
My sister came over during a particularly gray February and walked in saying something incredible was happening in the kitchen. We tore into the warm bread straight from the Dutch oven, standing at the counter with butter melting everywhere. Now she requests this bread every time she visits, regardless of the season.
Ingredients
- Bread flour: Higher protein content gives this bread its structure and chew
- Fine sea salt: Coarser salt can create uneven spots in the dough
- Active dry yeast: A small amount works because of the long fermentation time
- Lukewarm water: Too hot will kill the yeast, too cold slows everything down
- Olive oil: Adds subtle richness and helps the crust color beautifully
- Fresh garlic: Minced finely so it distributes evenly throughout the crumb
- Fresh rosemary: Woody herbs hold up better than delicate ones during baking
- Extra flour: Prevents sticking and gives the bottom crust a nice texture
Instructions
- Mix the dry foundation:
- Whisk the flour, salt, and yeast in a large bowl until completely combined
- Build the dough:
- Stir in the water and olive oil until everything comes together in a shaggy mass
- Add the magic:
- Fold in the garlic and rosemary gently until scattered throughout the dough
- Let it rise:
- Cover and leave at room temperature for 2 to 3 hours until the dough has doubled
- Shape the loaf:
- Turn onto a floured surface and gently form into a round ball with your hands
- Second rise:
- Place on parchment, cover loosely, and rest for another 30 to 45 minutes
- Heat things up:
- Put your Dutch oven and lid in a cold oven, then preheat to 450°F for 30 minutes
- Transfer carefully:
- Lift the parchment and dough into the scorching hot Dutch oven
- Bake covered:
- Cook with the lid on for 30 minutes to trap steam and develop the crust
- Finish uncovered:
- Remove the lid and bake another 12 to 15 minutes until deeply golden
- Cool completely:
- Let the bread rest on a rack for at least 20 minutes before slicing into it
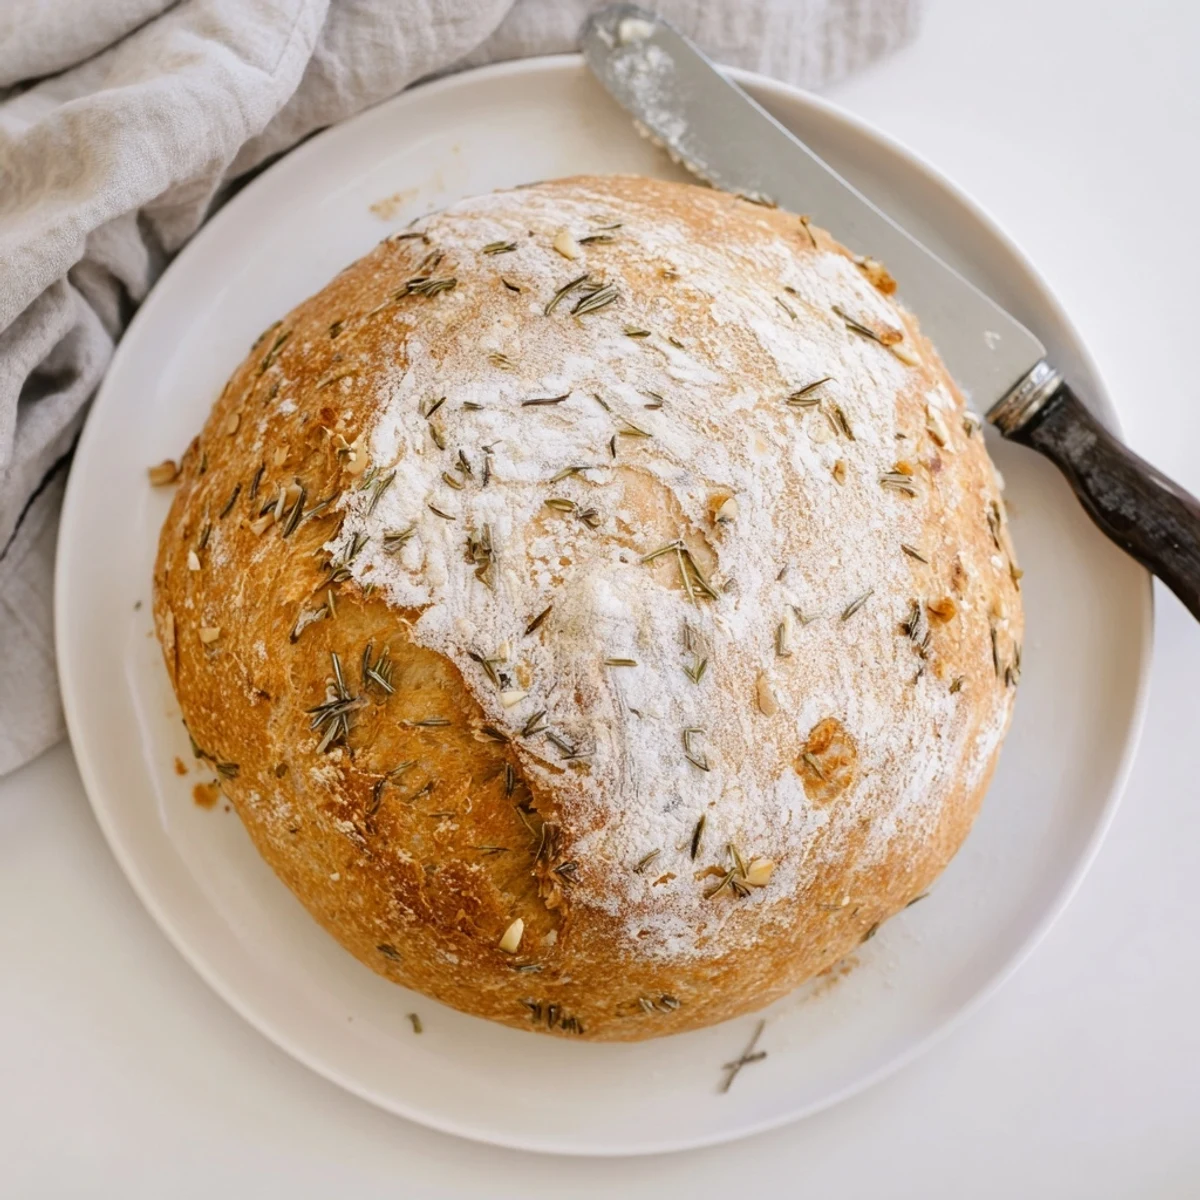 Pin it
 This bread has become my go to for housewarming gifts and dinner parties. Something about breaking bread with people just hits different when you baked it yourself. The ritual of tearing off a warm piece together creates more connection than any fancy dish I have ever made.
Making It Your Own
I have experimented with adding kalamata olives and sun dried tomatoes to the base dough. Both additions work beautifully because the brine and oil integrate seamlessly into the crumb. Just keep the add ins to about half a cup total so the dough still rises properly.
Timing Your Bake
The long rise time is actually your friend because it allows the flour to hydrate fully. I often mix the dough before breakfast and bake it in time for dinner. The extended fermentation also develops deeper flavor that you cannot rush.
Storage and Serving
This bread is at its absolute best the day it is baked when the crust is still singing. Any leftovers make incredible toast the next morning or croutons for soup. Store cut side down on a cutting board rather than in plastic to preserve the crust.
- Wrap the cooled loaf in a clean towel if keeping overnight
- Revive a day old crust by sprinkling with water and reheating at 350°F for 10 minutes
- Slice extra pieces and freeze in a freezer bag for quick toast later
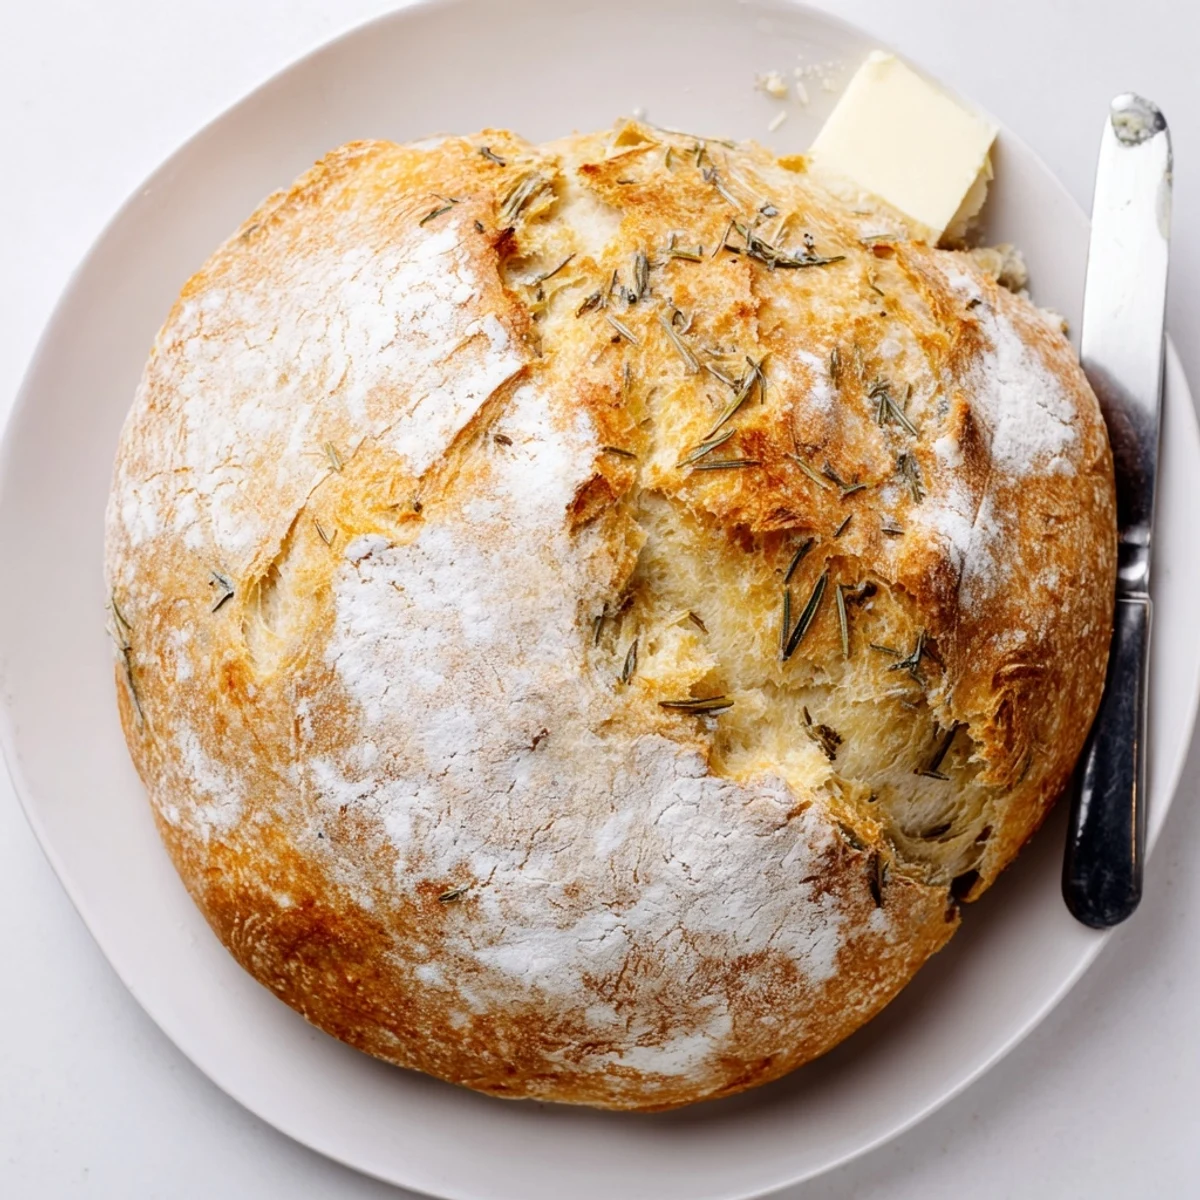 Pin it
 There is something profoundly satisfying about pulling a gorgeous loaf from that heavy pot. Hope this recipe finds a permanent place in your baking rotation.
Recipe Q&A Section
- → Why bake bread in a Dutch oven?
-
The heavy cast iron creates a steam-filled environment that mimics professional bread ovens. This trapped moisture allows the dough to expand fully before the crust sets, resulting in that beautiful airy interior with a crackling, golden crust.
- → Can I use dried rosemary instead of fresh?
-
Fresh rosemary delivers superior flavor and aroma, but you can substitute dried at one-third the amount. Use about 2 teaspoons dried instead of 2 tablespoons fresh. Consider rehydrating it in warm water first for better distribution.
- → How do I know when the bread is done?
-
Look for a deep golden brown crust and listen for a hollow sound when tapping the bottom. The internal temperature should reach 200-205°F. If unsure, bake an extra 5 minutes—better slightly overdone than undercooked in the center.
- → Can I add other ingredients?
-
Absolutely. Kalamata olives, sun-dried tomatoes, caramelized onions, or shredded Parmesan all complement the garlic-rosemary base. Fold in additions during step 3 when incorporating the aromatics.
- → How should I store leftovers?
-
Wrap in a cloth or paper bag at room temperature for up to 2 days. Avoid plastic, which makes the crust soft. Stale slices transform into exceptional toast or croutons. For longer storage, slice and freeze.
- → What if I don't have a Dutch oven?
-
Use a heavy oven-safe pot with a tight-fitting lid, such as a ceramic crock or stainless steel soup pot. You can also bake on a baking stone, throwing ice cubes into a preheated pan below to create steam.
