 Pin it
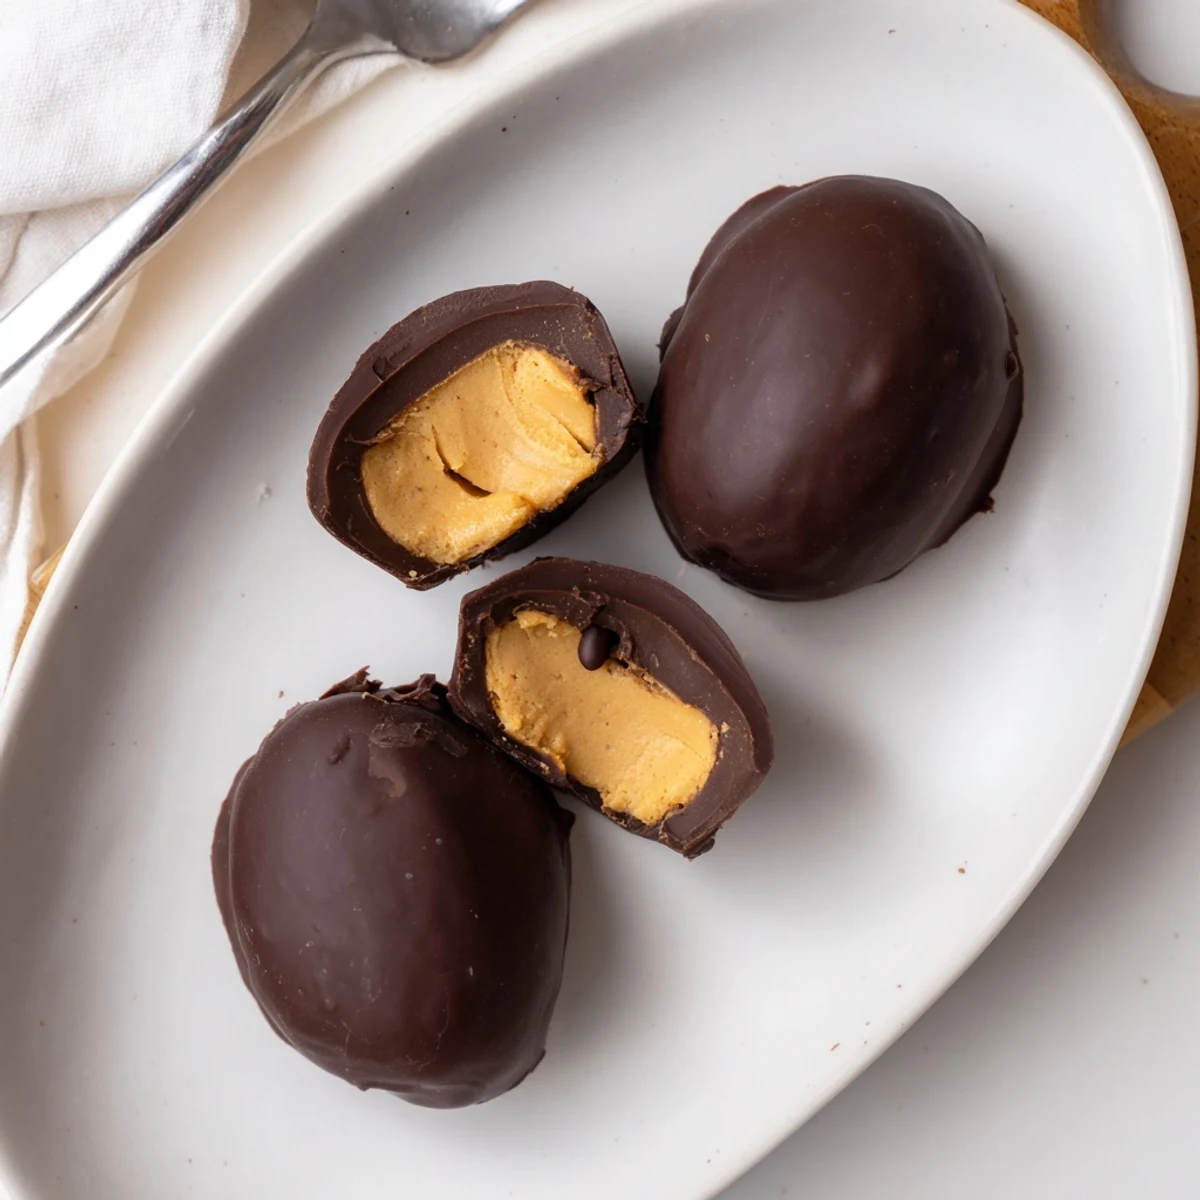
 Homemade peanut butter eggs start with a silky filling of creamy peanut butter, softened butter, powdered sugar and vanilla, shaped into small egg forms and chilled until firm. Each piece is dipped in melted semi-sweet or milk chocolate mixed with a bit of coconut oil for shine. Refrigerate to set and store in an airtight container. Try crunchy peanut butter or pretzel bits for texture, or white chocolate for a sweeter variation.
The scent of melted chocolate swirling through my kitchen instantly lifts my mood, especially when I'm making peanut butter eggs. Once, my neighbor dropped in mid-chocolate dunk and we ended up laughing over sticky hands and lopsided eggs. That’s the kind of memory these treats seem to invite—unexpected, simple, joy-filled. The first glossy batch looked a bit rough but tasted like an undercover bakery secret.
At Easter last year, my little cousin took charge of decorating each egg, and the kitchen table turned into a colorful chocolate-speckled assembly line. The mess rivaled the final product, but seeing those chocolatey grins made it worth every sticky fingerprint. Even the grown-ups got competitive about whose egg looked the most festive. We ended up with one rainbow-splattered masterpiece that we admired more than we ate.
Ingredients
- Creamy peanut butter: Look for a smooth variety so the centers stay soft and lush—natural peanut butter can work, but may need a touch more powdered sugar to hold the shape.
- Unsalted butter: Let it come to room temperature; otherwise, it won’t blend well, and your filling might end up lumpy.
- Powdered sugar: Sift it if it's clumpy for the silkiest texture, and add gradually so the dough doesn’t get too stiff.
- Vanilla extract: The dash of vanilla rounds out the peanut flavor and gives it homemade warmth.
- Pinch of salt: Essential for balance, just a bit brings out every flavor note in the filling.
- Semi-sweet or milk chocolate chips: Try both to find your favorite; semi-sweet adds depth, while milk chocolate is naturally sweeter.
- Coconut oil or vegetable shortening: This little addition makes the chocolate glossy and easy for dipping—don’t skip it if you want that pretty, smooth finish.
Instructions
- Blend the filling:
- Beat peanut butter and softened butter together until impossibly creamy—it should look pale and light. The mixing process is the secret to smooth, never crumbly centers.
- Mix in sweetness:
- Add vanilla, salt, and powdered sugar gradually, watching the dough get thicker and easier to shape with each scoop.
- Shape the eggs:
- Scoop out the dough and roll each piece in your hands, pinching the ends lightly to create that classic egg shape. Place each one on a parchment-lined baking sheet, spacing them enough so they don’t stick together.
- Chill to firm:
- Pop the tray in the fridge for about 30 minutes, just enough time to let the eggs hold together during dipping.
- Melt the chocolate:
- Combine chocolate chips and coconut oil in a microwave-safe bowl, melting in short bursts and stirring until shiny and smooth. Waiting for the chocolate to cool just a touch keeps the coating from pooling too much during dunking.
- Dip and coat:
- Gently lower each chilled egg into the chocolate, letting the excess drip off before returning them to the parchment. This is the messiest, most fun part—embrace a little unevenness.
- Set and finish:
- Refrigerate the finished eggs until the chocolate hardens, about 15 to 20 minutes. The crack of the chocolate shell is the payoff for your patience.
- Store smartly:
- Keep them in an airtight container in the fridge so the chocolate stays glossy and firm (if they last more than a day or two).
 Pin it
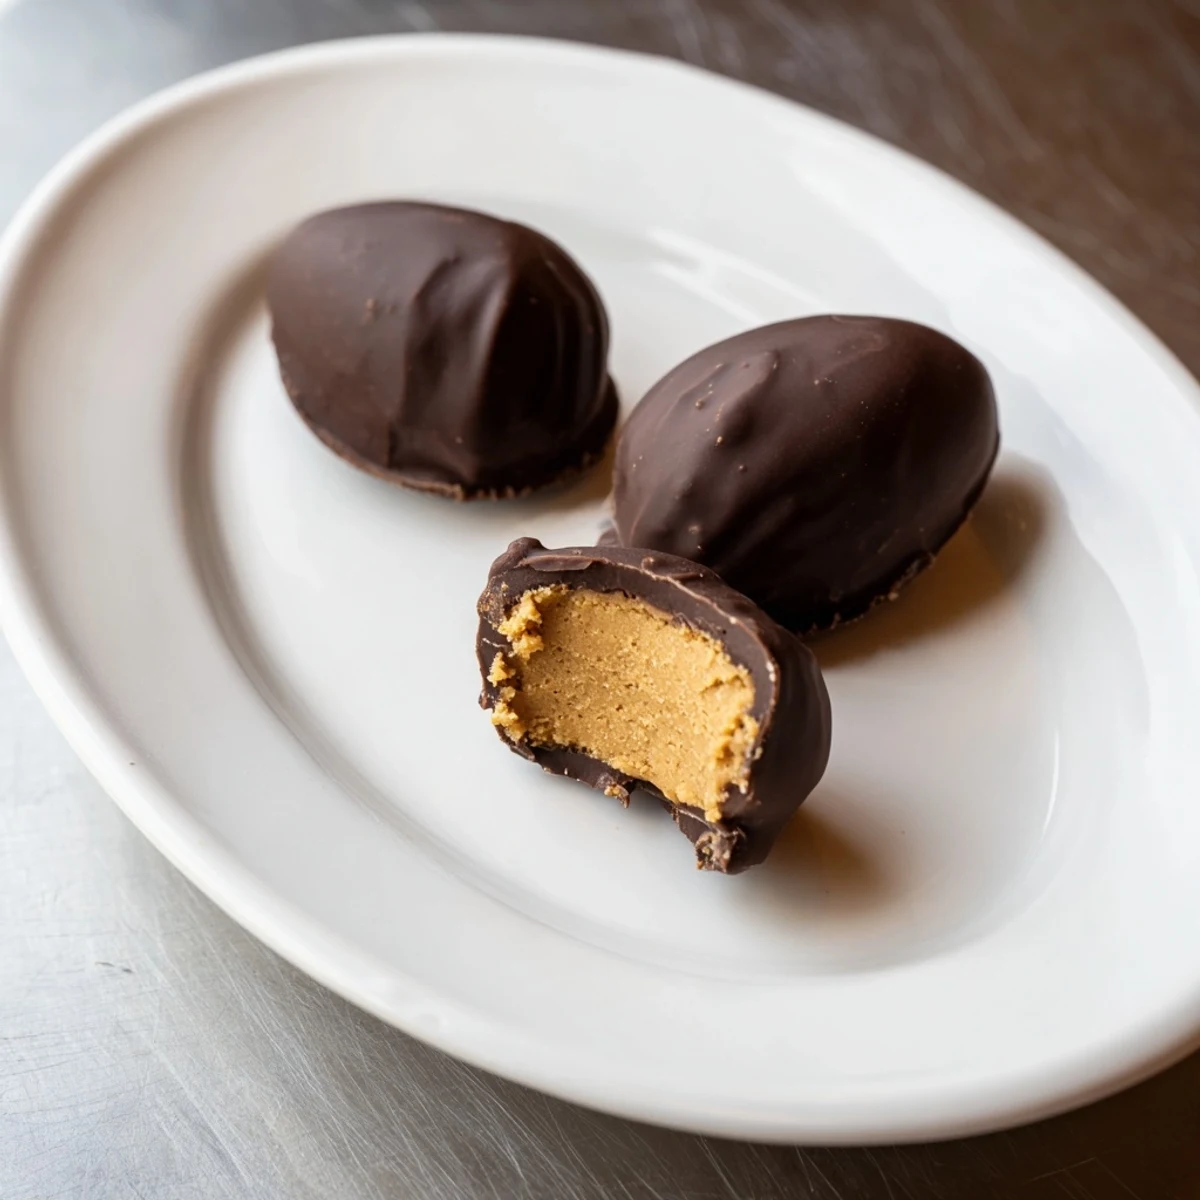
 These peanut butter eggs officially became a tradition when my dad took one to work and said it disappeared in seconds. Suddenly, I was making double batches, and friends started dropping hints weeks before Easter. It’s the dish that makes you the popular one in the group chat. That moment made me realize these humble treats had taken on a life of their own.
Beyond Easter: Making Any Day Special
Don’t wait for spring—once, rainy day boredom led to a spontaneous batch and it turned the whole afternoon around. Any excuse to break out sprinkles and melted chocolate seems valid when you’re craving something homemade. Everyone’s mood instantly lifted when the aroma brought them to the kitchen. These eggs are a celebration, no matter the calendar.
Choosing Your Chocolate Wisely
Trying different types of chocolate can really change the end result—a dark chocolate shell gives a sophisticated twist while white chocolate keeps things playful. Testing a few choices with friends became a mini taste contest in my kitchen the first year. Melting chocolate slowly is the real trick to that flawless finish. Don’t fear experimentation, and always keep a few extra chips on hand.
Decorate Like a Pro, Even If You’re Not
I used to overthink decorations, but the most gorgeous eggs always seem to come from letting loose with drizzle and sprinkles. Practice makes progress—perfection isn’t the goal, personality is. Even a simple fork swirl or contrasting chocolate stripe will make your eggs stand out.
- Add colored sprinkles while the chocolate is still wet.
- Use a spoonful of white chocolate for beautiful patterns.
- Keep wax paper handy for easy cleanup and transfer.
 Pin it
 Homemade peanut butter eggs are proof that a little effort delivers big happiness. I hope your kitchen fills with sweet moments and laughter, just like mine has every time these are made.
Recipe Q&A Section
- → How long do the eggs keep?
-
Store chilled in an airtight container for up to 2 weeks. For longer storage, freeze on a parchment-lined sheet, then transfer to a freezer-safe container for up to 3 months; thaw in the refrigerator before serving.
- → Can I use crunchy peanut butter?
-
Yes. Crunchy peanut butter adds a pleasant texture. You can also fold in crushed pretzels or chopped nuts for additional crunch while keeping the same chilling and coating steps.
- → What chocolate works best for coating?
-
Semi-sweet or milk chocolate chips melt smoothly and pair well with peanut butter. Add a teaspoon of coconut oil or shortening to thin and gloss the coating. White chocolate is a sweet alternative but may require careful melting to avoid burning.
- → How do I get a smooth, even chocolate coating?
-
Chill the shaped centers until firm, then dip quickly using a fork or dipping tool, allowing excess chocolate to drip off before returning to parchment. Work in small batches and keep melted chocolate warm and fluid for even coverage.
- → Can I make these ahead for events?
-
Yes—make and chill the centers the day before, then dip and finish the same day as your event for freshest appearance. Fully coated eggs can be prepared a few days in advance and kept chilled.
- → Any tips for melting chocolate safely?
-
Use short microwave bursts (15–30 seconds), stirring between each, or melt over a gentle double boiler. Avoid overheating; remove from heat while a few unmelted pieces remain and stir until smooth.
