 Pin it
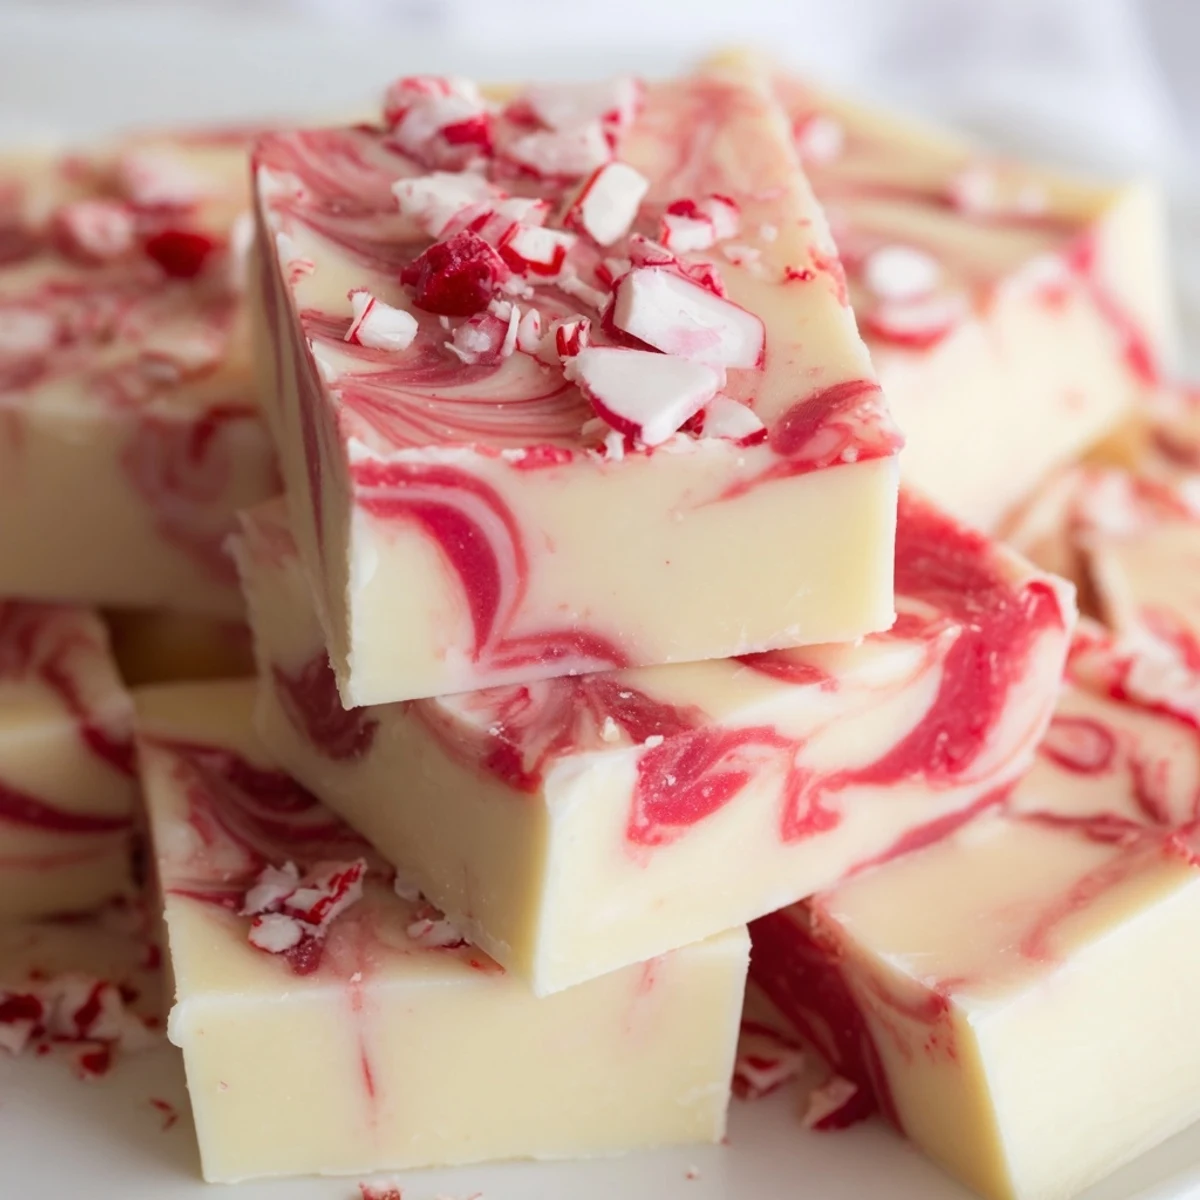
 This swirled peppermint fudge combines smooth white chocolate with festive red coloring for a stunning marbled appearance. Ready in just 25 minutes of active preparation, this treat features a rich, creamy texture enhanced with refreshing peppermint extract and finished with crunchy crushed candy canes. The simple stovetop method requires only basic ingredients—white chocolate chips, sweetened condensed milk, and butter—making it accessible for bakers of any skill level. Perfect for holiday gatherings, gift-giving, or whenever you crave something sweet and minty.
The kitchen still smelled like sugar and anticipation when I pulled my first batch of peppermint fudge from the refrigerator. My daughter had hovered nearby for hours, asking every fifteen minutes if it was ready yet. That Christmas Eve, we cut into that swirled masterpiece and discovered something magical together. Now December feels incomplete without these red and white confections cooling on the counter.
Last year I made triple batches for teacher gifts and coworkers, and the tins disappeared faster than I could distribute them. Someone actually asked if I could teach them my secret technique. I just smiled and thought about how fifteen minutes of effort had turned into so much joy.
Ingredients
- White chocolate chips: Good quality chips melt smoothly, but store brands work fine too if you stir patiently
- Sweetened condensed milk: This creates that impossibly creamy texture that sets up perfectly without any candy thermometer fuss
- Unsalted butter: Just two tablespoons adds richness and helps the fudge release from the pan cleanly
- Peppermint extract: A half teaspoon hits that sweet spot without overpowering the chocolate
- Red gel food coloring: Gel coloring mixes into the thick fudge better than liquid drops
- Crushed peppermint candies: Press these in gently while the fudge is still slightly warm for the best adhesion
Instructions
- Prepare your pan:
- Line your square pan with parchment paper, letting the edges hang over like little handles to lift the fudge out later
- Melt the base:
- Combine white chocolate chips, condensed milk, and butter in your saucepan over the lowest heat setting, stirring until everything melts into glossy smoothness
- Add the mint:
- Stir in the peppermint extract quickly after removing from heat so the flavor distributes evenly
- Layer the white:
- Pour most of the mixture into your prepared pan, spreading it into an even layer with your spatula
- Color the swirl:
- Mix red gel coloring into the remaining fudge until you have a vibrant coral pink that will contrast beautifully
- Create the marble:
- Drop spoonfuls of the red mixture across the white layer, then drag a knife through both colors in swirling patterns
- Add the crunch:
- Sprinkle crushed candies over the surface and press them in gently with your fingers
- Set and serve:
- Chill for at least two hours until firm, then lift and cut into small squares with a sharp knife
 Pin it
 My friend Sarah claimed she could not cook at all until I watched her make this recipe perfectly on her first try. We stood in her tiny kitchen, eating the slightly uneven scraps from the edges while the rest chilled. Those imperfect pieces tasted just as wonderful as the neat squares we wrapped up later.
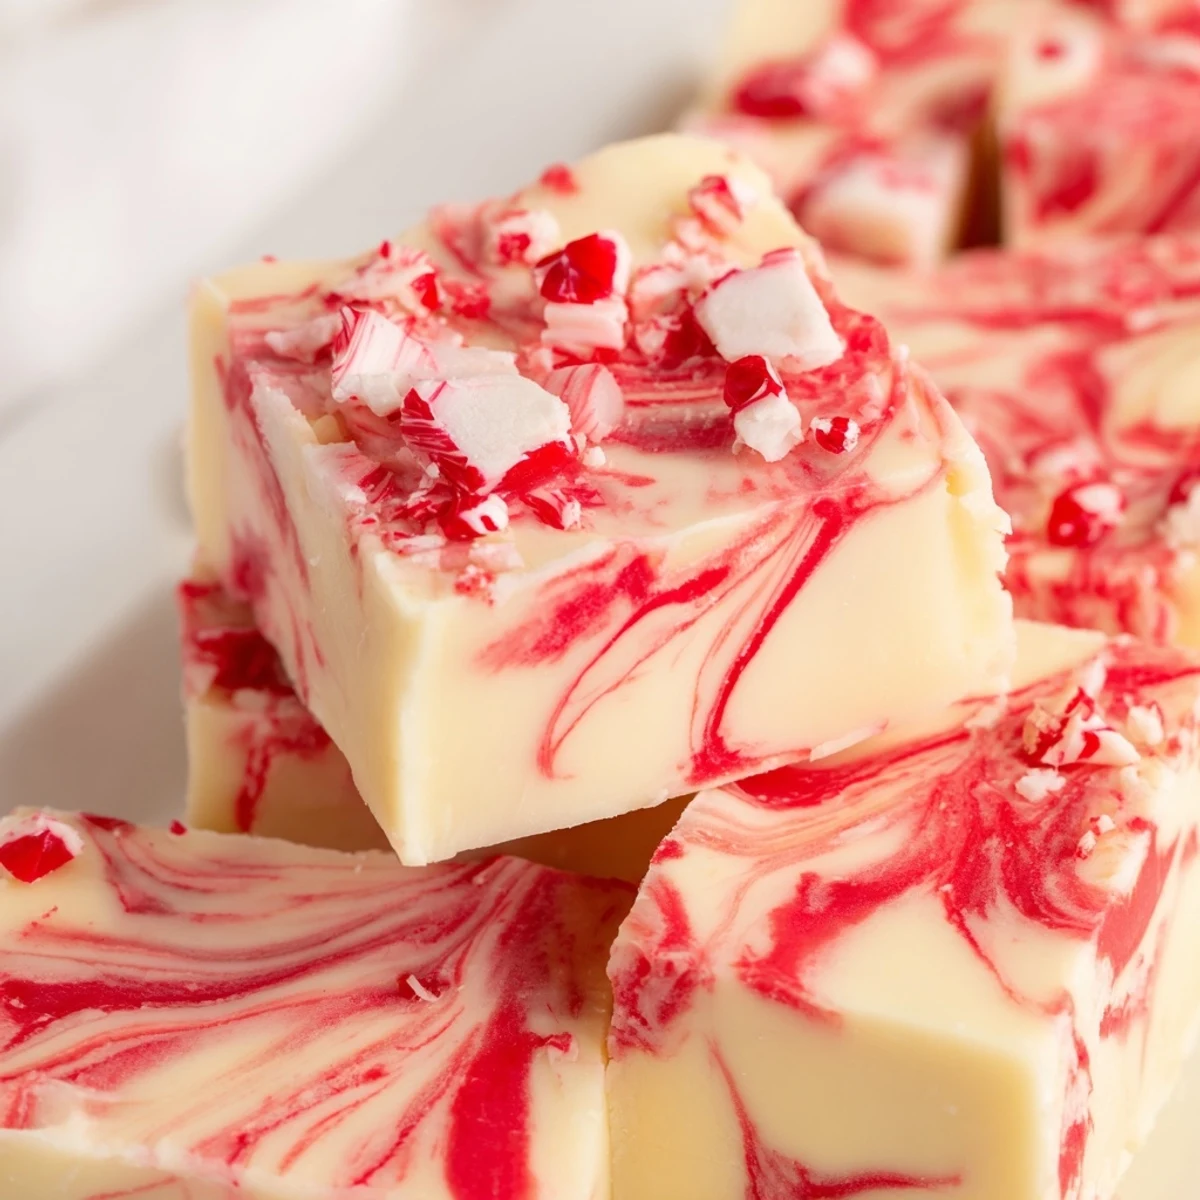
Making The Perfect Swirl
Do not overthink the marble pattern. Dropping the red mixture in random patches and dragging a knife through once or twice creates the most natural looking swirl. The first time I tried to get too artistic, the colors blended into pink instead of staying distinct. Now I just let the knife flow without much planning.
Storage Secrets
This fudge keeps beautifully in the refrigerator for up to two weeks, which sounds theoretical until you actually try not to eat it all. Layer pieces between parchment paper in an airtight container so they do not stick together. The texture actually improves after a day or two, becoming even creamier than the first day.
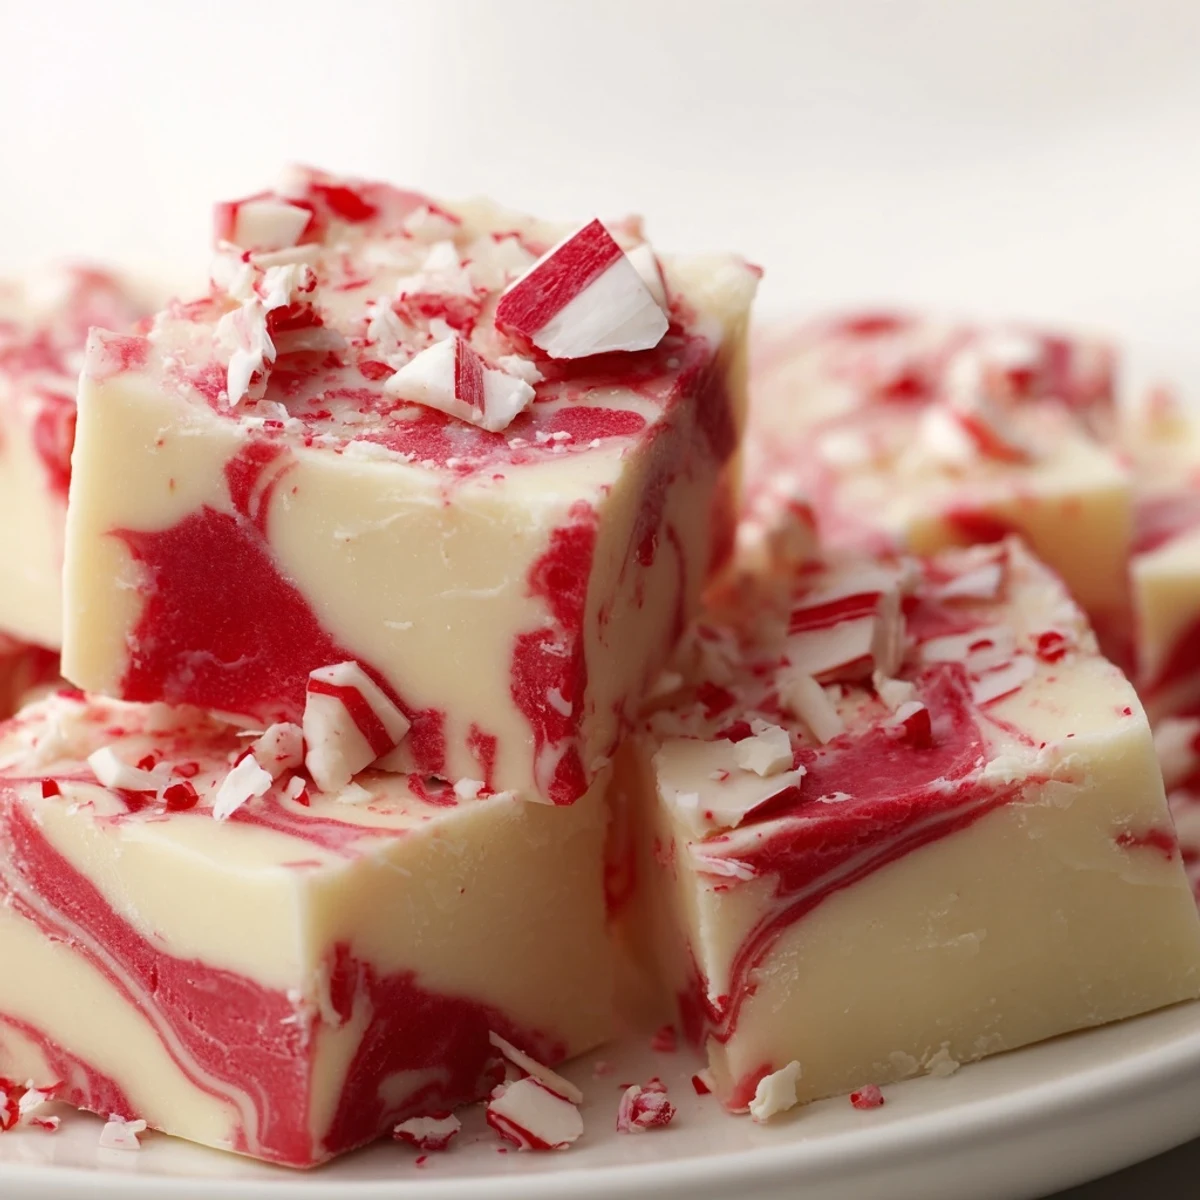
Serving Ideas
Package individual pieces in small clear bags tied with red ribbon for instant holiday gifts. Arrange them on a platter with other Christmas cookies for a gorgeous dessert table. These pair incredibly well with hot cocoa on snowy evenings.
- Try swapping milk chocolate for the white sometimes
- Crushed candy canes work just as well as peppermint candies
- Let the fudge sit at room temperature for ten minutes before cutting for cleanest slices
 Pin it
 May your kitchen fill with the scent of peppermint and chocolate this season. Every batch carries the promise of sweet moments worth sharing.
Recipe Q&A Section
- → How long does peppermint fudge need to chill?
-
Refrigerate the fudge for at least 2 hours until completely firm and set. For best results, chill overnight before cutting to ensure clean edges.
- → Can I use peppermint oil instead of extract?
-
Yes, but use much less—only about 1/8 teaspoon since oils are highly concentrated compared to extracts. Start with a tiny amount and adjust to taste.
- → How should I store the finished fudge?
-
Keep in an airtight container in the refrigerator for up to 2 weeks. Separate layers with parchment paper to prevent sticking.
- → Why is my fudge grainy instead of smooth?
-
Grainy texture usually comes from overheating the white chocolate. Always use low heat and stir constantly to prevent seizing and ensure a silky consistency.
- → Can I make this without red food coloring?
-
Absolutely—the fudge tastes delicious even without the swirl. You can also create marble effects using chocolate instead of coloring, or keep it classic white.
- → What's the best way to get clean cuts?
-
Use a sharp knife warmed under hot water and wiped dry between cuts. For perfect squares, score the top lightly first, then slice through completely.
