 Pin it
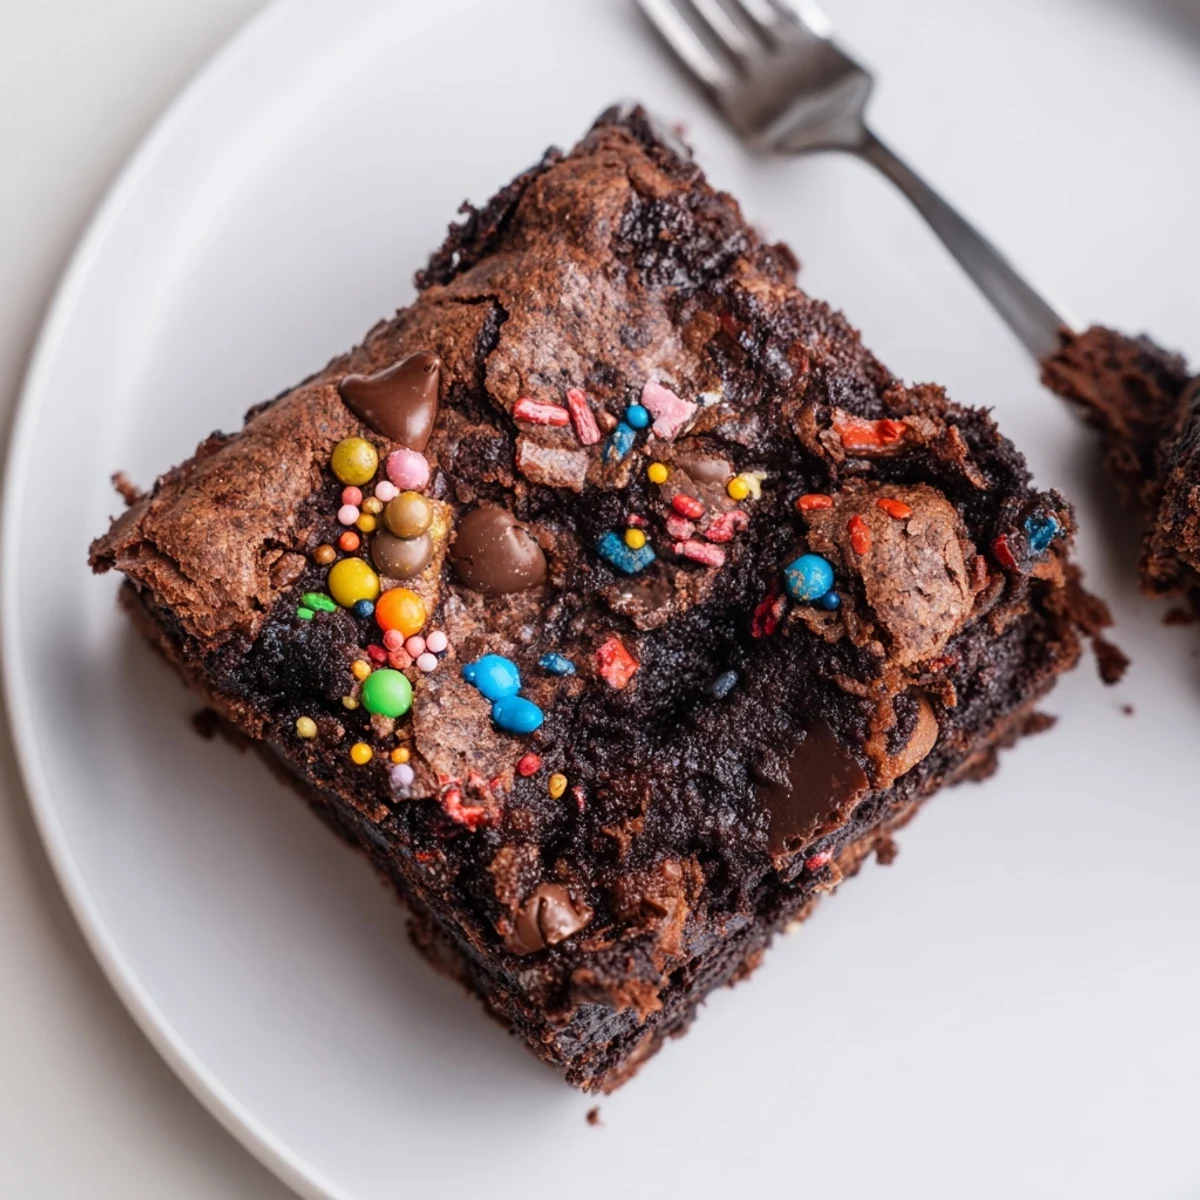
 These fudgy sourdough chocolate brownies combine melted dark chocolate and butter with an active starter for a subtle tang. After whisking sugars and eggs, fold in starter, then gently add sifted flour, cocoa and salt. Spread in an 8-inch pan, top with mini chips and rainbow sprinkles, and bake 28–32 minutes until moist crumbs. Cool fully before cutting; bake shorter for extra fudginess or swap starter for Greek yogurt for a different tang.
The rain was hammering against the kitchen window the afternoon I stumbled into these brownies, half distracted by a podcast and half desperate to use up a jar of sourdough discard that had been glaring at me from the back of the fridge. I tossed in sprinkles because my daughter had left them on the counter after a cupcake project, and honestly, laziness deserves credit for some of the best things that come out of my oven. That batch vanished before dinner.
My neighbor Carla knocked on my door the following week holding an empty container and grinning, asking what on earth I had brought to the block party because she had eaten the entire thing herself before anyone else got near it.
Ingredients
- Unsalted butter (115 g, melted): Good butter is the backbone here, and I learned the hard way that cheap butter makes everything taste flat.
- Dark chocolate (200 g, chopped): Use something you would happily eat on its own because the chocolate is the whole personality of this brownie.
- Granulated sugar (150 g) and light brown sugar (60 g): The mix of both gives you a crackly top from the white sugar and chew from the brown.
- Large eggs (2): Room temperature eggs blend more smoothly into the warm chocolate mixture and prevent any weird scrambling.
- Pure vanilla extract (1 tsp): A small amount but it rounds out the chocolate flavor in a way you will notice if you forget it.
- Active sourdough starter (120 g, unfed or discard is fine): This is the secret twist that gives these brownies a barely there tang and an impossibly fudgy crumb.
- All-purpose flour (80 g): Measured by weight if you can, because even a little too much flour turns fudgy into cakey.
- Unsweetened cocoa powder (30 g): Deepens the chocolate flavor without adding extra fat or sweetness.
- Fine sea salt (one half tsp): Do not skip this, salt is what makes chocolate taste like chocolate instead of just sweet.
- Mini chocolate chips or candy coated chocolate pieces (100 g): Scattered on top so every bite has a little pocket of something extra.
- Rainbow sprinkles (3 tbsp): The cosmic part of the name, and they bring a kind of joyful chaos that makes people smile before they even take a bite.
Instructions
- Get your oven and pan ready:
- Heat the oven to 175 degrees C (350 degrees F) and line a 20x20 cm baking pan with parchment, leaving the sides hanging over like handles because you will thank yourself later when lifting the whole slab out clean.
- Melt the chocolate and butter together:
- Set a heatproof bowl over simmering water or use the microwave in short 30 second bursts, stirring between each until the mixture is glossy and completely smooth, then let it sit for a few minutes so it cools slightly.
- Build the sweet base:
- Pour in both sugars and whisk until the surface looks shiny and thick, then crack in the eggs one at a time, beating well after each so the batter turns silky and uniform before adding the vanilla.
- Fold in the sourdough starter:
- This part felt strange the first time, but gently stir the starter into the chocolate mixture until it disappears completely and the batter looks unified and slightly elastic.
- Add the dry ingredients:
- Sift the flour, cocoa powder, and salt directly over the bowl, then fold everything together with a spatula using slow, sweeping motions until you see no more dry pockets but stopping before you overwork it.
- Spread and make it cosmic:
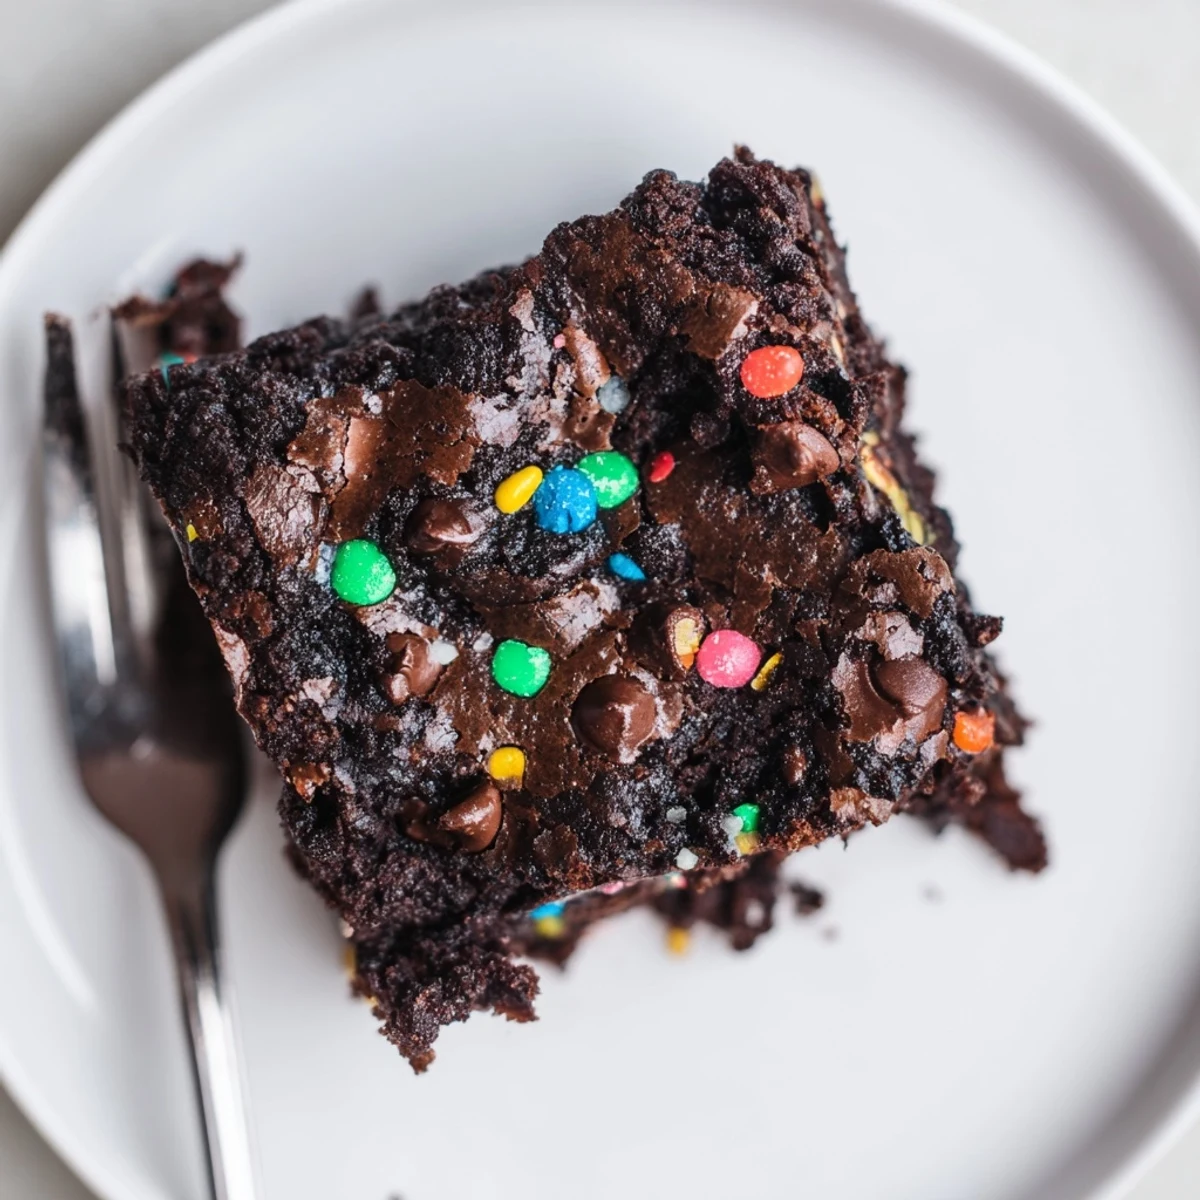
- Pour the batter into your prepared pan and smooth the top with the back of a spoon, then scatter the chocolate chips or candy pieces across the surface followed by a generous shower of rainbow sprinkles.
- Bake and watch closely:
- Slide the pan into the oven and set a timer for 28 minutes, checking with a toothpick that should come out with moist crumbs clinging to it, not wet batter and not clean.
- Cool completely before cutting:
- Leave the brownies in the pan on a wire rack until they reach room temperature, because cutting warm brownies will give you a messy pile of delicious crumbs instead of neat squares.
 Pin it
 The night of that block party, I watched a teenager eat three squares in a row without coming up for air, and I realized these brownies had become the thing I would always be asked to bring from then on.
What I Learned About Timing
Brownies are one of those baked goods that keep cooking in the pan after you pull them out, so if they look slightly underdone in the center when you test them, that is actually perfect and they will set up as they cool into the most gloriously dense texture.
Serving Ideas That Work
A warm square with a scoop of vanilla ice cream melting over the top is almost too good, and a cold glass of milk or a small espresso beside a room temperature piece is equally satisfying in a quieter way.
Storing and Keeping Them Fudgy
Keep them in an airtight container at room temperature for up to four days, though in my house they rarely survive past day two.
- A square of parchment between layers prevents them from sticking together if you stack them.
- You can freeze individually wrapped squares for up to a month and thaw them at room temperature when the craving hits.
- Always cut with a sharp knife wiped clean between slices for the neatest edges.
 Pin it
 Every time I make these, someone asks for the recipe, and I always tell them the sourdough starter was an accident that turned into the best decision I never meant to make.
Recipe Q&A Section
- → Can I use fed sourdough starter instead of discard?
-
Yes. A fed starter adds more lift and moisture; reduce any added liquid slightly if the batter seems very loose. Discard works well for the tang and texture described here.
- → How do I keep the brownies fudgy?
-
Use melted chocolate and butter, avoid adding extra flour, and remove from the oven when a toothpick shows moist crumbs. Baking closer to the lower end of the time yields denser, fudgier squares.
- → What difference does Dutch-process cocoa make?
-
Dutch-process cocoa is less acidic and darker, which deepens chocolate flavor but can affect lift slightly. Either will work; if using natural cocoa, a small pinch of baking soda can help if needed.
- → Can I swap the sourdough starter for something else?
-
Yes—substitute with about 100 g plain Greek yogurt for a similar tang and moisture, though texture may be slightly different. Adjust baking time as needed for moisture content.
- → How should I test for doneness?
-
Insert a toothpick in the center: aim for moist crumbs clinging to the pick rather than wet batter. Edges will look set while the center stays slightly soft for that fudgy feel.
- → What’s the best way to store and serve leftovers?
-
Cool completely, then store in an airtight container at room temperature up to 3 days or refrigerate up to a week. For longer storage, freeze portions wrapped tightly for up to 3 months.
