 Pin it
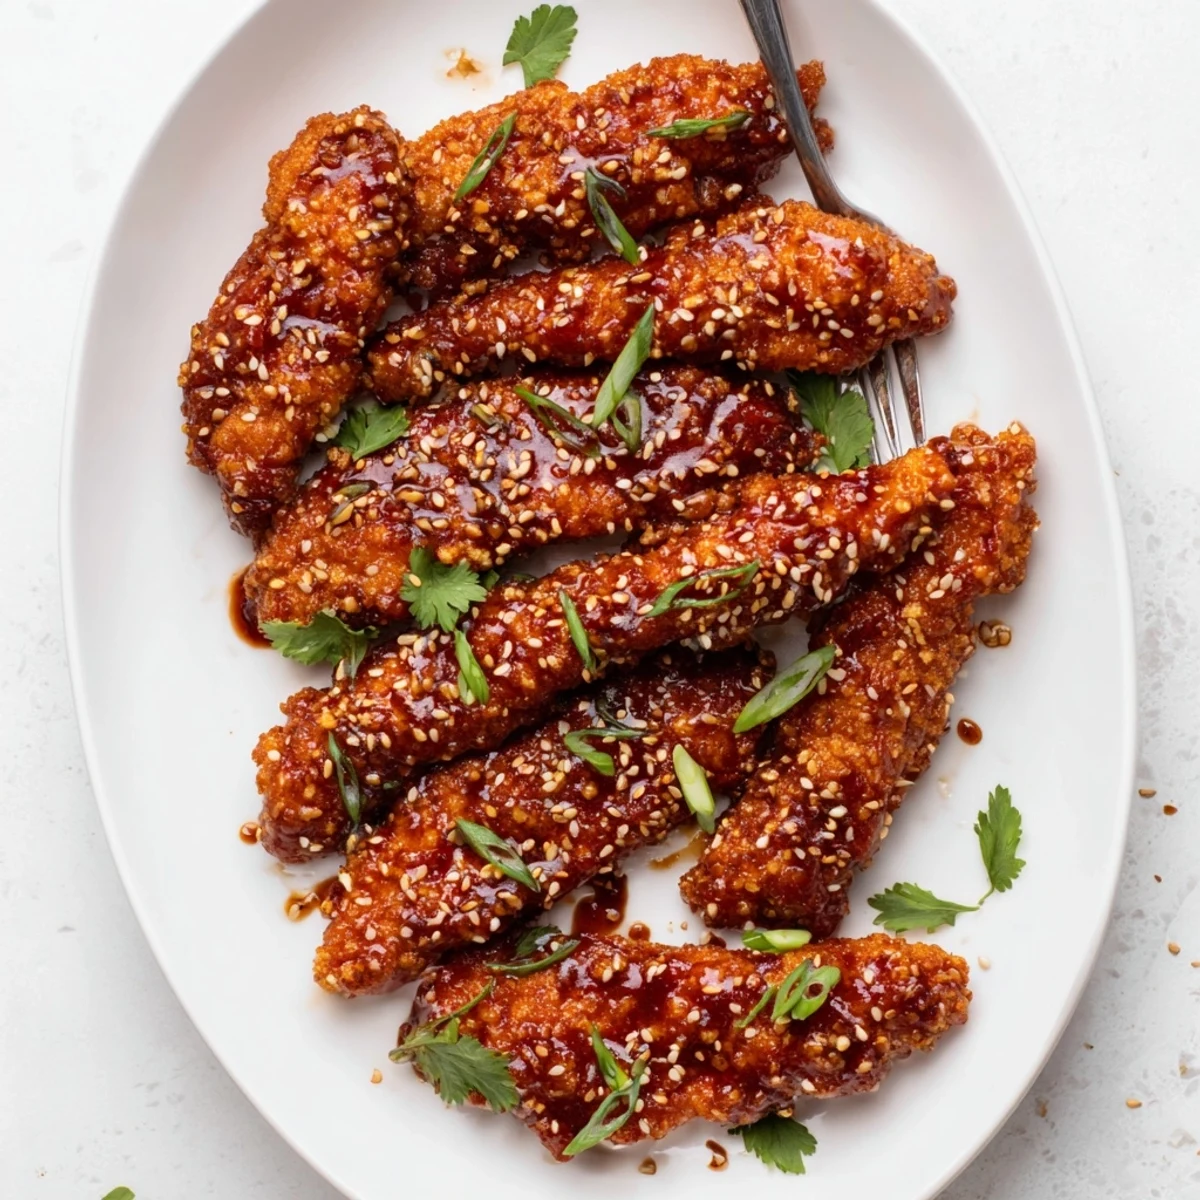
 These golden chicken fingers feature a crispy panko coating infused with garlic and smoked paprika. After baking to perfection, they're tossed in a glossy homemade Thai sauce blending sweet chili, soy, honey, and fresh ginger. The result is an irresistible combination of crunchy texture and sticky, tangy flavor that balances sweet and heat. Ready in 45 minutes, these crowd-pleasing strips are perfect for entertaining, game day spreads, or family dinner. Serve garnished with sesame seeds and fresh herbs alongside rice or vegetable sticks for a complete meal.
The aroma of sweet chili sauce bubbling on the stove still takes me back to my tiny apartment kitchen, where I first attempted to recreate those restaurant-style sticky wings. My roommate walked in, nose twitching, and immediately asked what smelled better than anything Id ever cooked before. That night we ate standing up at the counter, fingers sticky with sauce, agreeing this recipe was a keeper.
Last summer I made these for a backyard gathering and watched them disappear in minutes. My friends brother, who claims to hate anything with sweet chili sauce, went back for thirds and finally admitted he was wrong. Something about that balance of heat against honey just makes people reach for more.
Ingredients
- 500 g boneless chicken tenders: Cutting breasts into strips works perfectly, just keep them uniform for even cooking
- Salt and black pepper: A simple seasoning foundation that lets all those bold Thai flavors shine through
- All-purpose flour: Creates that essential first layer for the egg and panko to grab onto
- 2 large eggs: Room temperature eggs coat more evenly and help the breadcrumbs adhere beautifully
- Panko breadcrumbs: These Japanese breadcrumbs give you that restaurant-quality extra crunch
- Garlic powder: Builds savory depth right into the crispy coating
- Smoked paprika: Adds subtle smokiness that plays so well with the sweet sauce
- Sweet chili sauce: The backbone of the glaze, look for one with good chili heat balance
- Soy sauce: Brings that essential umami saltiness to ground the sweetness
- Honey: Natural sweetness that helps the sauce cling to every crumb
- Rice vinegar: Cuts through the richness and brightens the whole flavor profile
- Sesame oil: Just a teaspoon adds that signature nutty aroma we all love
- Sriracha: Optional but recommended if you want that extra kick of heat
- Fresh garlic and ginger: Minced fine so they melt into the sauce, no biting into raw chunks
- Toasted sesame seeds: Sprinkle generously for that beautiful restaurant presentation
- Spring onions: Fresh sharpness that cuts through all that sticky sweetness
Instructions
- Get your oven ready:
- Preheat to 220°C and line a baking sheet with parchment paper for easy cleanup
- Season the chicken:
- Sprinkle salt and pepper over both sides of your strips, letting them sit while you prep everything else
- Set up your coating station:
- Arrange three shallow bowls with flour, beaten eggs, and panko mixed with garlic powder and paprika
- Coat each strip:
- Dredge in flour, dip in egg, then press firmly into panko until thoroughly covered
- Prep for baking:
- Arrange coated chicken on the tray and lightly spray or brush with oil for golden color
- Bake until crispy:
- Cook for 20 to 25 minutes, flipping halfway for even browning on both sides
- Make the magic sauce:
- Simmer sweet chili sauce, soy sauce, honey, rice vinegar, sesame oil, sriracha, garlic, and ginger until slightly thickened
- Bring it all together:
- Toss the hot chicken in a large bowl with the warm sauce until every piece is gloriously coated
- Finish with flourish:
- Scatter sesame seeds and sliced spring onions over the top while everything is still warm
 Pin it
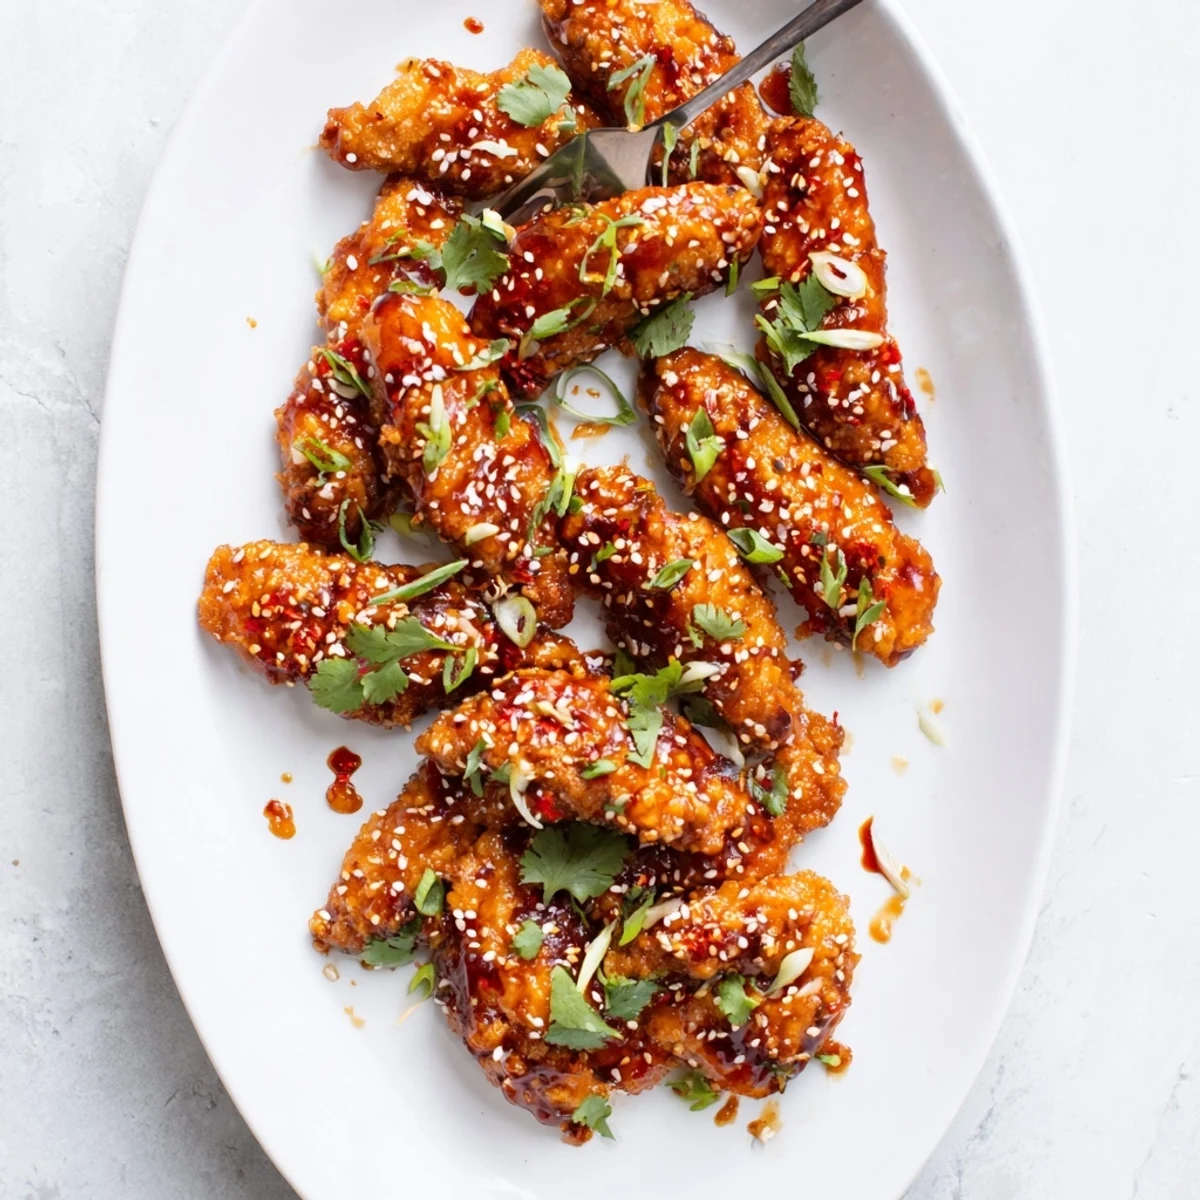
 These have become my go-to for potlucks because they transport so well and reheat beautifully in the oven. Theres something deeply satisfying about watching people debate whether to use a fork or just embrace the mess and eat with their hands.
Making Them Extra Crispy
If you want next-level crunch, broil the sauced chicken for just 2 minutes after tossing. Watch it like a hawk because sugar-heavy sauces can go from perfect to burnt in seconds. That extra minute under high heat creates those caramelized edges that make people think you spent hours.
The Vegetarian Switch
Firm tofu works surprisingly well here, just press it thoroughly first to remove excess water. Cut into thick strips, freeze for 30 minutes to firm up further, then follow the exact same coating process. The texture becomes meaty enough that even skeptics come back for seconds.
Perfect Pairings
These need something fresh to balance all that sticky richness. I love serving them alongside crisp cucumber spears or simply steamed jasmine rice that soaks up every drop of sauce. A chilled glass of Riesling or light lager cuts through the sweetness beautifully.
- Squeeze fresh lime over everything right before eating to wake up the flavors
- Set out extra napkins because this is definitely finger food
- Double the sauce recipe if your crowd loves to dip
 Pin it
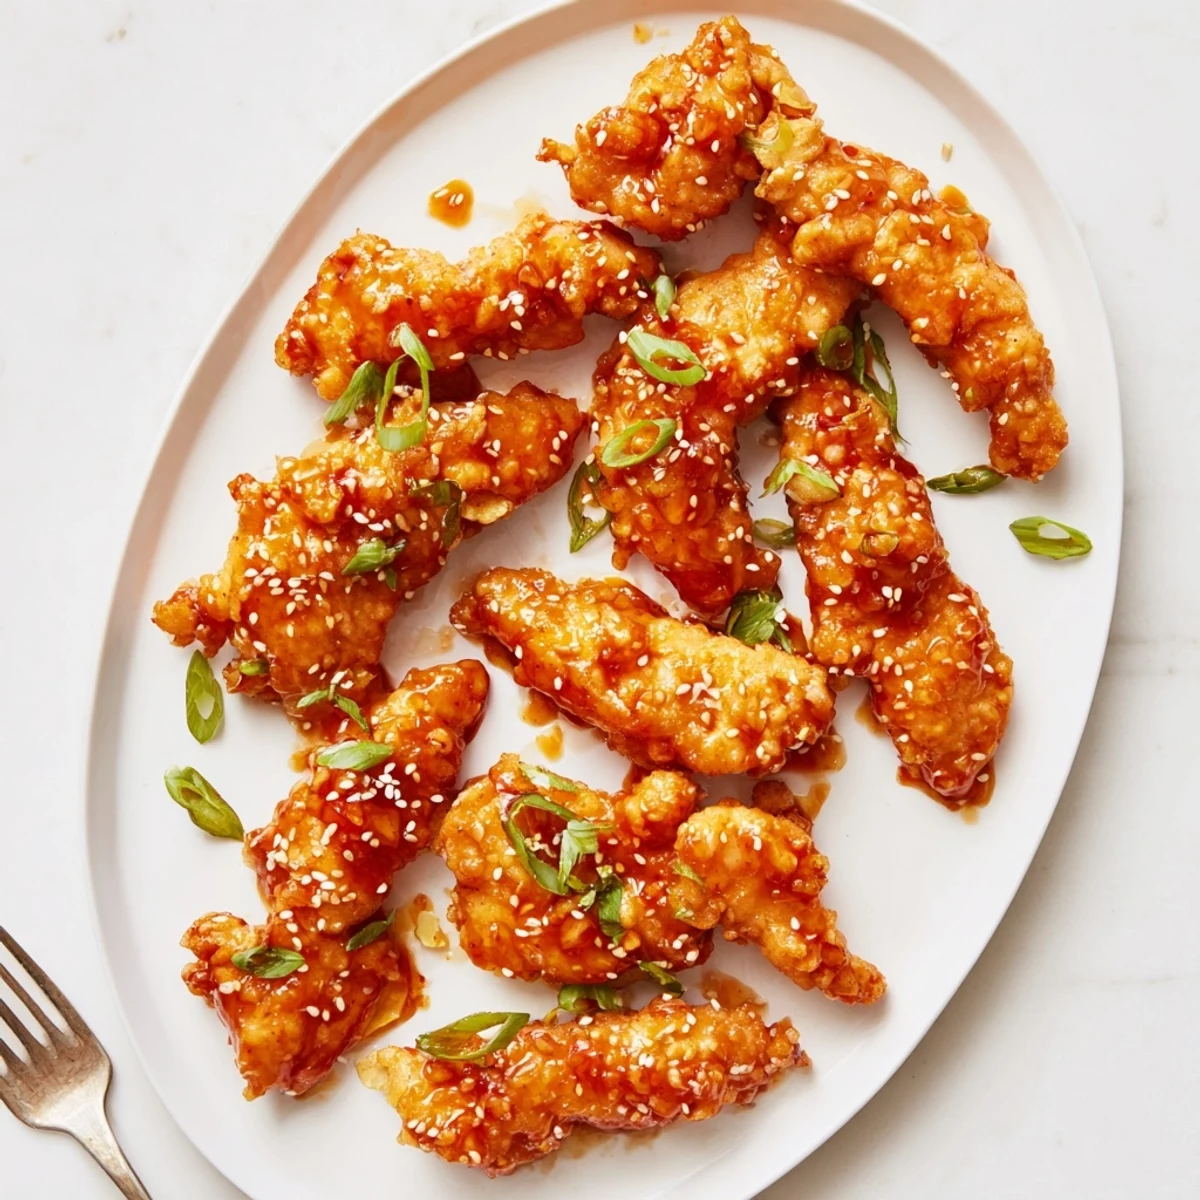
 Somehow these always turn a regular Tuesday dinner into something that feels like a treat. Thats the kind of recipe magic worth keeping around.
Recipe Q&A Section
- → Can I make these chicken fingers ahead of time?
-
Yes, you can bread the chicken strips up to 24 hours in advance and store them refrigerated. Bake just before serving for optimal crispiness. The sauce can also be prepared ahead and reheated gently when needed.
- → What can I use instead of panko breadcrumbs?
-
Regular breadcrumbs work as a substitute, though they won't be as light and crispy. Crushed cornflakes or even crushed pretzels can provide similar crunch and flavor variation.
- → How do I store leftovers?
-
Store cooled chicken fingers in an airtight container in the refrigerator for up to 3 days. Reheat in a 200°C oven for 10-12 minutes to restore crispiness. Avoid microwaving as they'll become soggy.
- → Can I air fry these instead of baking?
-
Absolutely. Cook at 200°C for 12-15 minutes, shaking halfway through. The air fryer creates excellent crunch and may even reduce cooking time slightly.
- → How can I adjust the spice level?
-
Omit or reduce the sriracha for a milder version. For more heat, add extra sriracha, a pinch of red pepper flakes, or substitute some sweet chili sauce with a spicier Asian chili paste.
- → What dipping sauces pair well?
-
Extra sweet chili sauce, spicy mayo, peanut sauce, or a simple cilantro lime yogurt dip all complement these beautifully. The sauce coating is flavorful enough to enjoy on its own too.
